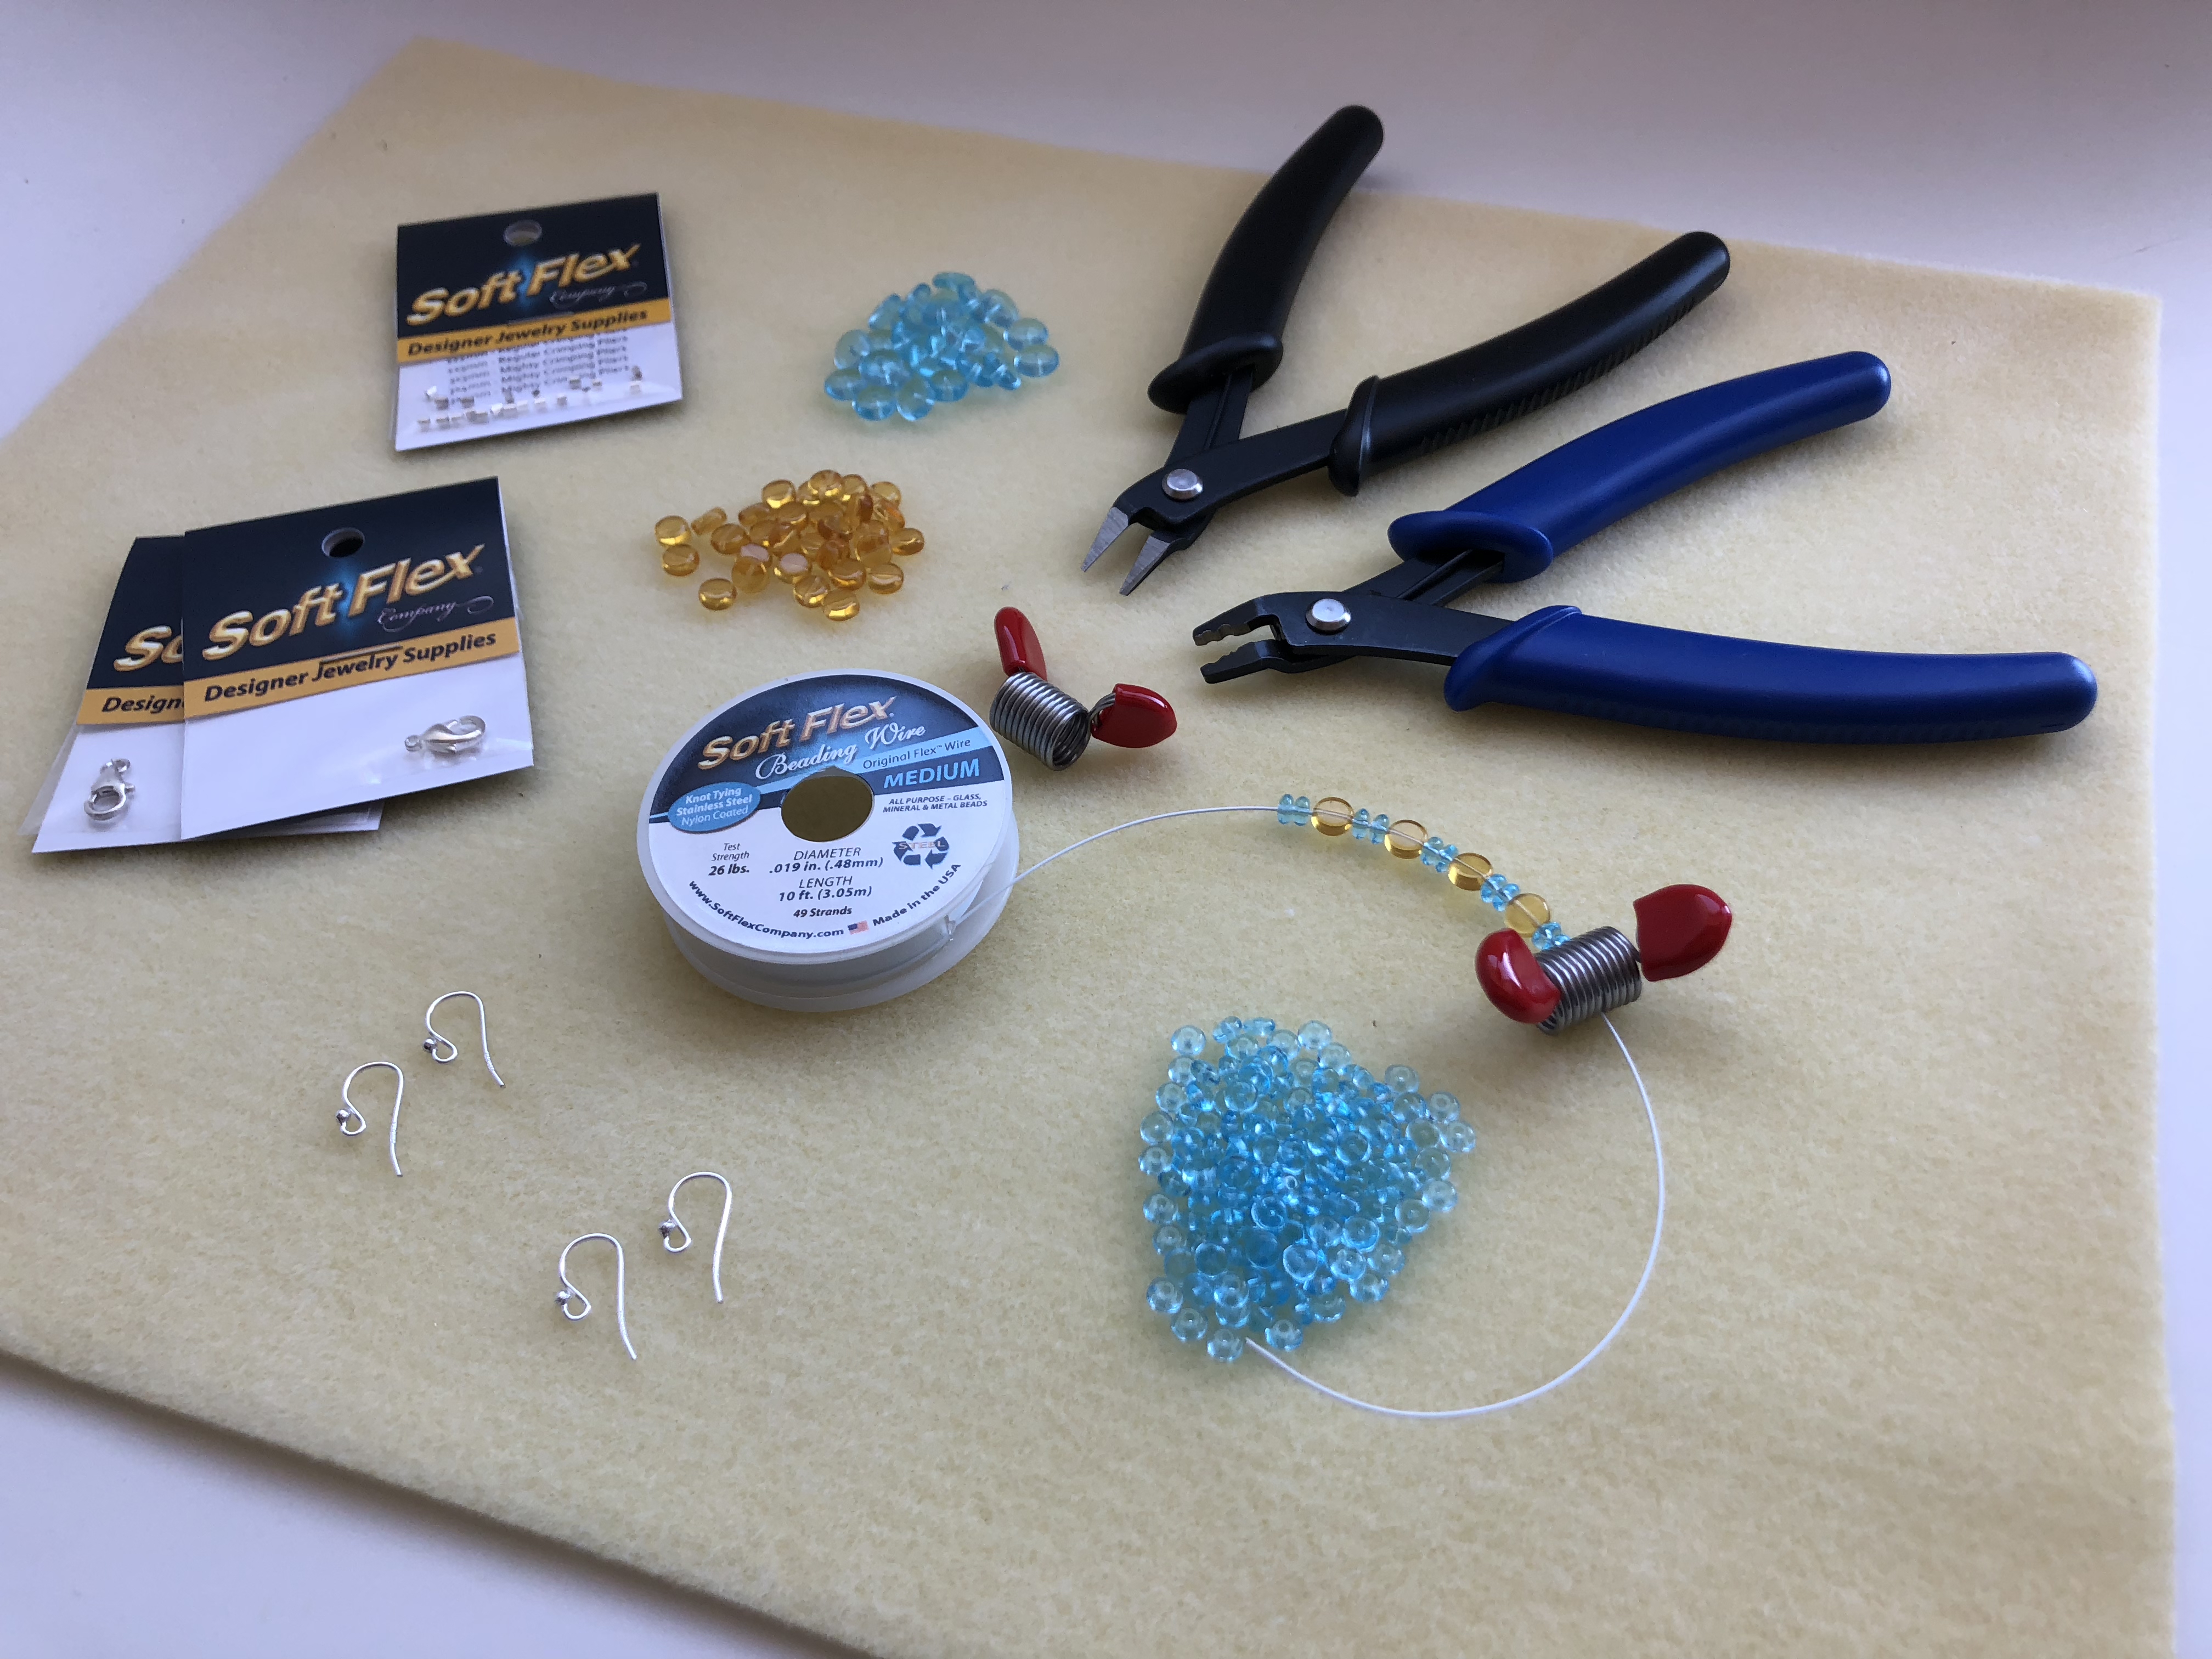
A beading wire that fills a bead hole will give the bead stability and aesthetic value. An unstable bead will wobble on its wire whenever the wearer of the bead moves. When the bead is quiet, it will sit at an odd and unattractive angle.
How To String Beaded Jewelry When Your Beads Have Big Holes
It would seem like a simple task to fill a bead hole with wire, but this is not always so. There will be times when it doesn’t matter how many sizes of wire, eye pins and head pins we have, none of them will fit the hole of the bead that we are working with. What can we do?
1) We can improve our wire technique.
The way we finish our loops and wraps can make all the difference in whether or not the bead is stable on the wire.
The final cut should be made only after we are sure that the bead is held tight by the loop or final wrap.
An added advantage of finishing wrapped loops correctly, is that the added wire will thicken and reinforce the diameter of a thin wire where it extends beyond the bead hole, making the piece more durable.
Caution must be taken not to over tighten a loop or wrap. Over tightening can distort the wire and/or break the adjoining bead. This is especially true for fragile bead materials and shapes such as bi-cones and briolettes.
It is common to finish one end of a bead and then to support that end with fingers while finishing the other end. It is easy to overlook that the fingers can push the bead up on the wire just ever so slightly. When the fingers are removed, the bead is no longer tight on the wire. Make sure that the wire is tight at BOTH ends before cutting.
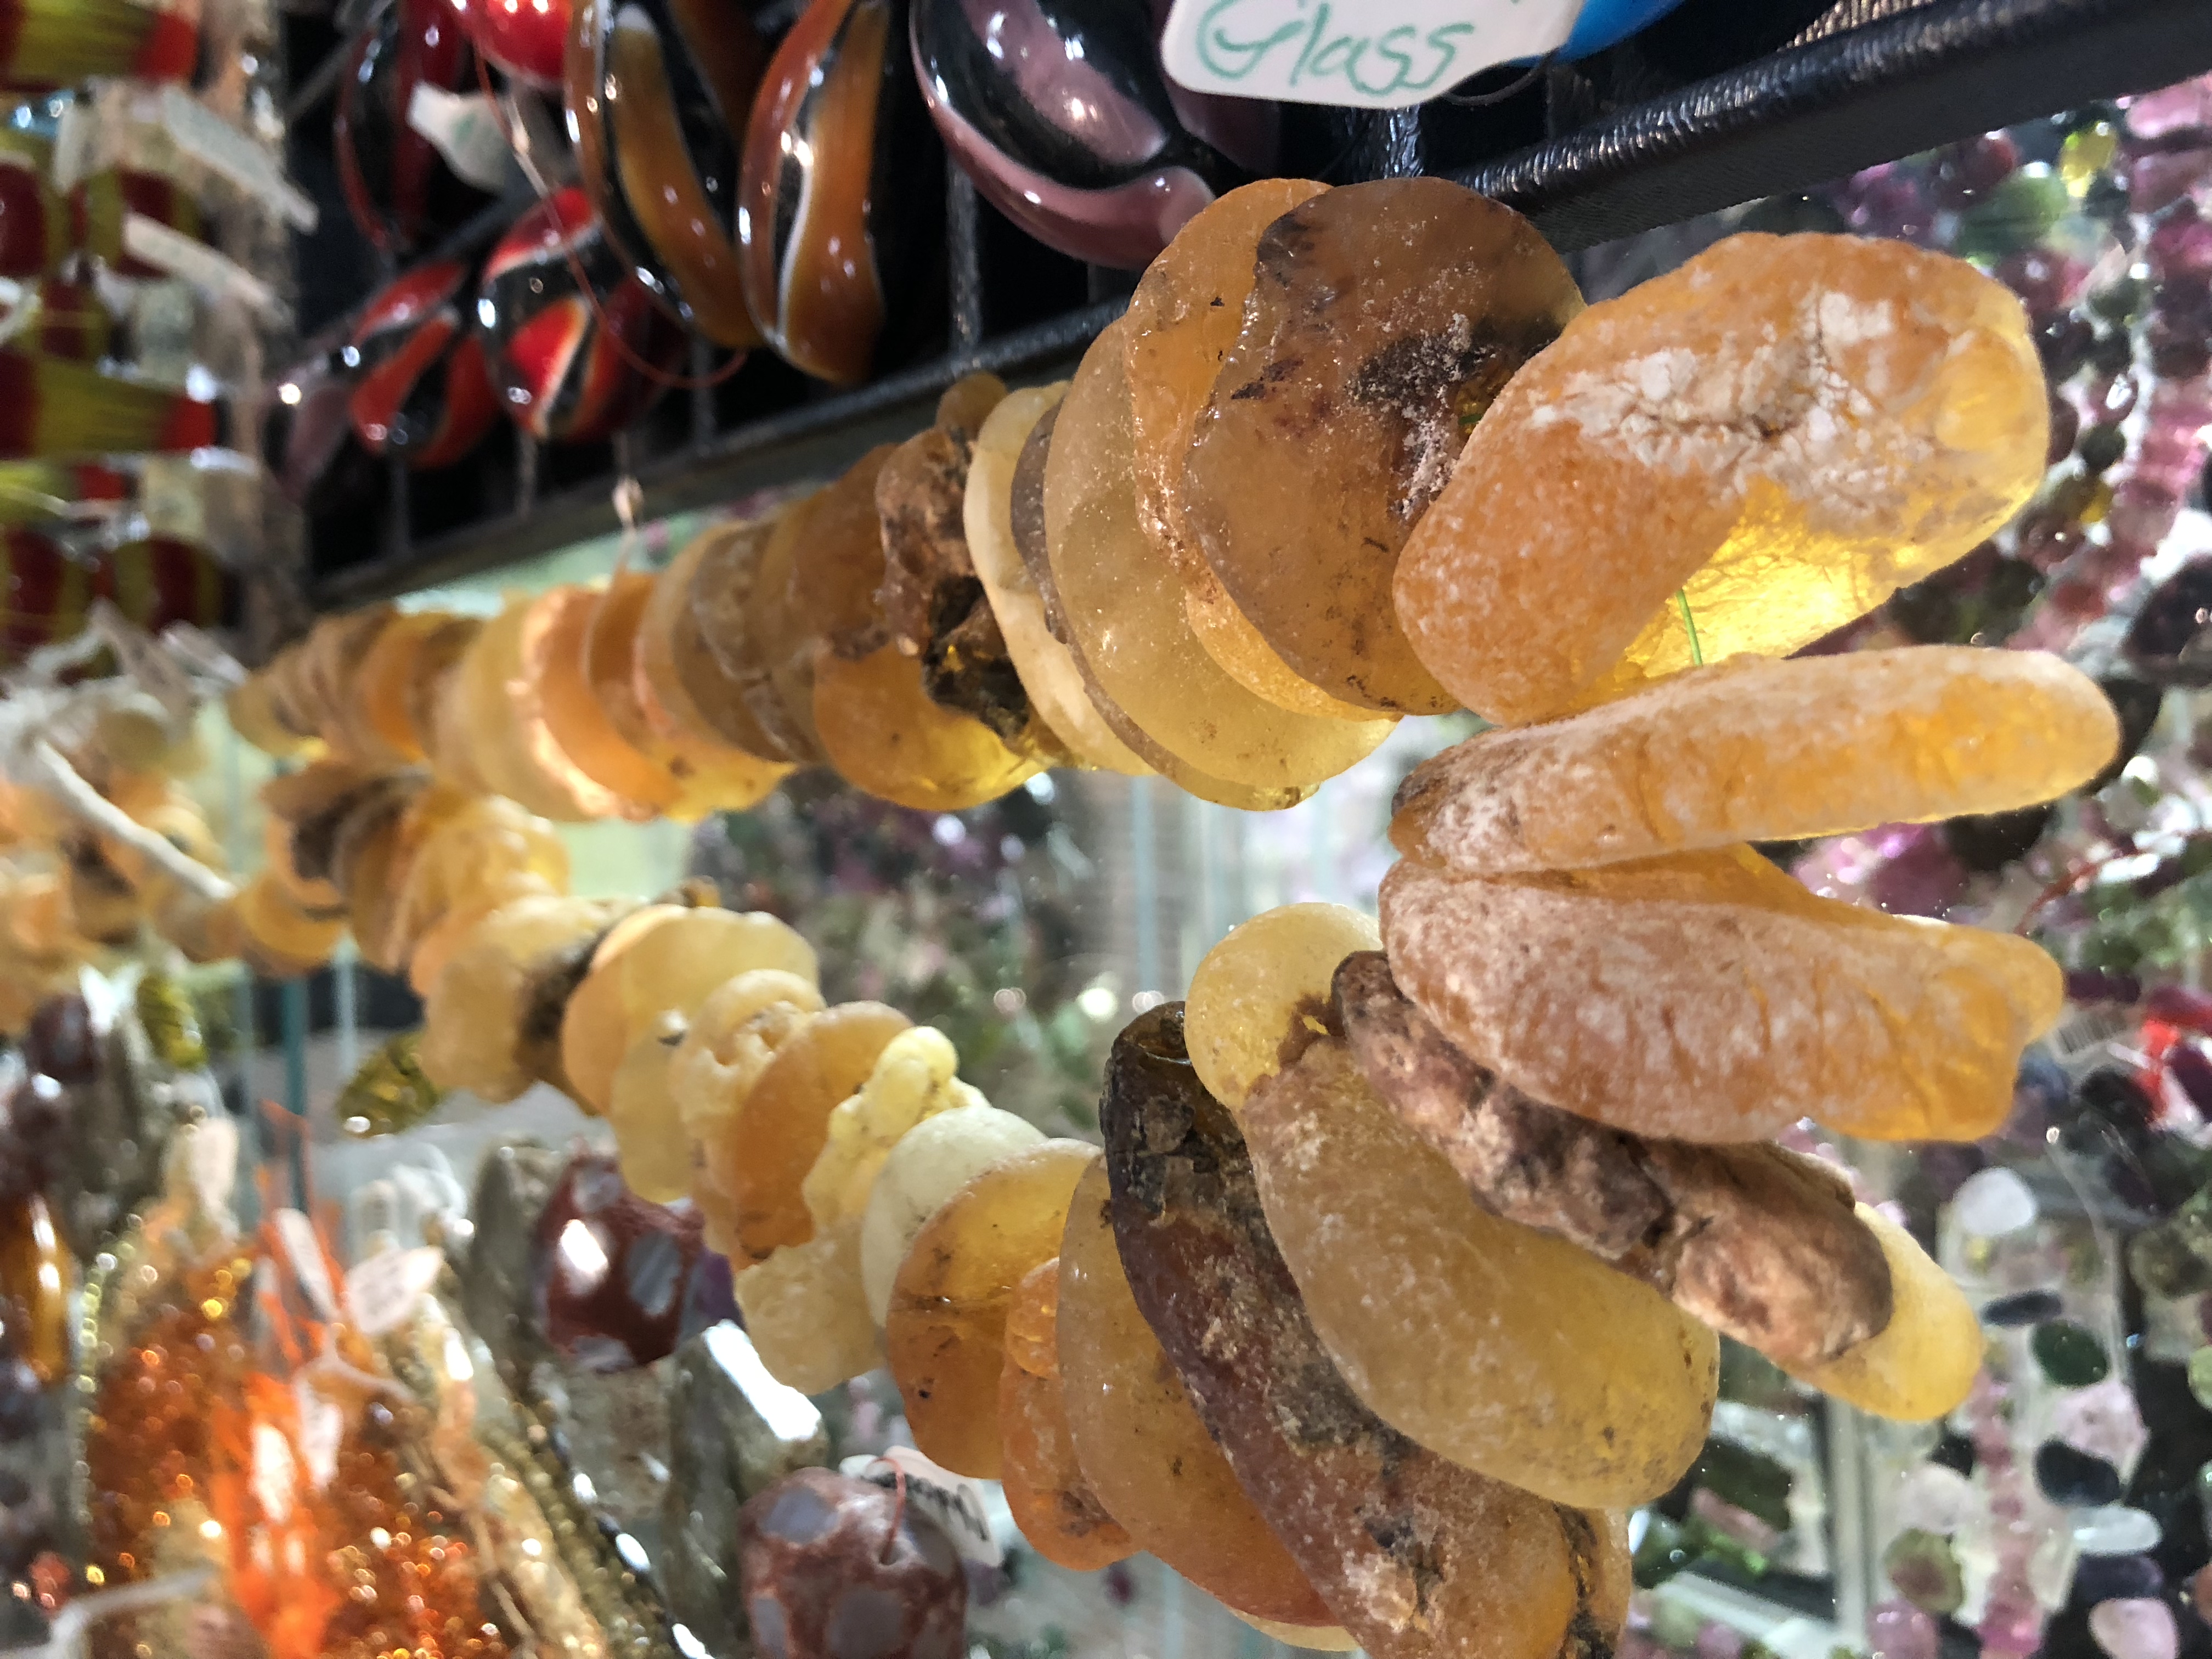
2) Fill the gap.
Slide fillers such as smaller beads and tubing onto the wire before (or after) the wire is placed through the bead.
Hard fillers: These fillers work best when the bead hole is consistent in size from end to end.
Seed beads, pony beads and small metal beads (including crimp beads, crimp tubes and liquid silver) are all very good fillers. Crimp tubes are available in a variety of diameters (both internal and external) which is very helpful when you need to find the perfect fit.
Wire coils (half hard) make great fillers and you can make your own.
It is a good idea for stability reasons to keep the fillers consistent in size and shape throughout the length of the bead.
The bead, wire and filler(s) should be centered and fit together securely to make sure that the problems are not recreated.
Hard fillers are not very forgiving. They will not adapt to irregularities in the bead hole.
Take care not to force hard fillers into the holes. Hard fillers can get stuck and can be difficult to remove. If a filler gets stuck, you can try to force it back out using any pointed tool that will not break and will fit into the bead hole. If this does not work, try using a lubricant or chilling the bead first, retrying while the bead is still cold.
Moderately hard fillers: These fillers are very similar to hard fillers. They work best when the bead hole is consistent in size from end to end. These fillers can adapt to slight variances in the wall of the bead hole.
Like hard fillers, metal crimp tubes, beads and coils (using soft metal rather than half hard) can be used. One type of readymade coil is Bullion (also known as French wire or Gimp wire). It is very soft and small in diameter. It can be used to fill very small holes (but ones that are too big for your wire!).
Because of the softness and adaptability of these fillers, they are more likely to get stuck inside the bead hole and are very hard to remove. It is possible to remove these fillers in the same way as hard fillers, although they will probably be ruined in the process.
Soft fillers: Soft fillers include alterable substances such as silicone, rubber and plastic. They can be squeezed, carved and melted. They adapt easily to variations in bead holes.
Soft fillers can be rubber washers, silicone beads, or rubber tubing etc.
Extra care must be taken to ensure that the wire and filler fit very tightly. These fillers will easily break down if they are exposed to any amount of friction from the wire or bead. For the same reason, soft fillers are best used with small beads and beads that won’t suffer much stress.
Soft fillers can get stuck inside a bead. They are easily removed although they will probably be damaged in the process.
Liquid and gel fillers: Liquids and gels will fill a hole completely. They can be poured or squeezed into the bead hole around the wire. Once the filler enters the bead, it will set up and harden, usually permanently.
The best choice for liquid or gel depends on how the particular filler interacts with the bead material and the type of wire inside it.
It is important to keep the bead upright and the wire centered in the bead during the drying process. This can be done by placing the dry end of the bead in a little dish of rice or salt. Support the wire with a third hand.
Add the filler in stages. Dry completely between fills, alternating ends until the bead is completely full. This helps to avoid overfilling and under filling.
Some of these fillers will shrink, crack or dissolve over time. Some will discolor (immediately or over time) and can cause discoloration to the bead and/or wire. If you are not sure about the filler, do some preliminary research and testing.
Caution: Always consider the chemistry of these materials. Some of these fillers are toxic or can become toxic when combined with the materials in your bead and wire. Take all necessary safety precautions.
Some final notes about fillers:
Make sure that fillers fit the wire tightly and completely fill the bead hole. Loose fillers in a bead will cause similar problems to a bead on a loose wire.
Use fillers that are durable. Some materials (such as crystal) and shapes (such as bi-cone) are fragile and prone to breakage.
Consider using inexpensive and plain materials as fillers (as opposed to precious metals and high end crystals).
Filling a bead is effective providing that there is only a slight variance (gap) between the size of the bead hole and the wire. If the gap is too large, the wire will be vulnerable to breakage once it is no longer supported by the fillers and the wall of the bead. The wire will break at the point where the fillers stop. This is very important to know when using long, narrow and heavy beads.
3) Add stabilizers.
It is possible to add stabilizing beads or caps to the ends of beads to make smaller holes for the wire to go through.
Stabilizers for beads with concave (bowl shaped) hole entries:
It is easy to stabilize a bead by placing smaller beads (with smaller holes than the original bead) snuggly inside the openings at each end of the larger bead. The wire is then threaded through all three. Round, disc-shaped and rondelle beads have worked best for me. The wire must fit securely through the smaller beads to avoid recreating the original problem.
You might be able to enlarge concave (bowl shaped) bead openings in a flat ended bead by using the ball and cone tips that come with most reamers (use appropriate “Drilling” and “Reaming” safety measures and techniques).
Avoid using cone or bi-cone beads as stabilizers. They are prone to breakage.
Some headpins end in small balls and other shapes that can be used in lieu of one of the two smaller, stabilizing beads.
Adding smaller beads will work providing that there is only a slight variance (gap) between the size of the original bead hole and the wire. If the gap is too large, it will mean that the wire is too small. When the wire extends beyond the stabilizers, the wire will not have enough support to survive. This is very important to know when using long, narrow and heavy beads.
Stabilizers for beads with pointed or domed ends:
I have found that filling beads with pointed or domed ends is more effective than adding stabilizing beads. The ends of the bead holes are usually too weak to support a stabilizer.
One option for pointed and domed beads would be to fill the beads AND use bead caps (with smaller holes than the bead). The caps must fit tightly over the ends of the bead. The wire would then be threaded through all three.
Stabilizers for beads with flat ends:
Beads with flat ends have holes that can sometimes accommodate the addition of stabilizers in the same way that beads with concave openings can. The openings of the bead holes must be large enough to allow the stabilizers to sit far enough inside to have a stabilizing function.
You can sometimes create concave (bowl shaped) bead openings in a flat ended bead by using the ball and cone end tips that come with most reamers (use appropriate “Drilling” and “Reaming” safety measures and techniques). Stabilizers could then be added.
Flat spacer beads can be found that may have smaller holes than the larger bead. These can be added to the bead as stabilizers to the ends of the bead but only after fillers have stabilized the wire inside the bead. The wire would then be threaded through all three.
Some final notes about stabilizers:
Stabilizers are effective providing that there is only a slight variance (gap) between the size of the original bead hole and the wire. If the gap is too large, fillers can be added but never the less, if the variance is too great, the wire will be vulnerable to breakage where it exits the stabilizers, whether they are beads, caps or spacers. This is very important to know when using long, narrow and heavy beads.
4) Line your bead.
Beads can be lined with tubing. This makes the hole smaller and really jazzes up the bead!
Line the bead by hand.
A metal tube can be placed in a bead hole and then flared to secure it. Metal tubing comes in a variety of metals, hard, half hard and soft and in various interior and exterior diameters.
Invest in a bead liner.
A manually operated bead liner will save you a lot of time once you get past the learning curve. It is helpful to know a few more jewelry making skills such as filing and annealing and become more knowledgeable about metals.
5) Be Creative with Precious Metal Clay (PMC), Art Clay and Polymer Clay.
PMC and Art Clay are precious metals in a malleable form. These clays are fired at fairly high temperatures in a kiln or in the heat of a torch. Polymer clay is entirely manmade. It is baked at low temperatures in an oven.
All these materials can be used to make fillers and stabilizers.
PMC and Art Clay can be added directly to fine and sterling wire and fired to make one continuous unit. The possibilities are endless.
Metal clays can be added directly to a bead and everything can be fired together! This option varies depending on the materials involved.
It is important be very knowledgeable when working with these clays. It is critical that the user be informed about safety issues (toxicity), shrinkage rates, and compatibility with other materials etc.
If the clay, bead and wire will be heated together, it is necessary to know the effect of heat on the bead materials as well as the clay and the effect of heat on the combination of the two. Discoloration, fracturing, breakage and melting, and toxic fumes are a few of the potential problems that can arise.
6) Be Flexible.
Think outside the box. Maybe the wire doesn’t need to fill the bead after all!
Go with the hole.
When nothing seems to work, perhaps the best option is to look at other options. One thought is that you could feature the design surrounding the bead hole. Simply attach wire to one or both sides of the bead hole rather than running a wire through it.
Beads that slide on wire chains or bails can be very attractive and the movement is interesting. In these cases, a bead hole that is significantly larger than a wire works to an advantage. You could line the bead for added interest and durability.
A Final Thought:
Options are always good, especially when it comes to bead hole dilemmas. Now that you know what solutions are available, you can seek out more information about the techniques that you are interested in. You will find that some work better for you than others. You might find some ideas that are not listed here or perhaps come up with a solution on your own. The most important thing is that you find a solution that works for you.
Join our Facebook group – VIB. Stay in the know. Stay up to date. From our bead shows to our video shows and sales, you can stay in touch with us. The community is full of artistic and helpful beaders and crafty people. Inspire and be inspired. Share your pictures and get the beading bug from others!
Visit the Soft Flex Company YouTube Channel!


Michele Benson is the owner of the Cuttlefish Glass Studio in Klamath Falls, Oregon, where she teaches Lampwork (beadmaking) and jewelry making. She obtained her Bachelor of Arts Degree in Studio Art from Potsdam State College in New York and is a member of the ISGB. Michele credits her husband, Dan, and her students as being her greatest motivators and inspiration.
Michele can be reached at her studio at 222 S. 6th St, Klamath Falls, Oregon, and by e-mail at 2crazy4u@jsdive.com, or by phone at 541-892-4161.


