Save the Date!
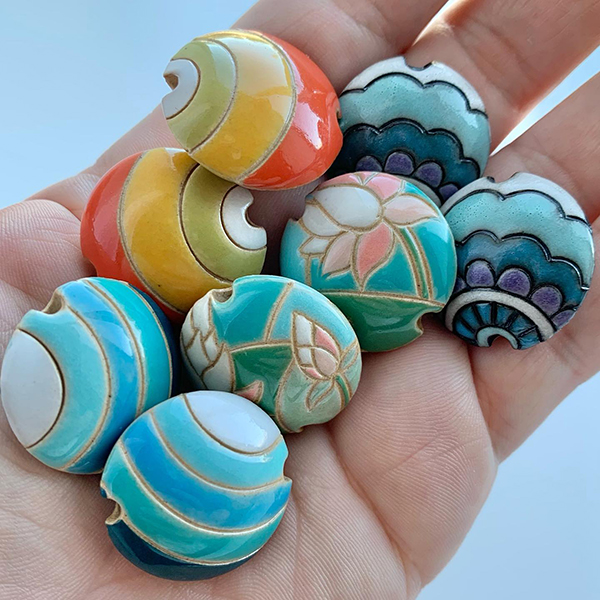
Join us for our next Live Bead Sale on Tuesday, September 21st at 12pm PT / 3pm ET.
The sale will feature ceramic beads by
Golem Design Studio.
Watch on the
Soft Flex Company Facebook Page.
Sale will be open to shop through Thursday, September 23rd.
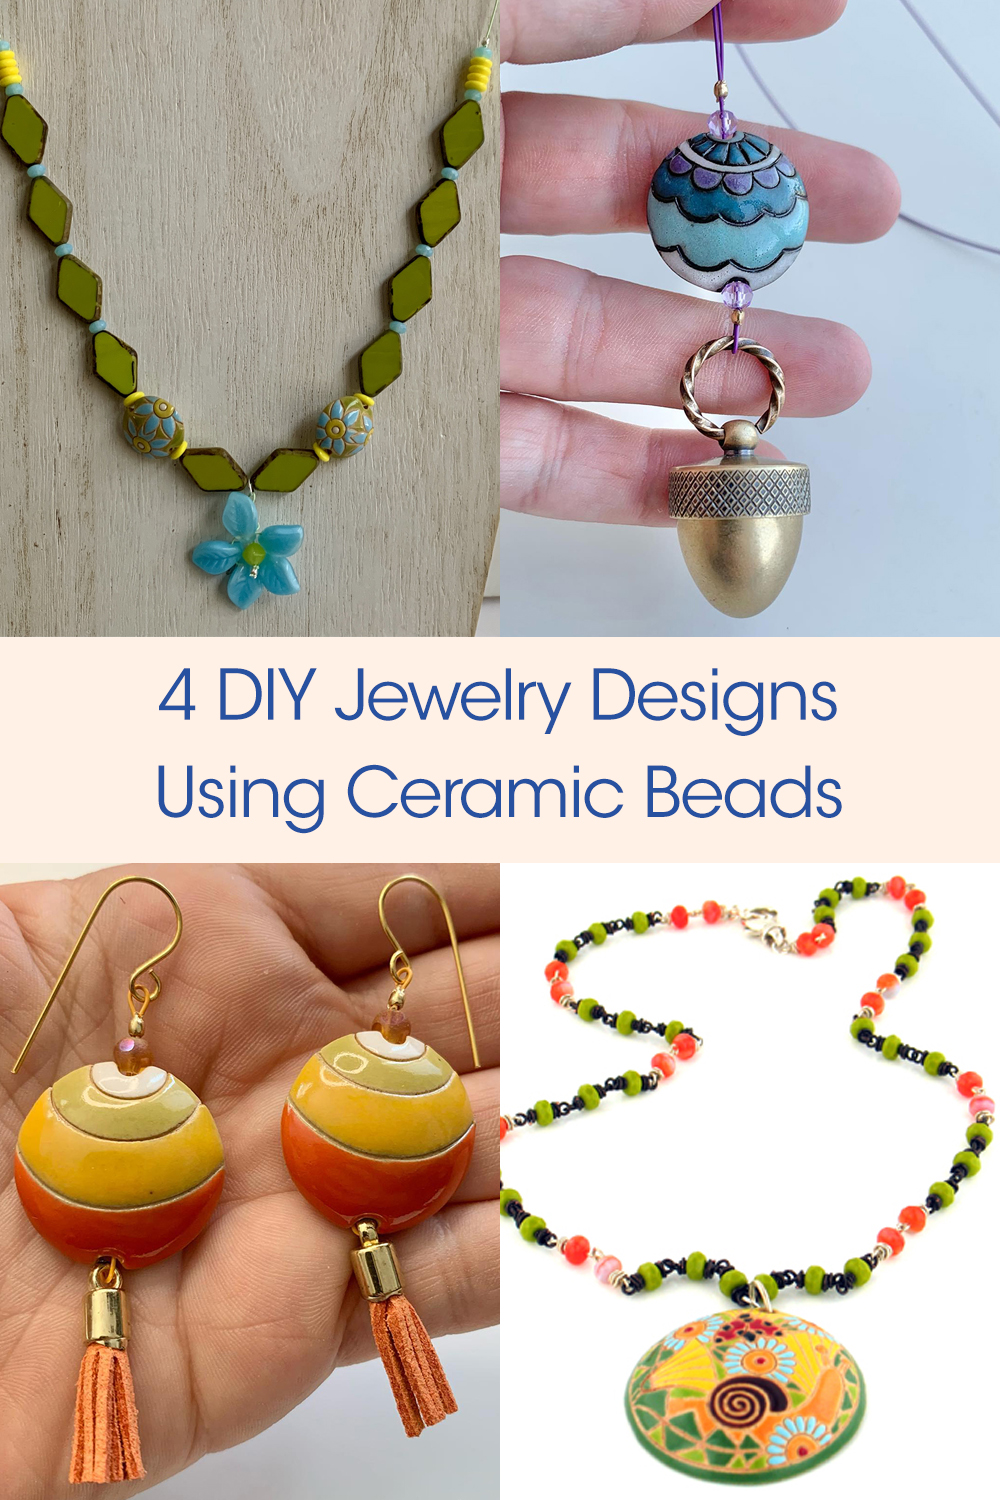
Free Beading Project Ideas: 4 DIY Jewelry Designs Using Ceramic Beads
Czech Glass Flower Pendant Necklace
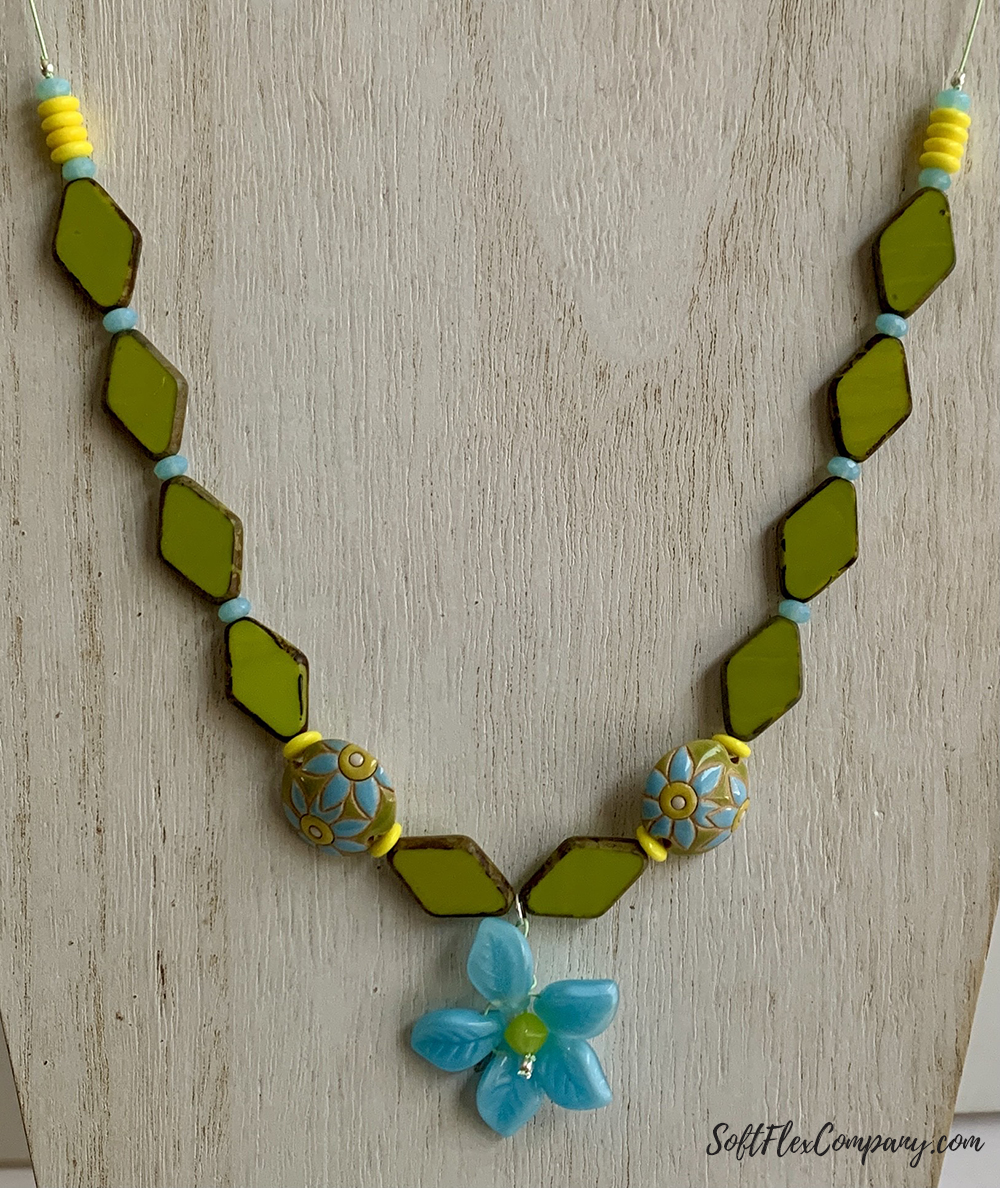
Designer Kristen Fagan
Ceramic beads from
Golem Design Studio.
Click here for directions on how to make this necklace.
Ceramic Bead Earrings
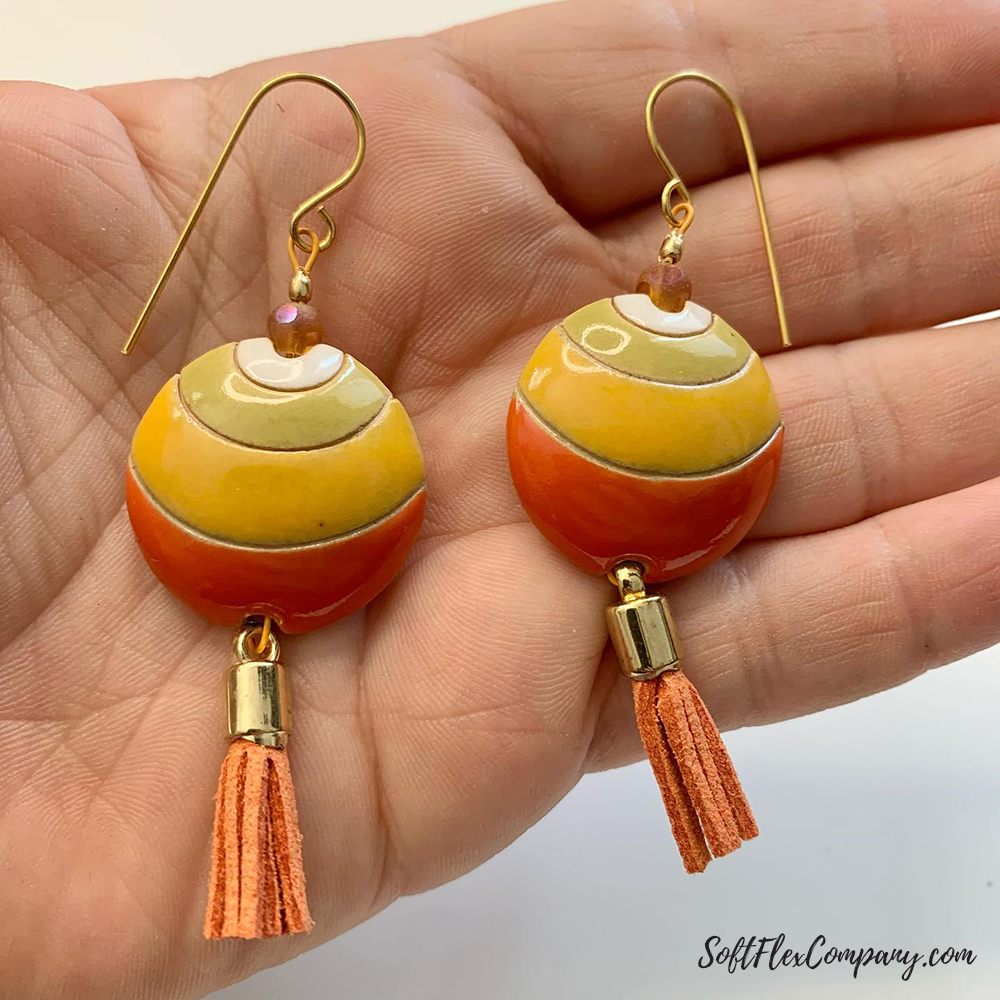
Designer Sara Oehler
Ceramic beads from
Golem Design Studio.
Ceramic Bead Pendant Necklace
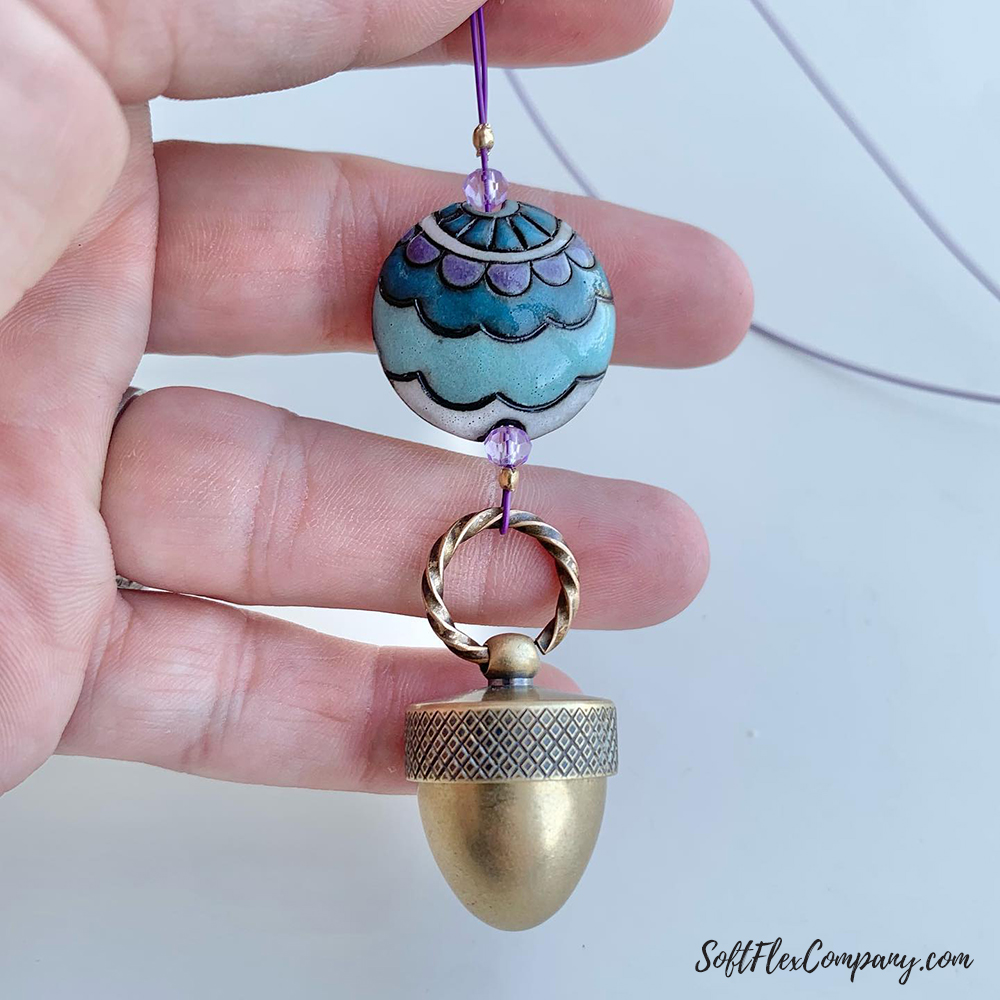
Designer Sara Oehler
Pendant from
Kate Richbourg and ceramic bead from Golem Design Studio.
Click here for directions on how to make this necklace.
End Of Summer Necklace
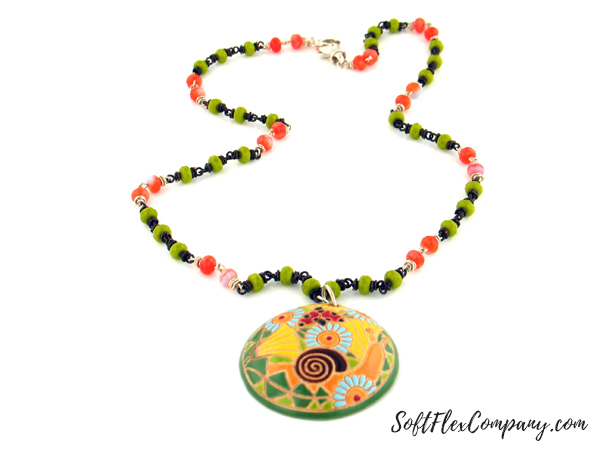
Designer Jamie Hogsett
Skill Level Intermediate
Materials
22 gauge Vintage Bronze Soft Flex Craft Wire
22 gauge Sterling Silver Eye Pins - 20 pcs
9.5mm Silver Plated Lobster Claw Clasp - 1 pcs
5mm Silver Filled Jump Rings - 3pcs
9mm Silver Plated Brass Jump Ring from
Artbeads - 1 pc
10mm Sterling Silver Flower Jump Ring from
Etsy - 1 pc
5x4mm Wasabi Pressed Glass Rondelle Beads - 30 pcs
5x4mm Orange/Light Blue Pressed Glass Rondelles Beads - 20 pcs
38mm Stoneware Flowers, Snail and Ladybug Round Pendant by
Golem Design Studio - 1 pc
Tools
Chain Nose Pliers
Round Nose Pliers
Flat Nose Pliers
Cutters
Instructions
Finished Size: 18"
Step 1: Use 1 eye pin to string 1 orange/light blue rondelle.
Form a wire wrapped loop.
Attach 1 eye pin to the eye of the previous eye pin. String 1
orange/light blue rondelle and form a wire wrapped loop. Repeat entire
step nine times for a total of ten links. Set aside.
Step 2: Use 2" of wire to form a wire wrapped loop that attaches to 1
link. String 1 wasabi rondelle and form a wire wrapped loop. Use 2" of
wire to form a wire wrapped loop that attaches to the previous loop.
String 1 wasabi rondelle and form a wire wrapped loop. Use 2" of wire to
form a wire wrapped loop that attaches to the previous loop. String 1
wasabi rondelle and form a wire wrapped loop that attaches to 1 link.
Step 3: Repeat Step 2 three times. Repeat Step 2 again, omitting the
final link and forming the final wrapped loop without attaching it to
anything. Set aside.

Step 4: Repeat Steps 2 and 3 to form a second beaded chain.

Step 5: Use one 5mm jump ring to attach the link end of beaded chain to
the lobster clasp. Use one 5mm jump ring to attach the link end of the
other beaded chain to the flower jump ring.

Step 6: Use one 5mm jump ring to attach the other two ends of the
beaded chains. Use the 9mm jump ring to attach the 5mm jump ring to the
pendant.

Projects not intended for children under the age of 13. The information on this instruction sheet is presented in good faith, but no warranty is given, nor results guaranteed. Soft Flex® Company disclaims all liability from any injury to anyone undertaking the construction of this project as a result of improper safety precautions.
Join our Facebook group – VIB. Stay in the know. Stay up to date. From our bead shows to our video shows and sales, you can stay in touch with us. The community is full of artistic and helpful beaders and crafty people. Inspire and be inspired. Share your pictures and get the beading bug from others!
Visit the Soft Flex Company YouTube Channel!

Blog contributor Thomas Soles loves Jazz Age writers and crunchy french fries. His favorite gemstones are Lapis and Pietersite. His favorite hobby is day dreaming. And his favorite mustache is Freddie Mercury's. As you can see, he has a healthy (or possibly unhealthy) sense of humor. You can write to him at Thomas@SoftFlexCompany.com


