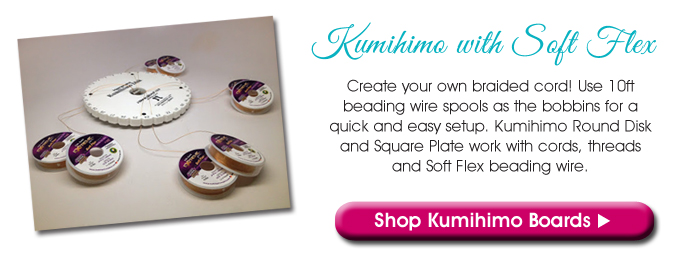
Kumihimo is an ancient Japanese form of braiding. Translated, the word Kumihimo means, "gathering of threads". The traditional form of Kumihimo is done on stands, Marudai is a circular stand and Takadai is a square stand. The stands are constructed out of smooth wood so the cords can move freely without snagging. The cords are weighted with bobbins, called Tama. Modern Kumihimo has moved to portable boards. Kumihimo boards are made from a thick, foam base, rather than wood. The boards have notches that gently pinch the cords in place, eliminating the need for Tama.
Kumihimo boards are not only good for the braider on the go, but they also allow anybody that is interested in the art to get their feet wet without spending the amount of money they would need for a wooden Marudai stand. There are many varieties of braids that can be designed on the boards. The cords will take their character and pattern from the way they are laid across the board and the color of the cords used.
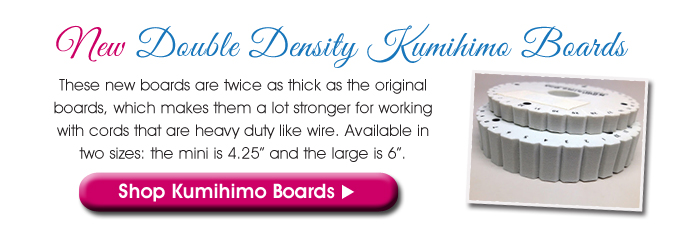
Here are some simple steps to help you start off creating braids.
Start your braid with position #32 at the top. Always keep tension on your lanyard while creating it by attaching a binder clip to the end of the braid.
Pick a medium - silk, thread, wire, cloth, or ribbon. Choose a variety of textures and colors. Be creative.
The thickness and length of your pieces can vary. For bracelets, start with 8 cords cut at 48 inches long (this will ensure that your piece can be shortened as necessary and will accommodate different materials). Belts, 8 cords cut at five yards. Key rings, 8 cords cut at 36 inches long. Or get inventive and go longer or shorter. There are no hard and fast rules.
Round Kumihimo Instructions
Step 1: Cut eight strands of beading wire. Wrap each strand onto a bobbin leaving a 6in length of wire.
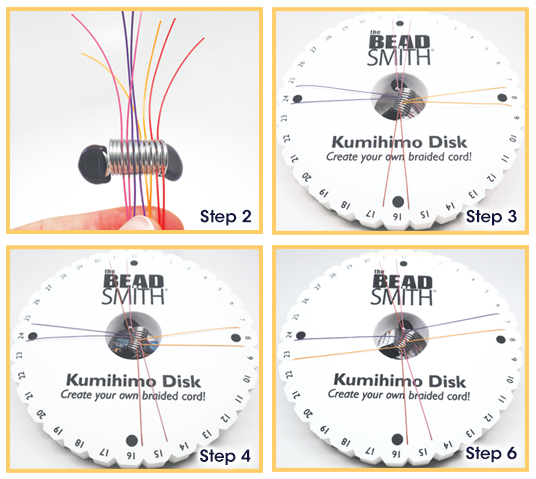
Step 2: Gather all wires and attach a bead stopper on one end leaving a 2in tail.
Step 3: Place the bead stopper through the hole in the middle of the round kumihimo board and attach wire bobbins onto the left and right of each of the following numbers: 8, 16, 24 and 32.
Step 4: With 32 at the top, take the wire on the bottom left and secure it on the top left, to the left of 31. Then, take the wire on the top right and secure it on the bottom right, to the right of 15 (when 15 is upside down).
Step 5: Turn the kumihimo board counterclockwise.
Step 6: With 8 at the top, take the wire on the bottom left and secure it on the top left, to the left of 7. Then, take the wire on the top right and secure it on the bottom right, to the right of 23 (when 23 is upside down).
Step 7: Repeat Steps 4-6 until you reach your desired length.
Step 8: Trim the wire from the board and bobbins leaving at least a 2in tail.
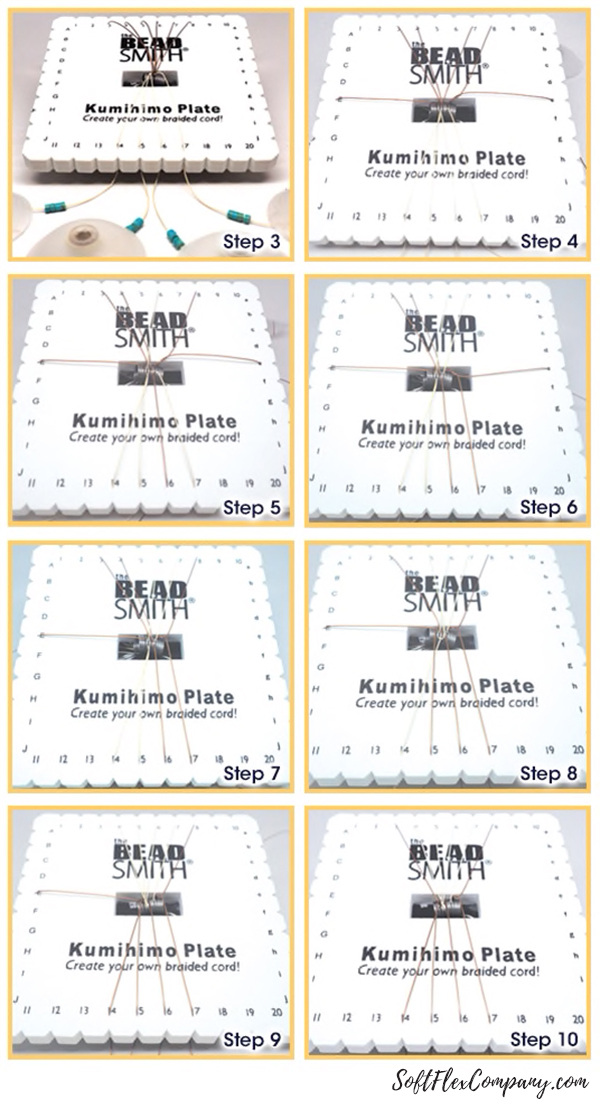
Square Kumihimo Instructions
Step 1: Cut ten strands of beading wire. Wrap each strand onto a bobbin leaving a 6in length of wire.
Step 2: Gather all wires and attach a bead stopper on one end leaving a 2in tail.
Step 3: Place the bead stopper through the hole in the middle of the square kumihimo board and attach wire bobbins into 3, 4, 5, 6, 7 and 8 on the top and 14, 15, 16 and 17 on the bottom.
Step 4: Move the wire at 6 to E. Then, move the wire at 5 to e.
Step 5: Move the wire at 16 to 6. Then, move the wire at 7 to 16.
Step 6: Move the wire at 17 to 7. Then, move the wire at 8 to 17.
Step 7: Move the wire at e to 8.
Step 8: Move the wire at 15 to 5. Then, move the wire at 4 to 15.
Step 9: Move the wire at 14 to 4. Then, move the wire at 3 to 14.
Step 10: Move the wire at E to 3.
Step 11: Repeat Steps 4-10 until you reach your desired length.
Step 12: Trim the wire from the board and bobbins leaving at least a 2in tail.
 |
 |

