

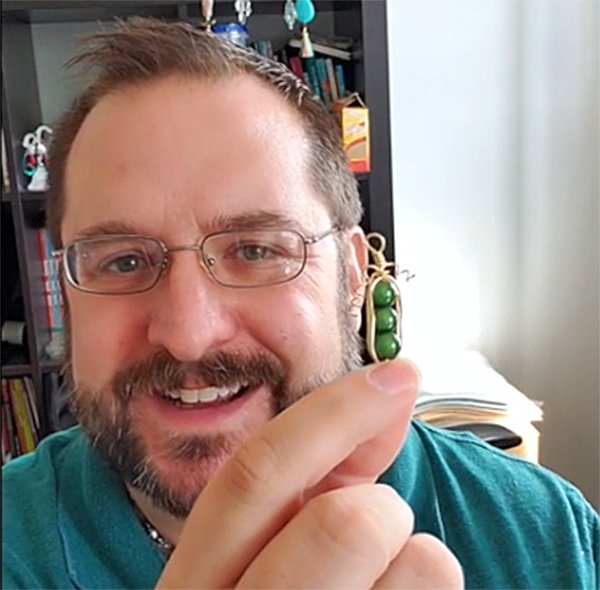
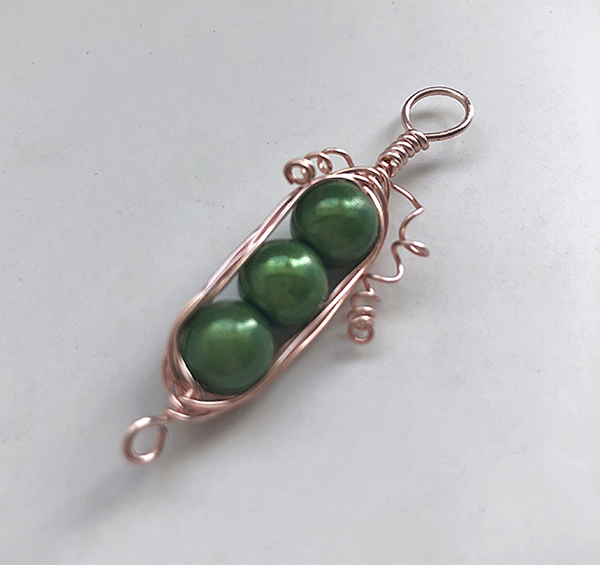
Add this delicious pea pod charm to your jewelry collection. James Browning shows us how to make a scrumptious pea pod with Craft Wire and jewelry making supplies. This charm is easy to make and does not require a lot of material. James walks through the process in easy to understand instructions. This is a fantastic video for beginners and wire wrapping pros that want to add a cute bead to their collection.

James films Conversations In Wire every other week. The episodes are uploaded to YouTube on Thursdays. Conversations In Wire With James Browning is a series that discusses James love for all things Craft Wire. He loves to make decorative wire wrapped beads. His first video showed us how to wrap a focal bead. The second showed us how to create a cute little bird’s nest charm. This is his third episode. Make sure you check out Soft Flex Company’s YouTube channel if you would like to watch his videos.
James starts the video with an introduction. He is a customer service representative with Soft Flex. Soft Flex is located in Sonoma, California. We have a gallery that is open to the public. If you would like to meet James or our gallery staff, you should come visit us. Our gallery page has all of the info. We have products in our gallery that you will not find online. We have owner Mike Sherman’s private collection and beautiful hand selected beads from all over the globe.
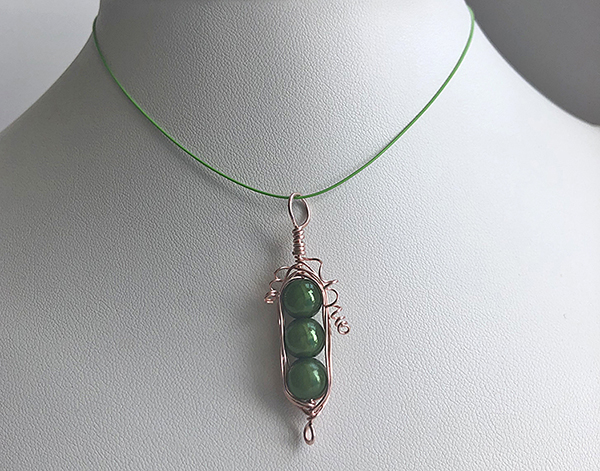
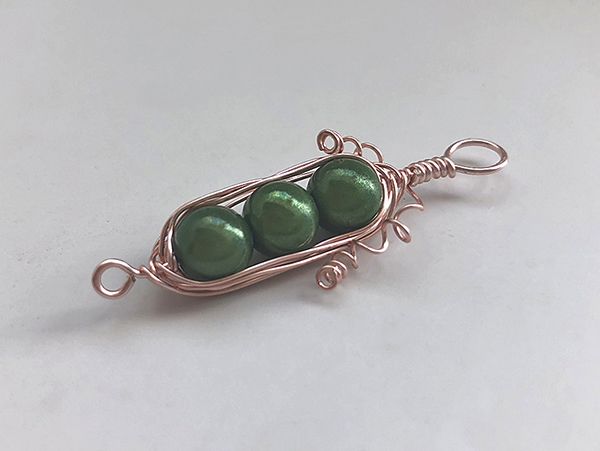
James says today’s project is a pea pod. He says it is going to be very simple and you will not need a lot of things to create the pod.
James says we will need Craft Wire. He recommends using head pins. He has a three inch head pin for this video. He says it is called a head pin because it has a head and looks like a little nail. He says this stops beads from sliding off the pin. Three inch head pins can be difficult to find. He bought his at Rings & Things. If you cannot find a three inch head pin, you can make them yourself. He suggests 20 gauge Craft Wire for this project. You will need 20 gauge wire and a pair of round nose pliers. You will make a little circle at the end instead of a head. You will need 24 gauge wire for this project, to wrap around the beads. You will need beads. He is using 8mm to 10mm for this. You can, of course, opt for any size you would like. The beads he is using are acrylic and have a nice little shimmer.
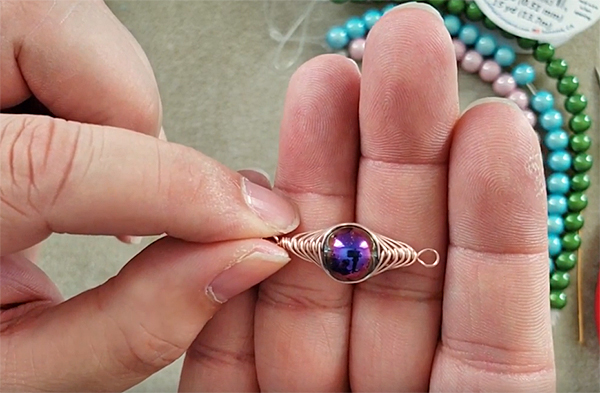
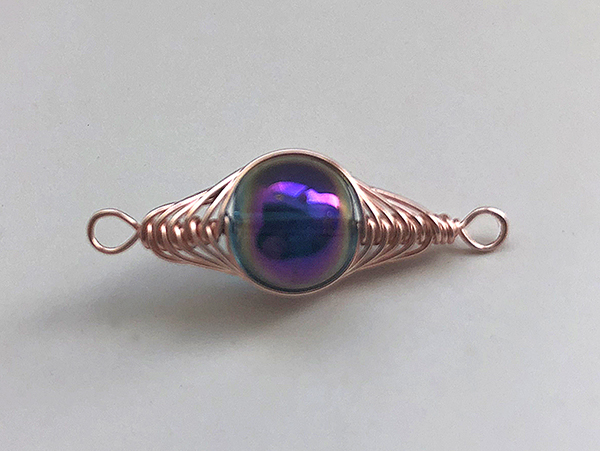
The style of wrap for this project is called a herringbone wrap. Herringbone patterns are named for their resemblance to fish bones. A finished herringbone wrap is a weave that looks beautiful on either side of the bead. James says this wrap is a very versatile wrap. He shows a bead finished with the wrap.
He says first will we make a head pin. He unwraps a small amount of 20 gauge Craft Wire off of the spool. He says you won’t need much more than round nose pliers and cutters for this. He cuts four inches off. That way he has some room for mistakes. He suggests using nylon jaw pliers to straighten the wire. If you do not own nylon jaw pliers, you can order them from our website. You can also order a Craft Wire Starter Kit and have all of the tools necessary from any basic wire wrapping projects. He says you can use the nylon jaw pliers to work harden the wire to stiffen it a little or use a rubber or acrylic mallet to work harden it. Work hardened wire does not bend as easily as wire right off the spool. For this project, it is not too important to work harden the wire.
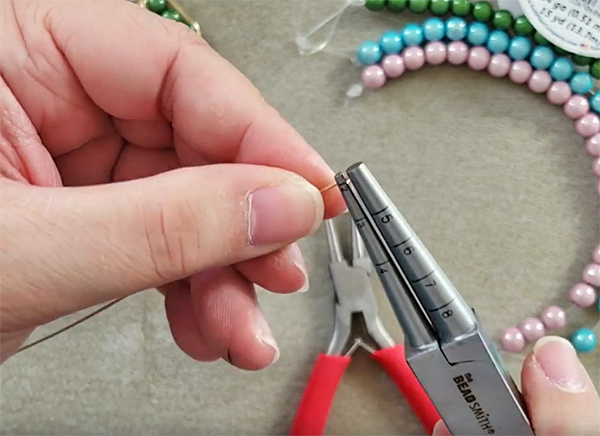
James uses the round nose pliers to create a small loop at the end. He says if you are going to be making a lot of loops and it is important that the sizes are uniform, you can buy LoopRite Looping Pliers. LoopRite Looping Pliers are marked on the nose so that every loop is measured and similar. It is a great tool for professionals that demand precise sizes. James loops the Craft Wire at one end. He bends the wire back just a little just below the loop.

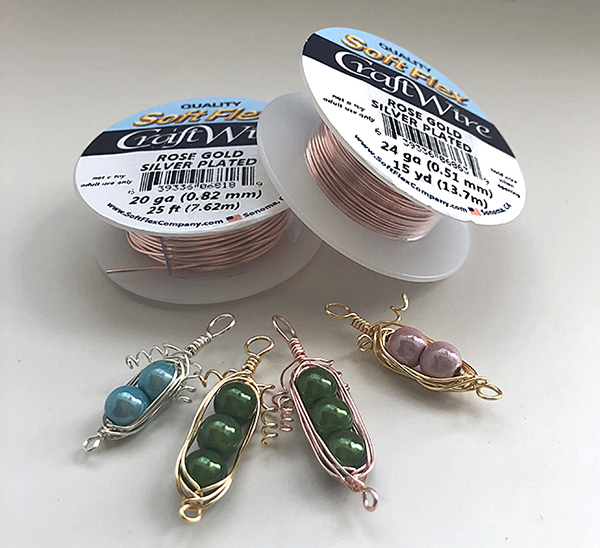
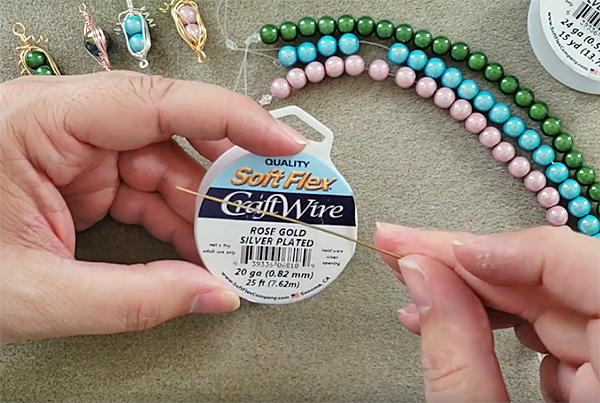
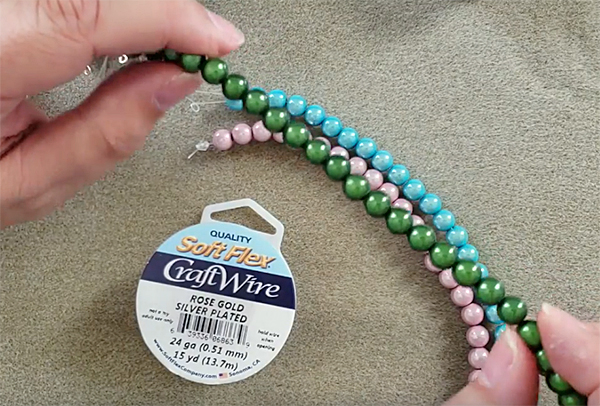
James is going to be using 24 gauge Rose Gold Silver Plated Craft Wire. He likes the color. You can use any color of Craft Wire that you like. He cuts a little off of the spool and uses the nylon jaw to straighten the wire. He takes the wire and bends it in half. He pulls the wire down so there is a loop in the center. Normally, this would be called a kink. He says kinks are no fun to work with in normal situations, but in this case, it is a functional part of the design. He slides the head pin onto the wire and secures it into the loop.
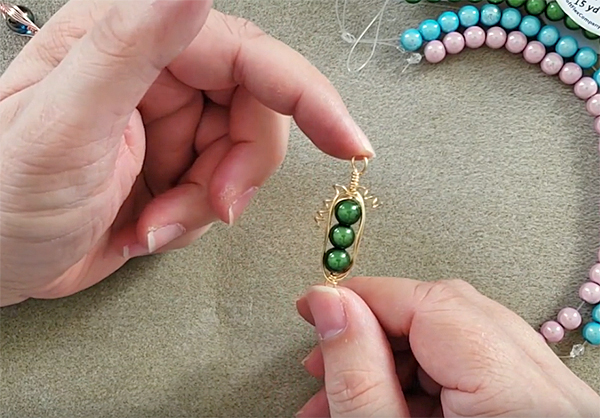
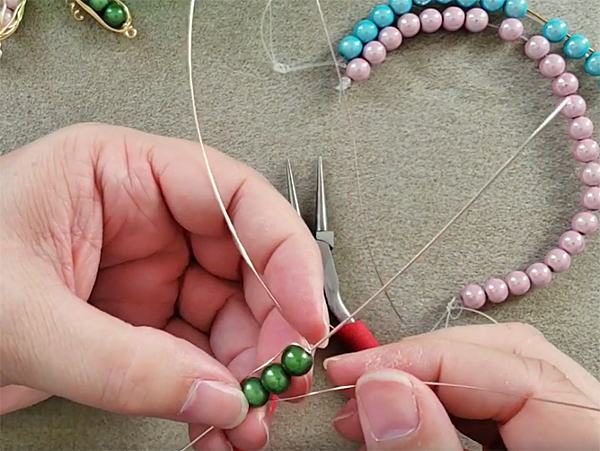
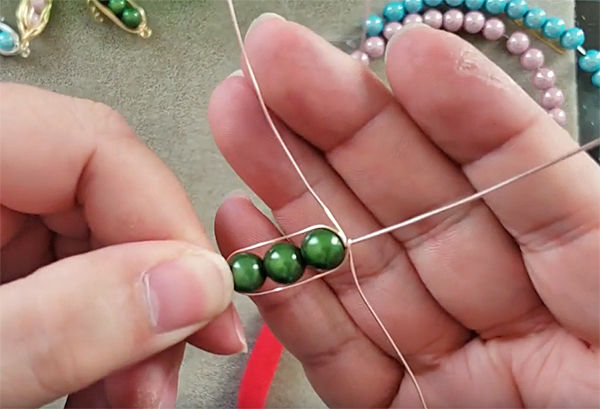
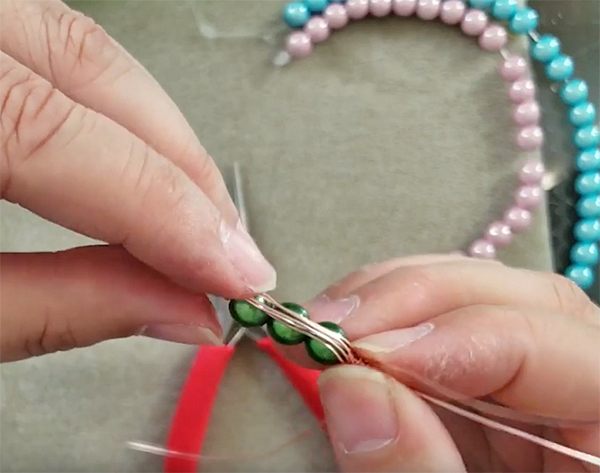
James strings three beads on to the wire. He says he will use three, but feel free to add more. You can change the amount of beads, the color of the beads. You can use birthstones if you would like. Get creative. Once the beads are on the wire, he takes the left wire and bends it around the beads. He loops around the head pin with this wire. He does the same thing with the right wire. He says you can always adjust the wire if it does not look right. It is very forgiving. He says the first couple of wraps are kind of difficult. He repeats the wrapping process.
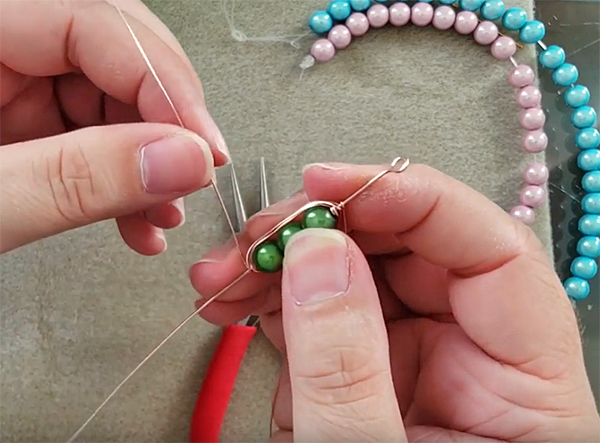
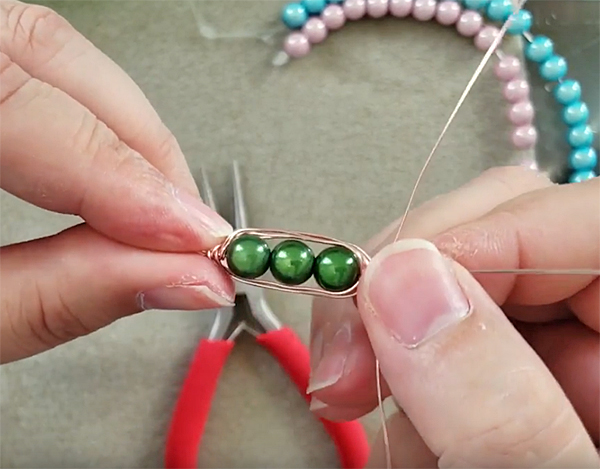
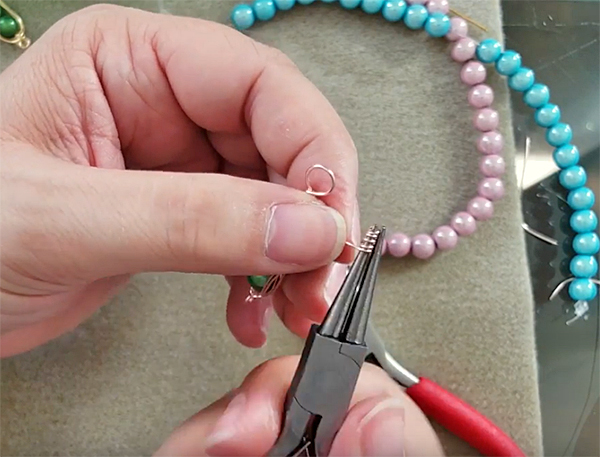
James says you will not need to do a lot of wraps around the beads. Do as many as you like. Once he is satisfied with the amount of wraps on his beads, he cuts the excess wire. He cuts two inches off one side and one inch off the other. He wraps the longer side around one more time to secure everything. He then creates a 5mm bail using the LoopRite Looping Pliers. Using bent nose pliers, he wraps the excess wire down the bail. He cuts the wire and then uses pliers to smash the wire into place so no errant pieces are protruding.

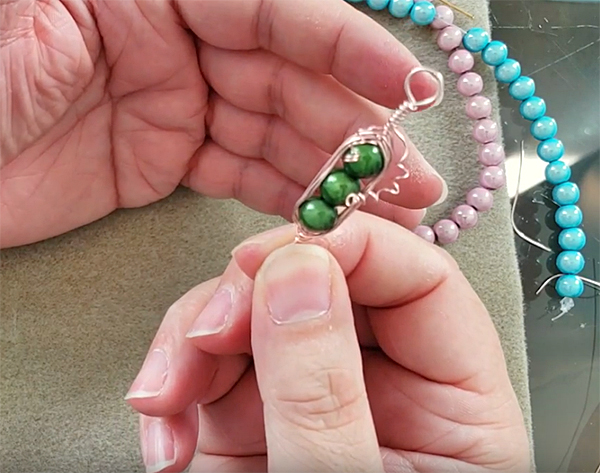
James uses round nose pliers to create decorative coils near the bail. You can finish this part of the design however you like. Make sure you infuse your design with your own vision. You do not have to follow James suggestions to the letter. He wants you to feel free to be creative.
If you loved James' pea pods, he would love to hear your input. Join us on our Facebook VIB Group and you can post pictures and talk to us directly. VIB is full of wonderful creative minds. It is a great community. If you love wire wrapping and beads, you will love the group. You do not have to be vocal, but we do love participation.
Visit the Soft Flex Company YouTube Channel!


Blog contributor Thomas Soles is the Trade Show Coordinator for Soft Flex Company. His favorite stones are Lapis and Pietersite. His favorite hobby is day dreaming. And his favorite mustache is Tom Selleck's. As you can see, he has a healthy (or possibly unhealthy) sense of humor. You can write to him at Thomas@SoftFlexCompany.com