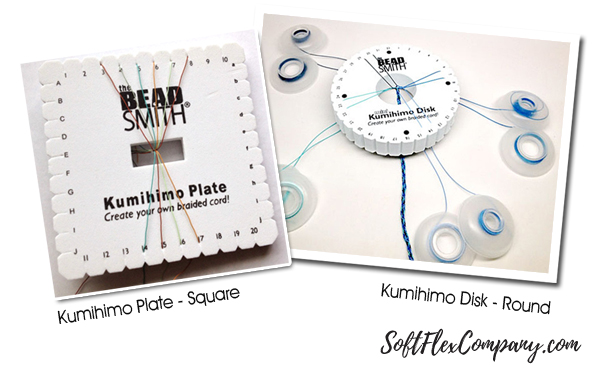
Kumihimo boards are incredibly versatile. They are great for making braids with fiber, beading string, and silk. But, did you know you can also use a stiffer wire on them? Soft Flex employee, James Browning, wanted to see what kind of designs he could create with his favorite wire - Craft Wire. It turns out that Craft Wire is a fantastic design option. If you have not worked with Craft Wire, you are going to have to take things slow, at first. The wire is not as forgiving on the board as a wire that drapes, but patience and practice will reward you with amazing designs. Let's learn how to make kumihimo jewelry with Craft Wire!
Would you like to learn how to use a kumihimo disk with Craft Wire? We have a great head start for you. We will look at the art of kumihimo braiding. We have some easy to follow patterns for you. We will show you the tools needed to master the craft with a square kumihimo plate or a round kumihimo disk. This blog includes everything you need to get started on your favorite new hobby!
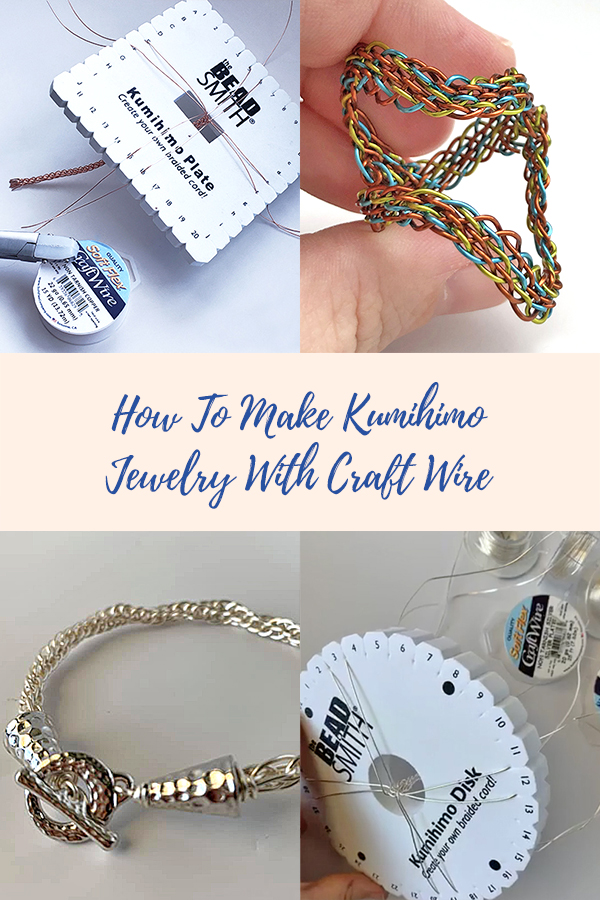
How To Make Kumihimo Jewelry With Craft Wire
What is Kumihimo?
Kumihimo means 'gathered threads' in Japanese. 'Kumi' comes from the Japanese word 'kumu', which is gathering or assembling. 'Himo' is cord or string.
Kumihimo began as finger loop braiding. As the tradition was passed down, tools made the process easier. Kumihimo stands eliminated the need for finger dexterity and the space necessary for finger looping. The stands were made out of smooth wood so the cords and fibers would not snag and hinder the work. Marudai stands are circular and Takadai stands are square. To organize the threads on the stands and to keep the cord taut, artists used weighted bobbins called 'tama'.
Historically, kumihimo braids have been used in Samurai armor and weaponry. The braids were used as a functional knit for their armor pieces. Decoratively, it adorned their horses armor and the handles of their swords.
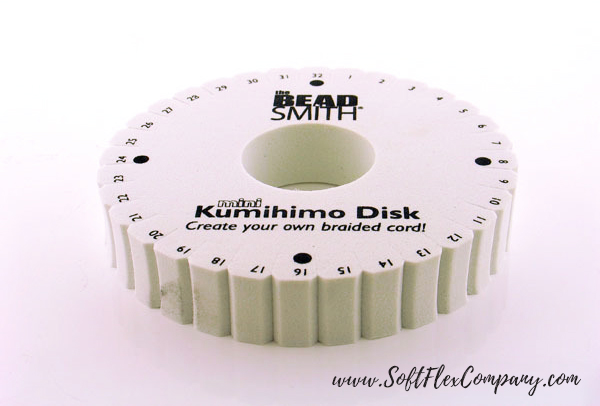
Kumihimo is still alive and prospering centuries later. Today, we have modern disks that are wonderful for artists that do not have the room or money needed to work on a Marudai or Takadai stand. Modern kumhimo disks are portable and can be used anywhere. They are made out of a foam base that does not snag the cords used for braiding. The disks have 32 notches that gently grip the cords in place. Bobbins can still be used to neatly gather the wire, but they are not necessary as the notches will allow the cords to have the tension needed.
Modern Kumihimo is accessible. The tools needed to begin braiding are a disk and cord (or Craft Wire). Kumihimo disks are incredibly affordable. Purchasing two or more will allow you to leave a design on one if you wanted to try something new on another. You can purchase a square kumihimo plate if you would like a flat braid or a round kumihimo disk of you want a thick round braid.
James does not use bobbins for Craft Wire. Using bobbins to hold the Craft Wire may make it more difficult to manipulate as it would come off the bobbins in a loop shape. Constant working the wire if it is looped can cause the wire to work harden and become brittle. You may want to consider cutting the wire from the spool and letting the cut wire hang off the side of the board. If you want a open and flowing shape, you can tape the wire before starting. This will keep the wire sorted, but loose. If you want a tight braided or chain look, you can use a weight in the center to keep your wire taut. We will look at both techniques below.
What is Craft Wire?
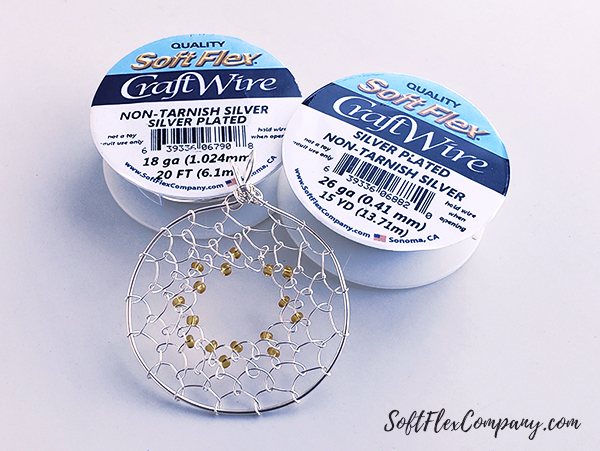
Soft Flex Craft Wire is a high quality, permanently colored copper wire. It is resistant to scratching, peeling and marring. This is due to the special enameling process used to coat the wire to produce the wide spectrum of colors we offer. After the enamel is applied, the wire is then clear coated to prevent tarnishing. Bare Copper is the only wire in the line that is not treated. If antiques and old findings are your medium, Bare Copper will patina - perfect for making that new project look like an heirloom.
Quality Soft Flex Craft Wire is 100% lead and nickel free. There are no other metals used in the wire production other than copper and fine silver. The temper of the wire is soft. It is firmer than similar wire products offered on the market, which are typically only available in dead soft and can't be tempered to half hard. We currently offer six of the most commonly used gauges in the jewelry industry and more are on the horizon. An exceptional design idea deserves a professional craft wire.
Soft Flex Craft Wire is for patient and skilled designers. This wire is not as forgiving as other kumihimo braiding options. You will want to make sure you have some hours under your belt before attempting a Craft Wire pattern. The finish is absolutely stunning and worth the extra effort. But you will definitely need to practice to achieve the design you want.
How to Kumihimo
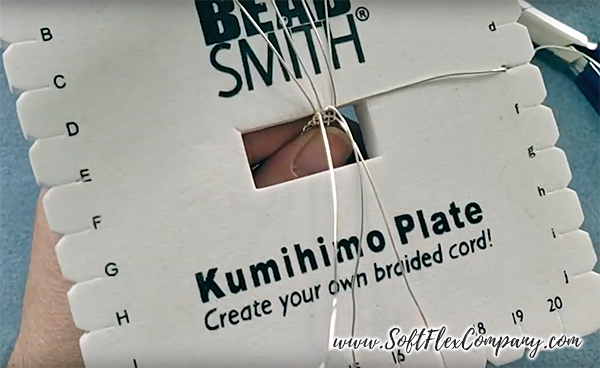
Here are some simple steps to help you start off creating braids.
We will look at easy patterns for a beginner. The good thing about these patterns is that you will not need to memorize a complicated sequence. Just simple patterns that you will continue for the length of your designs. After a couple of finished pieces, these patterns will become muscle memory and you will not need to hyper focus on what you are doing.
If you would like to learn more about kumihimo before attempting a design with Craft Wire, read our blog. Yarn is a great way to figure out how the boards work before committing to a more expensive cord or wire. Yarn is great for getting a sense of how colors affect the board and how a loose design feels, compared to a taut braid.
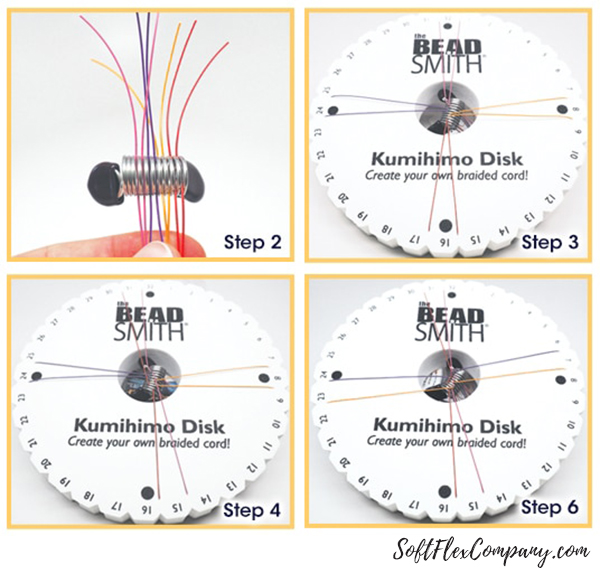
Round Kumihimo Instructions
Step 1: Cut eight strands of beading wire. Wrap each strand onto a bobbin leaving a 6 inch length of wire.
Step 2: Gather all wires and attach a bead stopper on one end leaving a 2 inch tail.
Step 3: Place the bead stopper through the hole in the middle of the round kumihimo board and attach wire bobbins onto the left and right of each of the following numbers: 8, 16, 24 and 32.
Step 4: With 32 at the top, take the wire on the bottom left and secure it on the top left, to the left of 31. Then, take the wire on the top right and secure it on the bottom right, to the right of 15 (when 15 is upside down).
Step 5: Turn the kumihimo board counterclockwise.
Step 6: With 8 at the top, take the wire on the bottom left and secure it on the top left, to the left of 7. Then, take the wire on the top right and secure it on the bottom right, to the right of 23 (when 23 is upside down).
Step 7: Repeat Steps 4-6 until you reach your desired length.
Step 8: Trim the wire from the board and bobbins leaving at least a 2 inch tail.
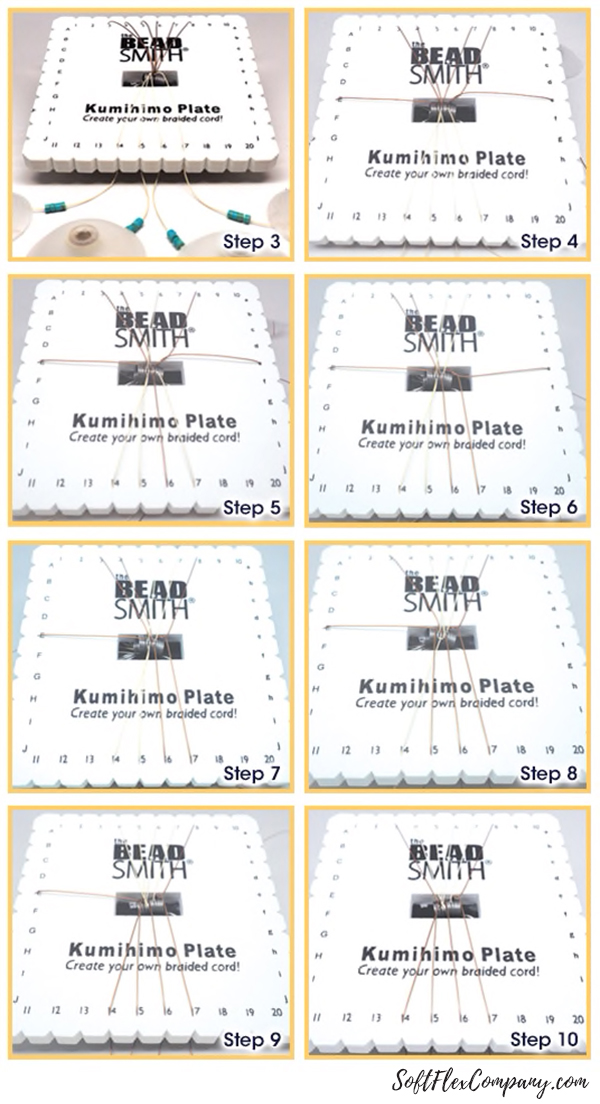
Square Kumihimo Instructions
Step 1: Cut ten strands of beading wire. Wrap each strand onto a bobbin leaving a 6 inch length of wire.
Step 2: Gather all wires and attach a bead stopper on one end leaving a 2 inch tail.
Step 3: Place the bead stopper through the hole in the middle of the square kumihimo board and attach wire bobbins into 3, 4, 5, 6, 7 and 8 on the top and 14, 15, 16 and 17 on the bottom.
Step 4: Move the wire at 6 to E. Then, move the wire at 5 to e.
Step 5: Move the wire at 16 to 6. Then, move the wire at 7 to 16.
Step 6: Move the wire at 17 to 7. Then, move the wire at 8 to 17.
Step 7: Move the wire at e to 8.
Step 8: Move the wire at 15 to 5. Then, move the wire at 4 to 15.
Step 9: Move the wire at 14 to 4. Then, move the wire at 3 to 14.
Step 10: Move the wire at E to 3.
Step 11: Repeat Steps 4-10 until you reach your desired length.
Step 12: Trim the wire from the board and bobbins leaving at least a 2 inch tail.
Learn Wire Weaving Using Soft Flex Craft Wire On A Square Kumihimo Plate
James Browning is a talented wire worker. He loves Craft Wire. He creates beads, wraps, and jewelry using the wire. His series, Conversations in Wire, is great if you are interested in learning the craft. He is a thoughtful teacher and works at a pace that is very easy to follow. He suggests working at a slower pace as any mistakes you make can easily be corrected. If you try to rush through a design, you will find that it is much more difficult to correct any errors and you may over work your wire.
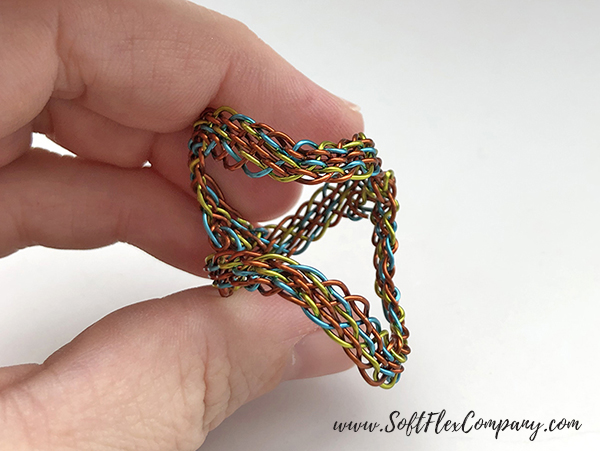
In this video, James shows how to use a square Kumihimo plate with 22 gauge Soft Flex Craft Wire to create a flat wire weave that can be turned into a fun ring. James got this idea when we were working in Tucson at the To Bead True Blue bead show. It was a lot of fun watching him work. He loves Craft Wire, but had not used it with a Kumihimo plate before. It took some work, but I think he really nailed this design. Personally, I would suggest getting plenty of wire before trying this design as the first attempt may not be perfect.
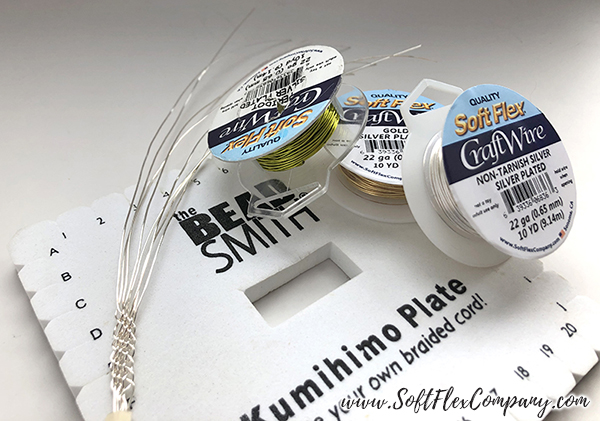
Supplies:
Soft Flex Craft Wire - Silver Plated 22ga
Soft Flex Craft Wire - 22ga
6” Square Kumihimo Plate
Nylon Jaw Pliers
Bead Nipper (Cutters)
Bent Nose Pliers
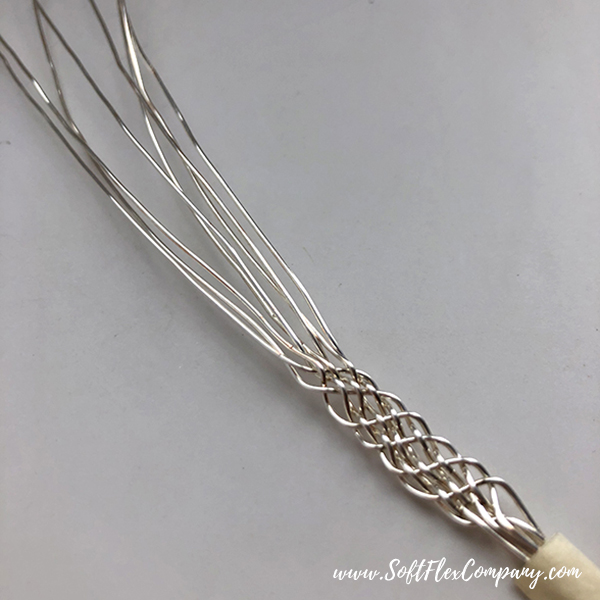
This design was loose and not held taut with a kumihimo weight. James suggests taping the wire to keep the work orderly and easy to manage. Craft Wire and kumihimo together takes some patience and you want to make sure the wire is easy to manage while you work. If your wire is trying to get away from you, this is going to be very frustrating.
This ring can be made with a single color or you can choose multiple colors for a really fun design.
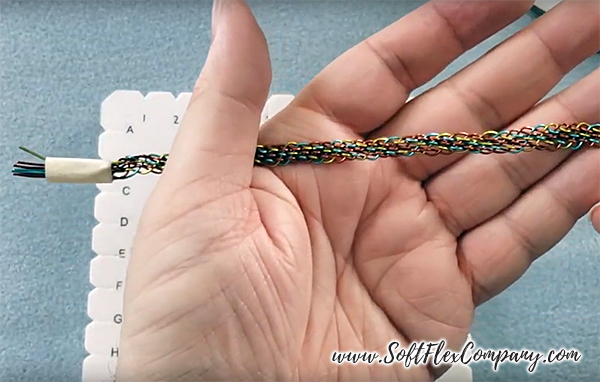
The finished ring is absolutely amazing. It looks like a fun infinite design.
James uploads his videos to YouTube every other Thursday. Follow along as he explores his passion for Craft Wire jewelry. If you have any questions for James, you can post them in the comments field on his videos or email him.
Learn How To Make A Bracelet Using Soft Flex Craft Wire On A Round Kumihimo Disk
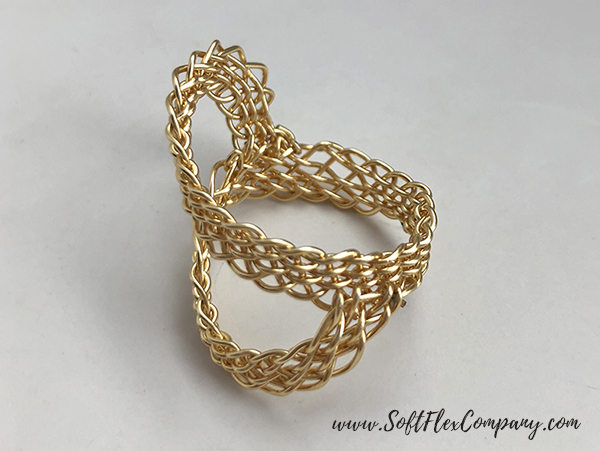
Sara had an exciting idea for a jewelry project. She wanted to see how a thicker gauge of Soft Flex Craft Wire would flow and look using a round kumihimo disk. James used a much finer gauge of wire for his square projects.
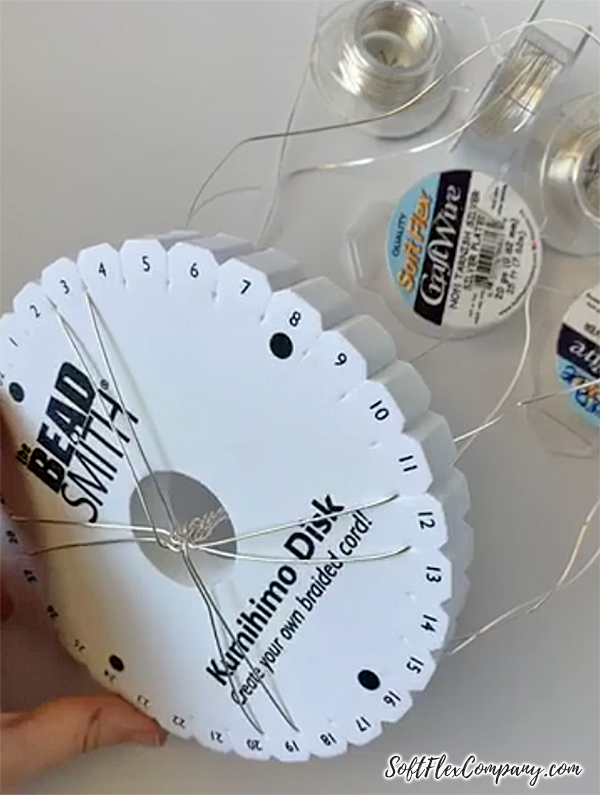
Supplies:
Kumihimo Disk
20g Soft Flex Craft Wire
Nylon Jaw Pliers
Bead Nippers (Cutters)
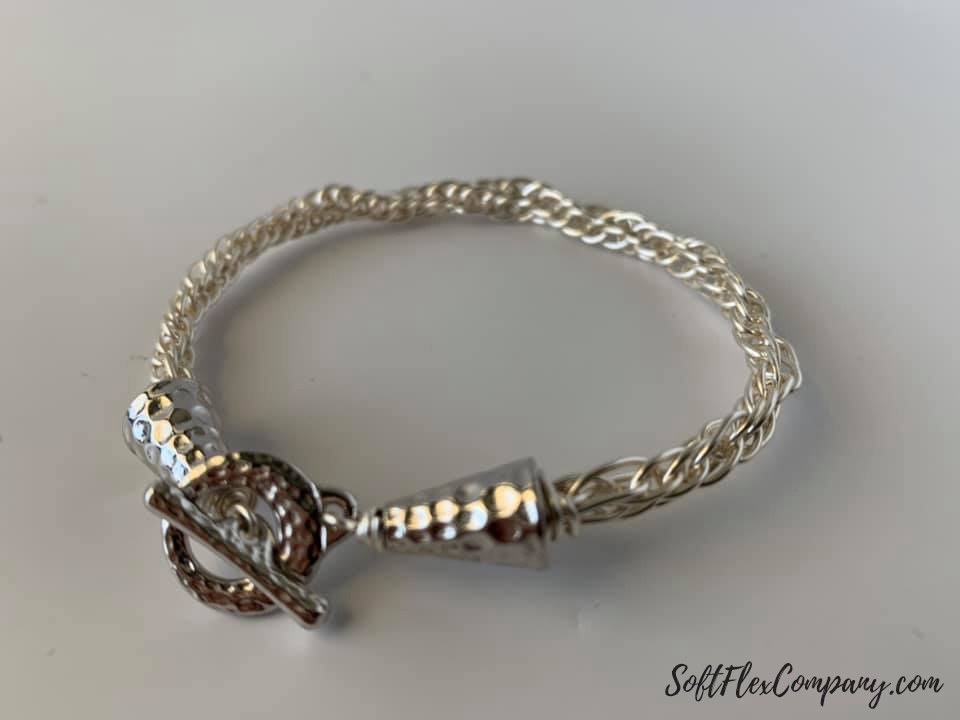
The finished bracelet looks delicious. If you want to add color, you can select a tone of Craft Wire that speaks to you. Every time you place a color wire on a kumihimo, you are setting yourself up for an amazing color pattern. Different color wires on the board will end up in fun and expressive designs. You can opt for single hue jewelry or taste the rainbow and go with a flashy current of electric patterns.
How To Braid Using Soft Flex Craft Wire On A Square Kumihimo Plate
In this video, James used a square kumihimo plate to create a Craft Wire braid. This simple braid only takes 8 pieces of wire and comes together in a matter of minutes. You can use this braid to accentuate your other wire wrapping projects.
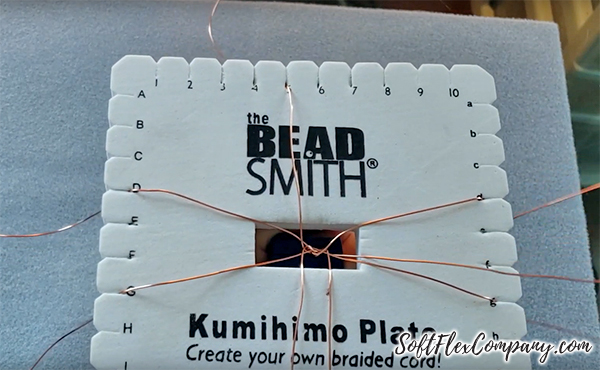
James showed us how easy it is to work with Soft Flex Craft Wire on a square kumihimo plate. Craft Wire is more rigid and sturdy than other cord or wire, you would not think it would be an option. But James shows how to make the process smooth and organized. If you work slow and have patience, you can correct mistakes as you go and will not work harden the wire.
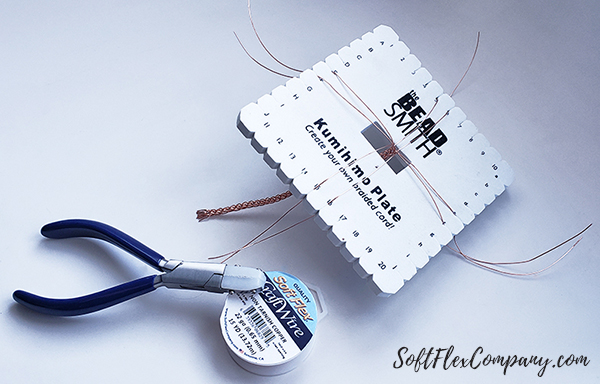
Supplies:
Soft Flex Craft Wire - Silver Plated 22ga
Soft Flex Craft Wire - 22ga
6” Square Kumihimo Plate
Nylon Jaw Pliers
Bead Nipper (Cutters)
Bent Nose Pliers
Spring Clamp
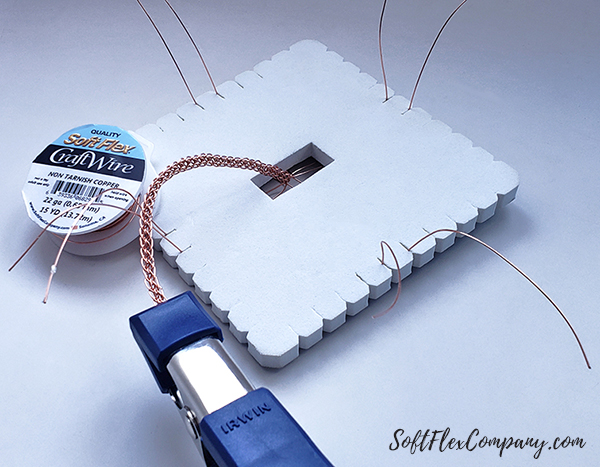
James has a great design tip in this video. He used a spring clamp as the center weight instead of a kumihimo weight or alligator clamp, which can damage the wire. His spring clamp has a nylon head, so the Craft Wire is cradled as he works. He purchased the clamp from a hardware store. It keeps his wire organized and neat as he works. This makes the design process so much easier.
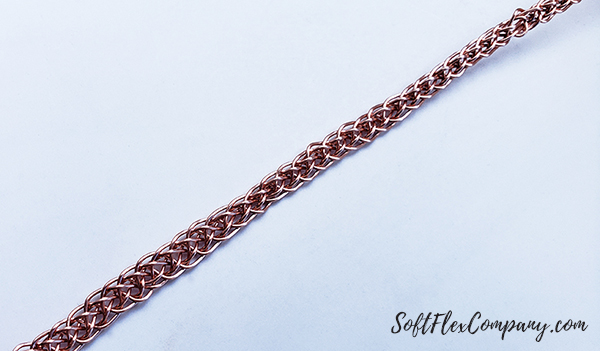
The finished braid is fantastic. You can create a jewelry design by adding elements or just using the braided chain by itself. A bracelet using stacked braids would be a great gift for any jewelry lover. The finish is perfect for masculine or feminine jewelry.
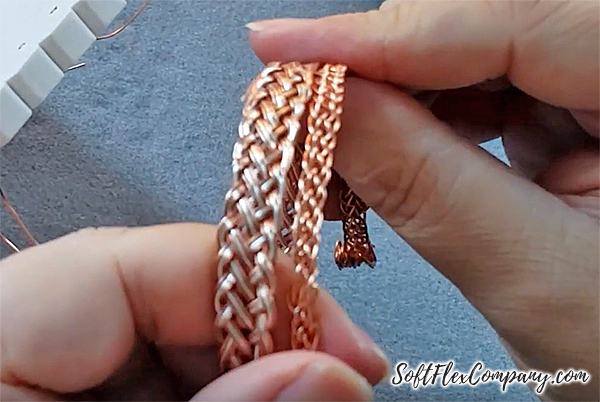
Finish your Soft Flex Craft Wire kumihimo
If you are working with Soft Flex Craft Wire, you can bend your wires back through the design. For instance, if you have created a ring, cut your wires were you want to finish the design. At this point, you can use round nose pliers or chain nose pliers to individually manipulate the cut wires. Loop them back through the design or compress the wire into parts of the ring. You can work harden the wire to keep them in place.
If you are designing a longer piece of jewelry with Soft Flex Craft Wire, like a bracelet, you can follow a path similar to the Soft Flex Beading Wire finish.
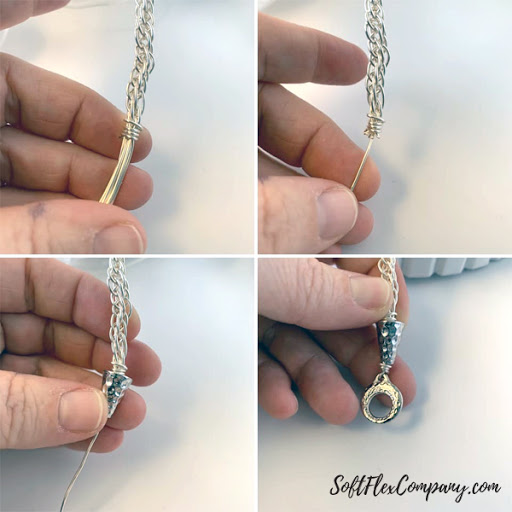
Step 1: Take an end. Twist the wires into a small tight coil or coil a single wire around the bunch.
Step 2: Once the wire are in a smaller coil, clamp down with pliers to work harden the wire.
Step 3: Cut 7 of the 8 wires at the secured spot. Leave a single wire at full length.
Step 4: Slide the remaining wire through a cone or create a unique messy wrapped cone.
Step 5: Take the single wire and secure it into a clasp.
Step 6: Repeat on the opposite end.
Good luck on your new journey! Visit our Facebook group – VIB. Stay in the know. Stay up to date. From our bead shows to our video shows and sales, you can stay in touch with us. The community is full of artistic and helpful beaders and crafty people. Inspire and be inspired. Share your pictures and get the beading bug from others!
Visit the Soft Flex Company YouTube Channel!

Blog contributor Thomas Soles loves Jazz Age writers and crunchy french fries. His favorite gemstones are Lapis and Pietersite. His favorite hobby is day dreaming. And his favorite mustache is Freddie Mercury's. As you can see, he has a healthy (or possibly unhealthy) sense of humor. You can write to him at Thomas@SoftFlexCompany.com


