A timeless tradition that many will recall learning as a child has returned. The knitting spool you may have used with yarn or thread as a youngster has been reimagined for wire weaving. Not only can you change your design by choosing a different style of knitting or size of spool but, you can also use different Soft Flex beading wire colors, beading wire diameters or gauges of Soft Flex Craft Wire as well as threads, cords, yarns and leathers. You can add beads and weave multiple different materials together to create unique, one-of-a-kind jewelry. The possibilities are endless!
Style 2
How-to Instructions for Style 2 on a 3-peg Knitting Spool:
1. String the wire down through the center of the knitting spool and use your hand to hold the tail down.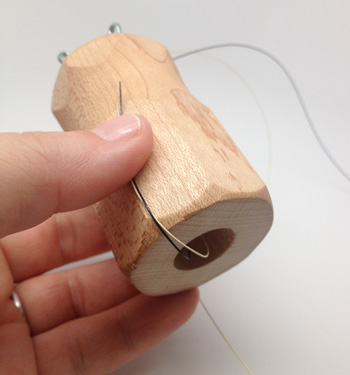
2. Notice that I numbered each peg on the spool in a counter clockwise fashion. Wrap the wire around Peg 1 from left to right (clockwise).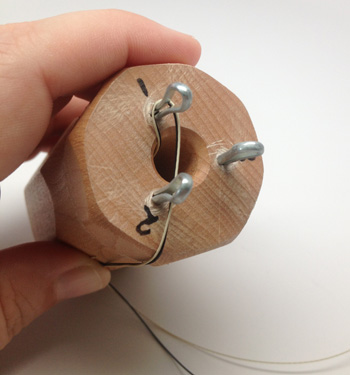
3. Wrap the wire around Peg 2 (counterclockwise from Peg 1) from left to right (clockwise).
4. Wrap the wire around Peg 3 from left to right.
5. Wrap the wire around Peg 1 from left to right, above the initial loop.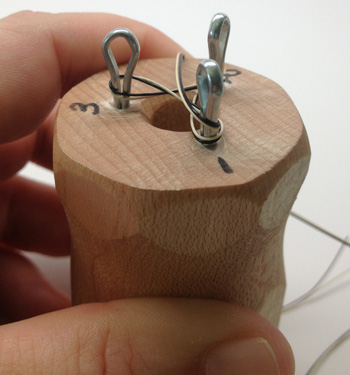
6. Using the stylus, take the loop at the bottom of Peg 1 and pull it up over the new loop above it and into the middle of all 3 pegs.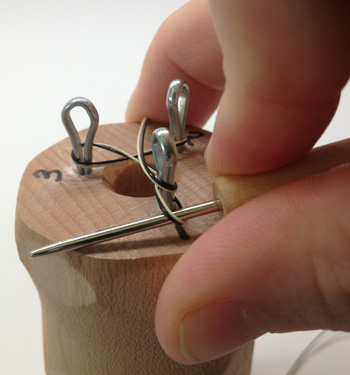
7. Once the wire loop is in the middle of all 3 pegs, give a gentle tug from the bottom.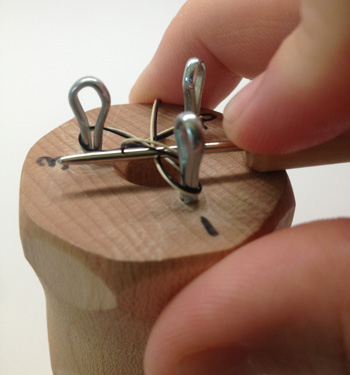
8. Repeat Steps 5-7 on Pegs 2 and 3.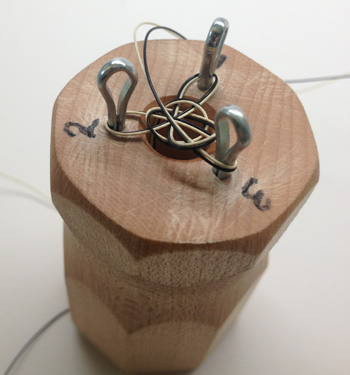
9. Continue this pattern until your knitted cord is the length that you prefer.
Style 2 Design Example:
Trios Knitted Bracelet Free Beading Project Idea
Knitting and Finishing a Knitted Design:
Finishing Knitting Instructions - With a Clasp
1. After you have knitted your desired length, the knitted wire chain will come out of the bottom of the spool.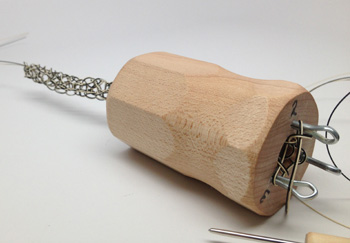
2. When you are ready to finish your design, trim the wire about 3 inches long.
3. String the wire through the loop around Peg 1.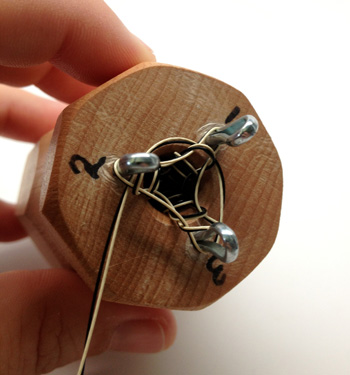
4. String the wire through the loop around Peg 2.
5. String the wire through the loop around Peg 3.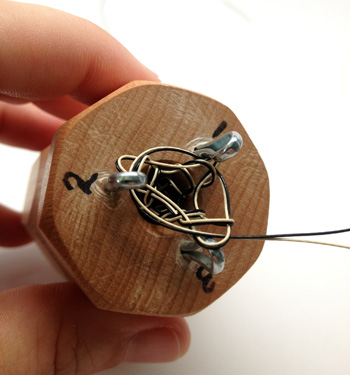
6. Pull each loop off of each peg.
7. Pull the knitted wire chain out of the knitting spool and cinch down the end by pulling on the wire. The end loops will not be perfect in size.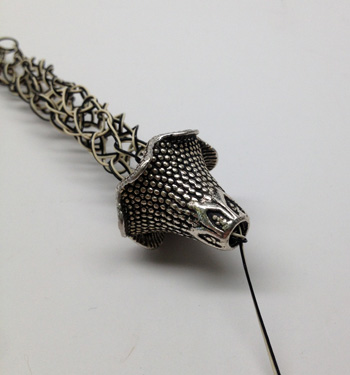
8. String a cone.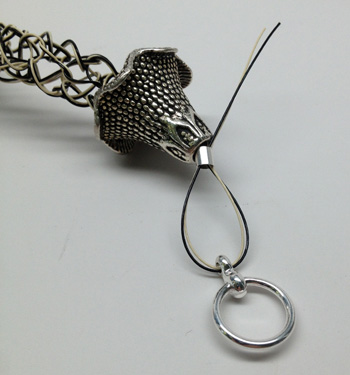
9. String a crimp tube, half a clasp and pass back through the crimp tube.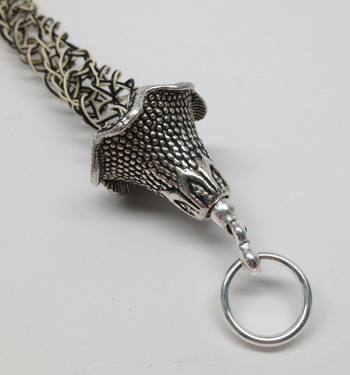
10. Cinch the wire down and crimp. Trim the excess wire and cover the crimp with a crimp cover.
11. Repeat steps 8-10 on the other side to finish the design.
Learn about Knitting Spools and how to use them:
More Knitting Resources
Click here to see knitting style 1
Click here to see knitting style 3
To see more helpful tips about wire knitting, click here to visit our beading blog!
