We have four wonderful free jewelry project ideas for your WigJig Olympus Lite. This is an amazing wire jig board. The holes on the board are slightly larger than the related WigJig Delphi and spaced a little further apart. This means that you can create larger loops and bigger patterns. The Delphi is great for petite designs, the Olympus Lite is ideal for larger designs. Both wire jigs are wonderful for earrings, chain, pendants, and so much more. Be imaginative and make your own Christmas ornaments this year! These jigs are invaluable if you design pieces, like ear wires, where you need consistency. Check out our WigJig collection and let's make some jewelry!
We have some amazing WigJig products on our shelves. Make sure you check out our most recent additions. These jig boards are amazing if you like to create ornaments for the holidays. Make sure you check out our free beading project ideas for more information. You can make some delightful trees, wreathes, angels and more. Make some merry gifts or gift a jig board to your loved ones and friends.
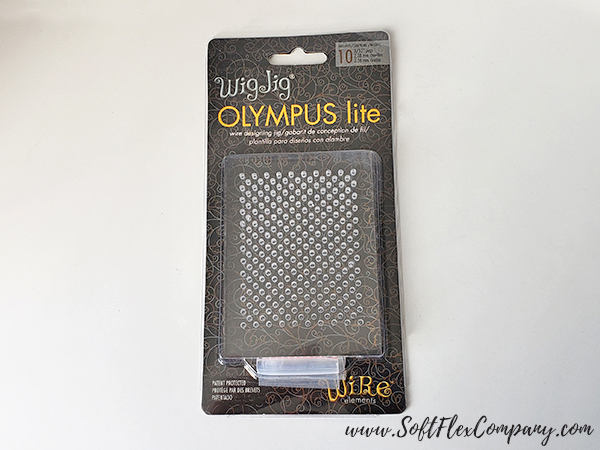
You are going to love the WigJig Olympus Lite!
The transparent Olympus Lite is the perfect jig for beginning wire designers. Just place the transparent jig on a pattern, trace with the pegs, and wrap the wire to form the design. It's simple to design with wire instantly to make jewelry, home decor, and paper arts projects. Includes jig with 238 holes, 10 metal pegs, and wire designing tips. Wire, jig, Super Pegs, Spiral Maker and nylon spacers are sold separately. WigJig Olympus Lite is 3" x 3".
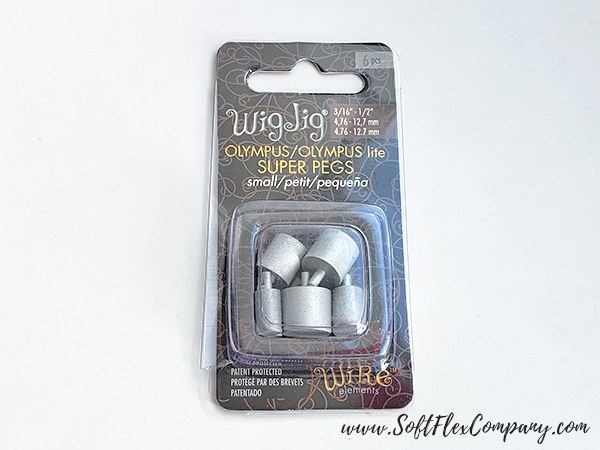
These small round Super Pegs expand your wire designing possibilities when using transparent WigJigs. There is one Super Peg in each of six diameters (3/16", 1/4", 5/16", 3/8", 7/16" and 1/2"). These pegs fit the WigJig Olympus and Olympus Lite. Super Pegs are an important accessory to our WigJig jewelry tools. They allow making a defined radius in jewelry wire. If you need to shape jewelry wire in a rounded shape with a diameter of 3/16" to 1/2" then this set is the one you need.
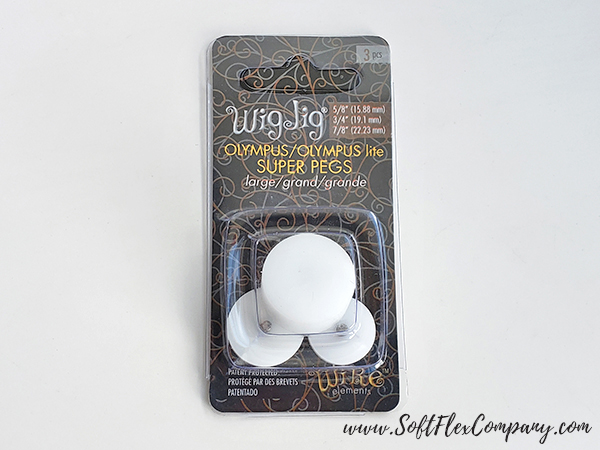
These Large Round Super Pegs expand your wire designing possibilities when using transparent WigJigs. There is one Super Peg in each of three diameters (5/8" 3/4" 7/8"). These pegs fit the WigJig Olympus and Olympus Lite. Super Pegs are an important accessory to our WigJig jewelry tools. They allow making a defined radius in jewelry wire. If you need to shape jewelry wire in a rounded shape with a diameter of 5/8", 3/4", or 7/8" then this set is the one you need.
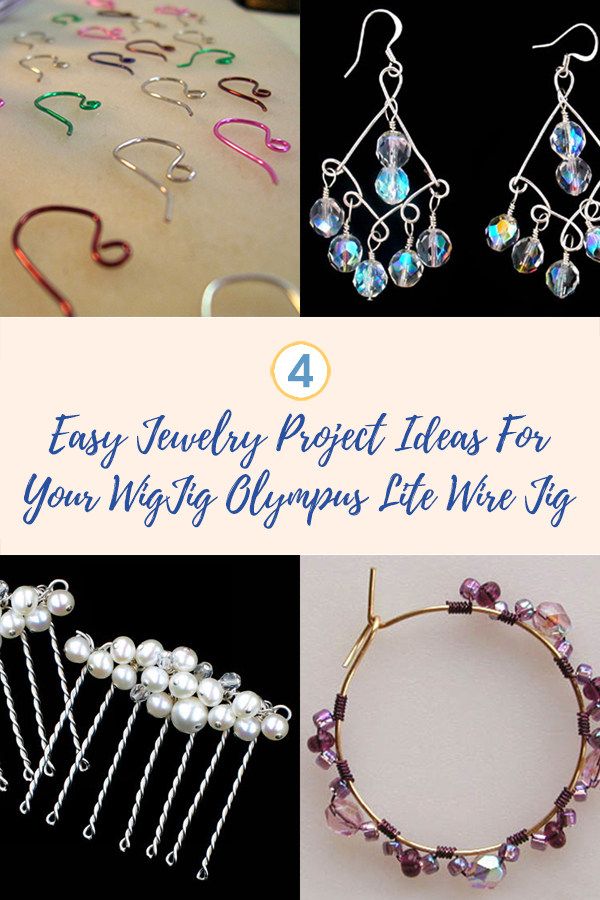
WigJig Ear Wires
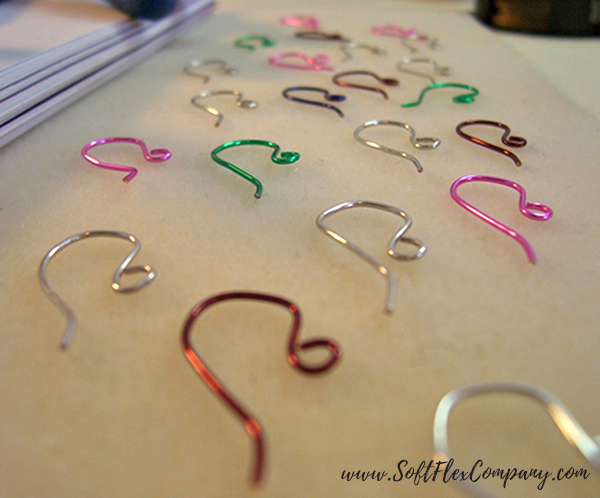
From
Wonderful, Wearable Wire
Materials
20ga Soft Flex Craft Wire - 5" (2 1/2" per ear wire)
Template on page 65 of
Wonderful, Wearable Wire
Tools
WigJig Olympus Lite
6 Metal Pegs or 1 Super Peg and 2 Metal Pegs
Cutters
Nylon Jaw Pliers
Round Nose Pliers
Wire Whacker
Burr Cup
Instructions
Note: Soft Flex Craft Wire comes in regular and silver plated colors. No other colored wire offers the resistance to scratching, peeling and marring. This is due to the special enameling process used to coat the wire to produce the rainbow of colors we offer. After the enamel is applied, the wire is clear coated to prevent tarnishing. Be aware that the Bare Copper wire is not coated and will tarnish (sometimes this can be a benefit if you want an antique look). Soft Flex Craft Wire is hypoallergenic, so this is especially nice for things like ear wires.
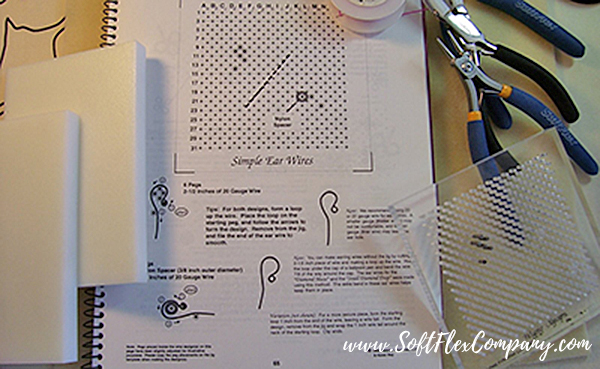
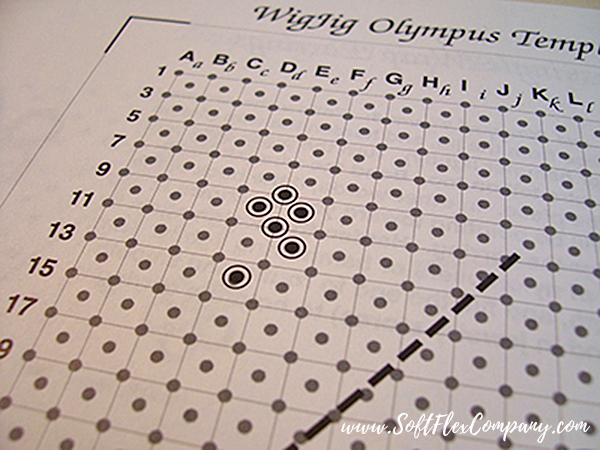
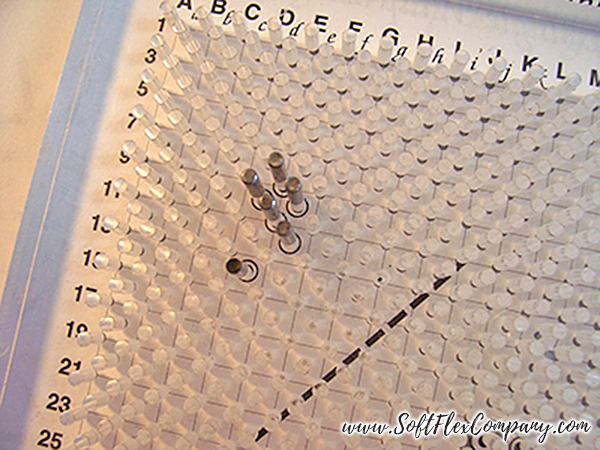
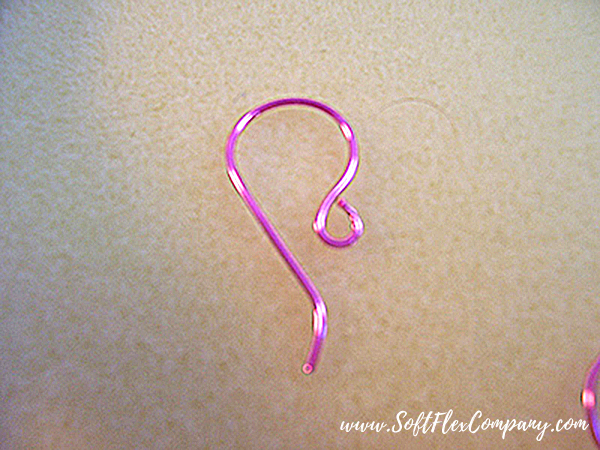
Step 1: In the book Wonderful, Wearable Wire, you will find an easy to follow pattern on page 65. Place a WigJig on top of the pattern and slide in the pegs.
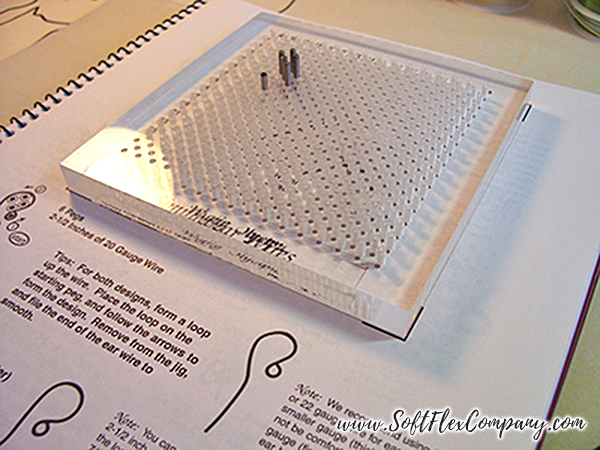
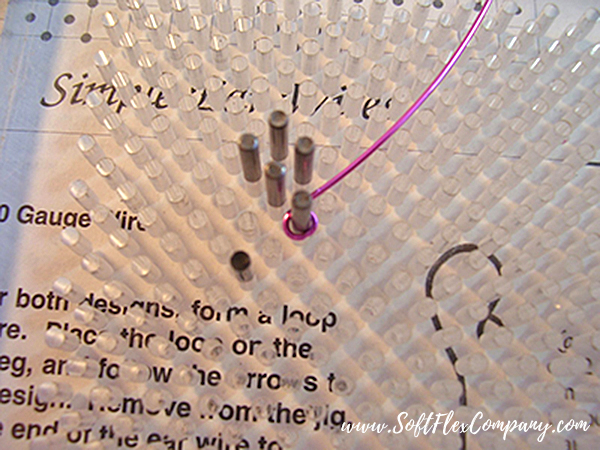
Step 2: Cut 2 1/2" of 20g Soft Flex Craft Wire from the spool. Use nylon jaw pliers to pull kinks out of the wire. Make a simple loop using round nose pliers.
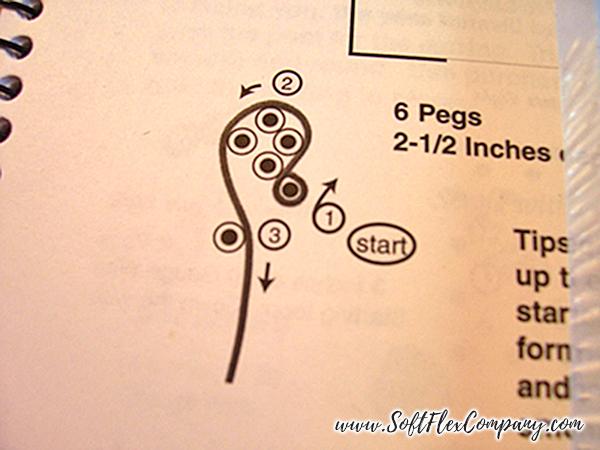
Step 3: Look at the easy to follow number guide provided with the pattern to find the starting point. Slide your loop in place. Guide the wire with your hand but turn the WigJig and let the jig do the work. As you turn the WigJig, it will create a nice round shape. You should never pull the wire around the pegs.
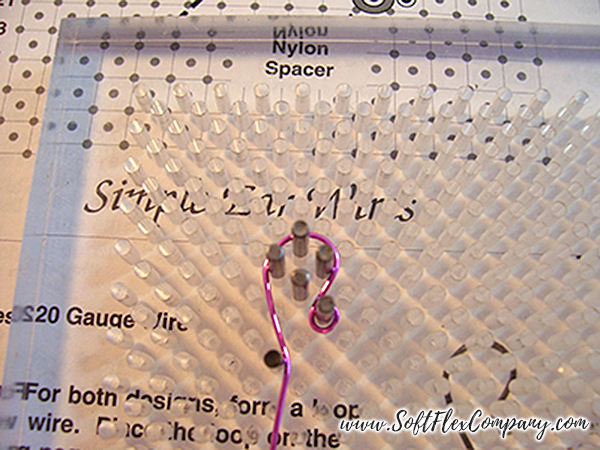
Step 4: Remove the ear wire from the WigJig and work harden the wire by using a Wire Whacker.
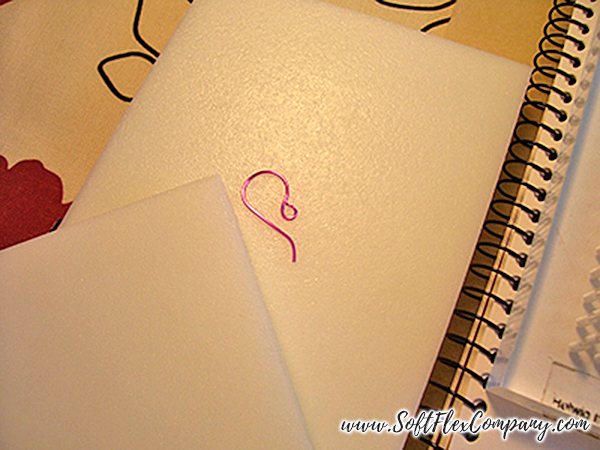
Step 5: Use a burr cup on the tip of the wire to file it down and make it smooth.
Step 6: Repeat Steps 1-5 to create a second ear wire.
WigJig Chandelier Earrings
Designer Jessica L. Rosenfeld
Skill Level Beginner
Materials
20 gauge Non-Tarnish Silver Soft Flex Craft Wire - 12"
6mm Clear Fire Polished Beads - 14 pcs
Silver Ear Wires - 1 pair
2" Sterling Silver Head Pins - 12 pcs
Tools
WigJig Olympus Lite
Nylon Jaw Pliers
Cutters
Round Nose Pliers
Chain Nose Pliers
Instructions
Step 1: Use Soft Flex Professional Flush Cutter to cut 3 inches of Soft Flex Craft Wire off of the spool. Use round nose pliers to make a loop at one end of the wire, and place over a peg on the Wig Jig. You will want the peg to be placed 5 rows from the bottom.
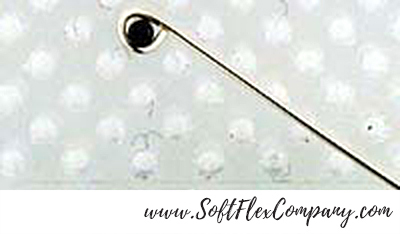
Step 2: Place a peg two rows down from the first peg, and two columns over and then wrap your wire around it. Repeat entire step for a third loop.
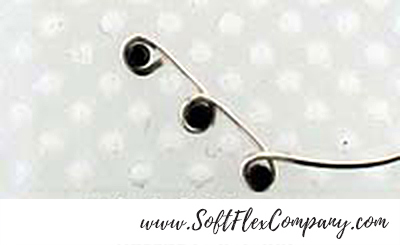
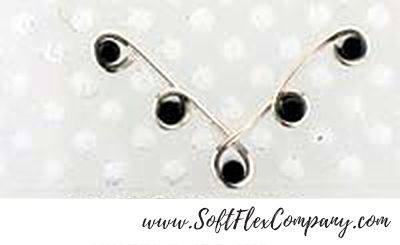
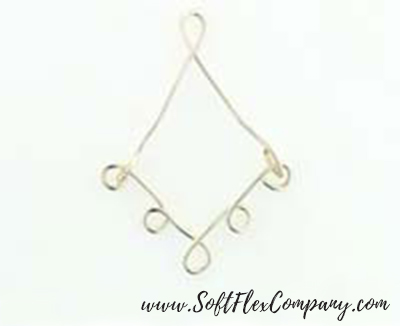
Step 3: Place another peg two rows up and two columns over, and wrap your wire again. Repeat for the last peg. Cut off excess wire using your flush cutters. This should make a V-Shape in the wire, with 5 loops. This is component 1.
Step 4: Cut another piece of wire, about 2 inches long, and using your round nose pliers, make a loop at one end. Place a peg on the Olympus Lite, and place the loop in the wire over the peg. Place another peg 6 rows above and 4 rows over from the first peg, and wrap the wire around it, then place another peg 6 rows below and 4 rows over and wrap the wire around that peg also. Clip off excess wire using your flush cutters. This is component 2.
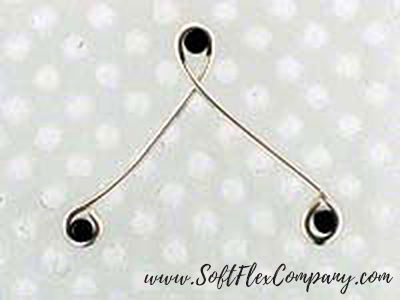
Step 5: Using your Chain Nose Pliers on wire component 2, bend each loop in the ends of the wire 90 degrees up. Grasp the loop firmly in your chain nose pliers while holding the rest of the wire component in your other hand and twist your chain nose pliers 90 degrees. When completed the wire should appear as the photo below.
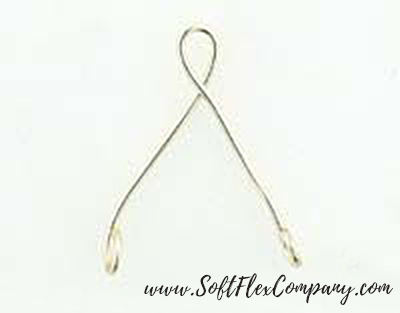
Step 6: Now, you need to connect wire components 1 and 2. Open the loop at the bottom of wire component 2 just enough to place the outer most loops of component 1 into them. Close using your Round Nose Pliers.
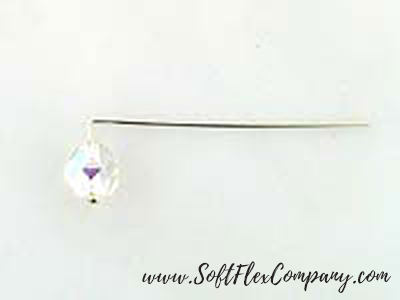
Step 7: Use 1 head pin to string 1 bead. Use chain nose pliers to form a 90 degree angle. It should appear as in the photo below.
Step 8: Next, take the tail end of your wire and wrap it around your round nose pliers to make an eye loop at the top of the head pin.
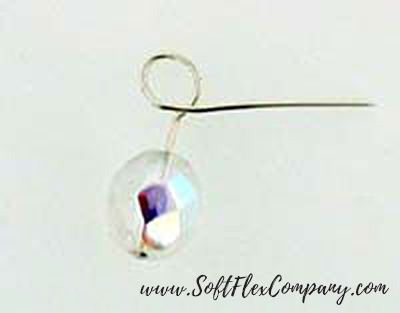
Step 9: Attach the loop to one loop of component 1 (Photo shows bead dangle by itself). Use chain nose pliers to wrap the wire around the stem of the head pin that is now between the loop and the bead. Wrap around two - four times, and then cut off excess wire with flush cutters.
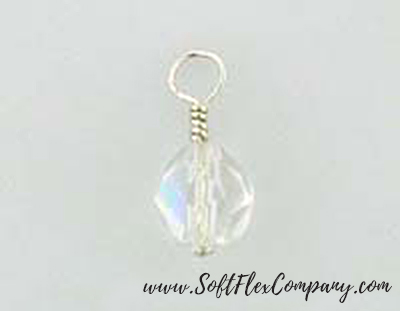
Step 10: Repeat Step 9 to attach 1 bead dangle to all 5 loops on component 1. Repeat Step 9, using 2 beads and attaching the dangle to the top loop of component 2.
Step 11: Use Round Nose Pliers to slightly open the loop on the end of the ear wire and attach it the top loop of the component 2. Close loop of ear wire securely.
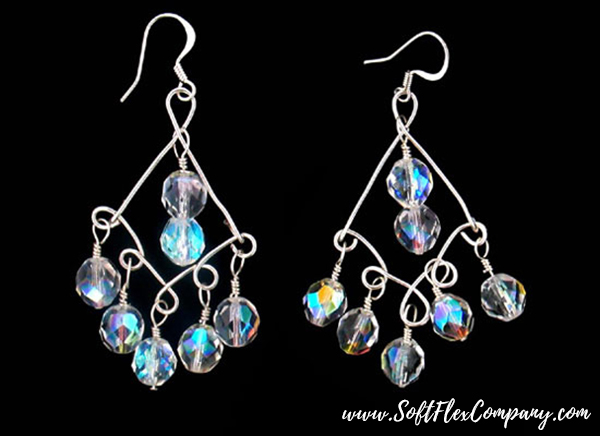
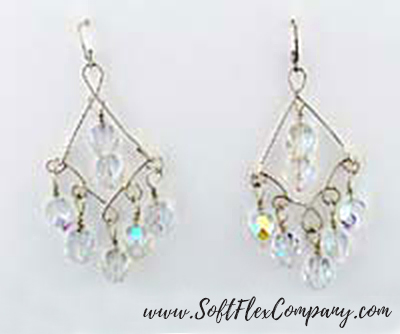
Step 12: Repeat Steps 1-11 to make a second earring. Finished earrings shown below.
Hoops! Hoops! Hoops!
Designer WigJig
Skill Level Beginner
Materials
20 or 22 gauge Silver Plated Gold Soft Flex Craft Wire - 1 spool
26 or 28 gauge Purple Soft Flex Craft Wire - 1 spool
Head Pins - 1 pack
Crimp Tubes - 1 pack
4mm Fire Polish Beads
Size 6, 8 and 11 Seed Beads
Tools
WigJig Olympus Lite
Large Round Super Pegs or Spiral Maker
Round Nose Pliers
Bent Nose Pliers
Nylon Jaw Pliers
Burr Cup
Cutters
Crimping Pliers
Instructions
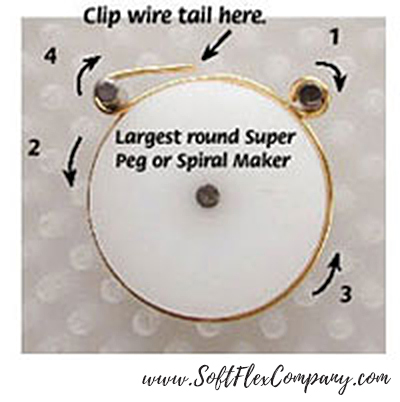
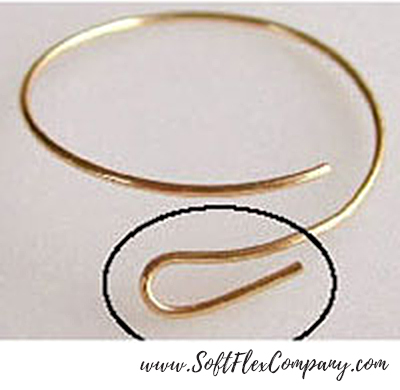
Step 1: Make a basic loop, place on starting peg and form a loop. Remove from jig. Using flush cutter, clip the wire tail. Also remove the starting loop near its base.
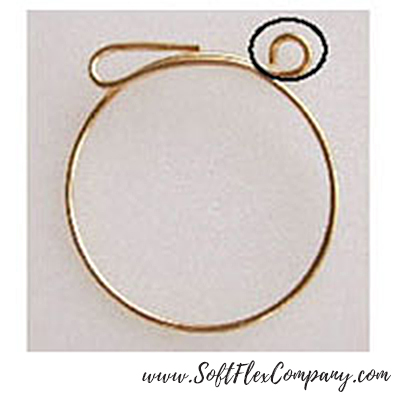
Step 2: Work harden the loop using a wire whacker.
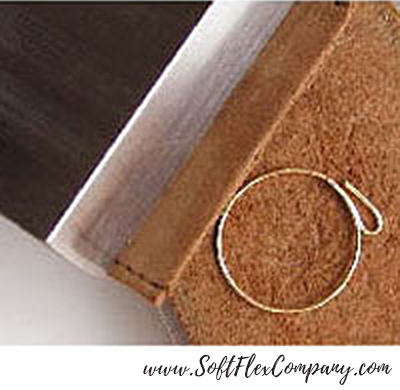
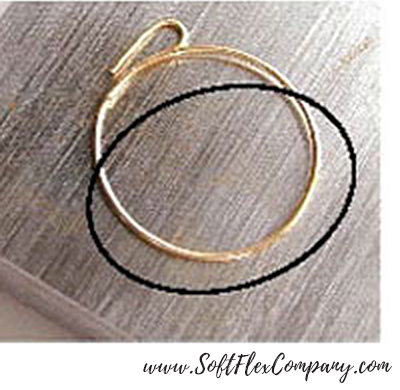
Step 3: Grasp the open loop in nylon jaw pliers, ensuring the plier tips cover only the loop. Turn 90 degrees to place the loop in proper position.
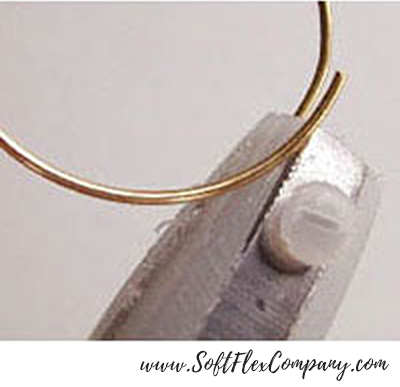
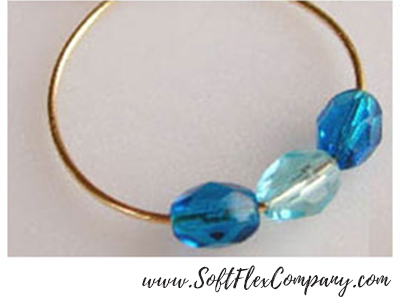
Step 4: Thread beads onto hoop.
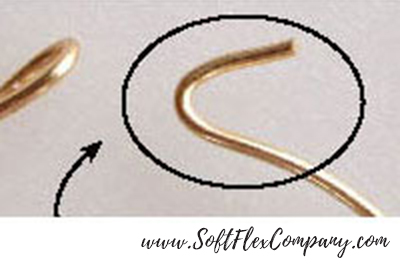
Step 5: Using bent nose pliers, grasp straight end of hoop, and bend sharply to form the hook.
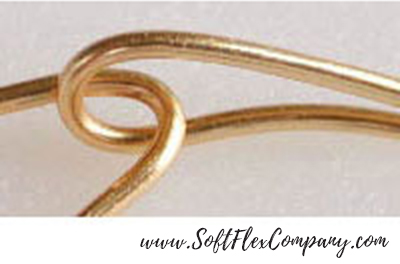
Step 6: File ends with burr cup or metal file to smooth.
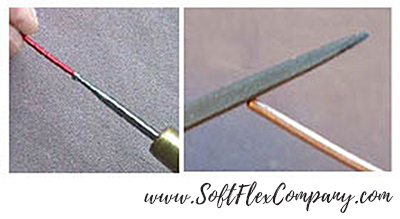
Step 7: Rub gently with polishing cloth to buff and brighten.
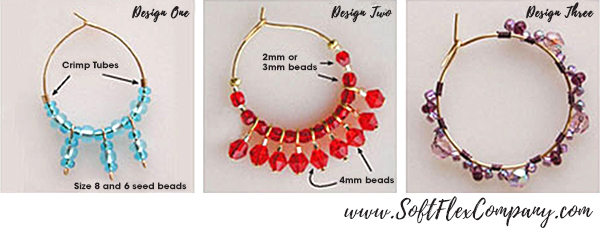
Step 8: Make three dangles (using 22g wire) by forming a tiny eye loop at the base of the wire, threading seed beads, then closing with a small eye loop. Thread a crimp bead, then beads interspered with the dangles. End with another crimp bead.Crimp both crimp beads to hold all beads in place.
Step 9: Make nine dangles by threading a 4mm bead and a size 11 seed bead onto a head pin and closing with a small eye loop. Thread a crimp bead, then beads interspered with the dangles. End with another crimp bead. Crimp both crimp beads to hold all beads in place.
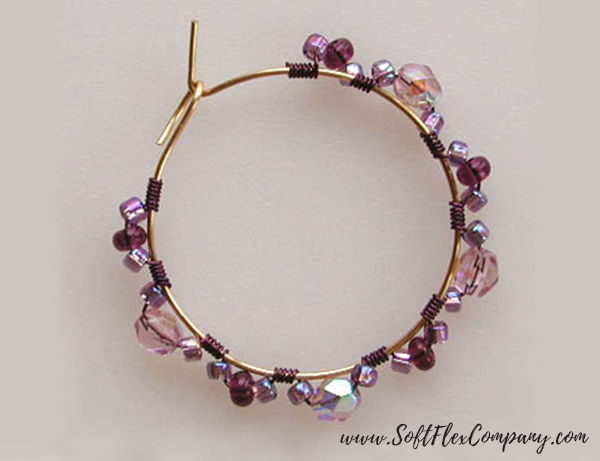
Step 10: Wrap 26G or 28G wire seven times near one end of hoop. Thread seed beads onto wire (we threaded a size 11 bead, and a size 8 bead, and a size 11 bead), then wrap around hoop five times. Thread 3 more small beads (We threaded a size 11 bead, a 4mm bead and a size 11 bead). Wrap wire five more times around hoop. Continue, following the same pattern until end of hoop is reached. End with seven wraps of the wire around the hoop. Clip wire tails and press into place with nylon jaw pliers.
Step 11: Clean with an ionic cleaner and/or lintless cloth to finish.
Pearly Hair Comb
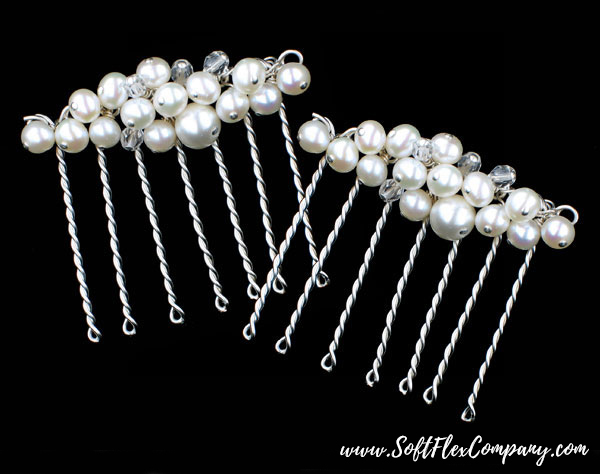
Designer Virginia Magdaleno
Skill Level Intermediate
Materials (for one comb)
20 gauge Non-Tarnish Silver Soft Flex Craft Wire - Approx. 30"
Sterling Silver 2" Head Pins - Approx. 20 pcs
3-6mm Clear Fire Polish Czech Glass Beads - Approx. 5 pcs
6mm Round
Pearls - Approx. 14 pcs
8mm Round
Pearl - 1 pc
Tools
WigJig Olympus Lite
Cutters
Round Nose Pliers
Needle Nose Pliers
Instructions
For Comb
Step 1: Use the Soft Flex Professional Flush Cutters to cut one 30 inch piece of Soft Flex Craft Wire from the spool.
Step 2: Place one peg in the top right corner of the WigJig Olympus Lite. Repeat to place 7 more pegs, each two to the left of the previous peg.
Step 3: Place a second peg down 7 and over 1(to the left) from the first. Repeat to place 6 more pegs, each two to the left of the previous peg.
Step 4:
Wrap the wire around the first peg in the top row to secure, making sure the working end of the wire is to the right of the peg.
Step 5: Wrap the wire down and around the first peg in the bottom row from left to right.
Step 6: Wrap the wire once around the next peg in the top row from left to right.
Step 7: Wrap the wire once around the next peg in the bottom row from left to right.
Step 8: Repeat steps 6-7, five times.
Step 9: Wrap the wire around the last peg in the top row from left to right twice to secure.
Step 10: Remove all of the pegs on the bottom row.
Step 11: Use the Needle Nose Pliers to twist each wire to the right until tight.
Step 12: Remove all of the pegs on the top row. Weave wire ends through holes at the top of the comb to secure.
For Dangles
Step 1: Use 1 head pin to string 1 bead. Form a
wire wrapped loop that attaches to one of the loops at the top of the comb. Repeat to attach all beads to the top of the comb.
Join the fun in our VIB Facebook Group today! Stay in the know. Stay up to date. From our bead shows to our video shows and sales, you can stay in touch with us. The community is full of artistic and helpful beaders and crafty people. Inspire and be inspired. Share your pictures and get the beading bug from others!
Visit the Soft Flex Company YouTube Channel!

Blog contributor Thomas Soles loves Jazz Age writers and crunchy french fries. His favorite gemstones are Lapis and Pietersite. His favorite hobby is day dreaming. And his favorite mustache is Freddie Mercury's. As you can see, he has a healthy (or possibly unhealthy) sense of humor. You can write to him at Thomas@SoftFlexCompany.com


