Do you love your birthstone? We love our birthstones. They are so decadent and vibrantly colored. Why not make a stunning piece of jewelry with it? We have some free beading project ideas. If you are not sure what your birthstone is, we have plenty of information for you. Birthstone jewelry is a wonderful gift idea. What better way to tell mom you love her on Christmas or Mother's Day than a jewelry design with her birthstone?
Make sure you check out our gemstone selection. We carry nearly all modern, traditional, mystical, and Ayurvedic stones. We are sure to have yours! Follow this link – Birthstone Information – to find out your personal stones, by day, month, hour and Zodiac sign. And then shop our Beads.
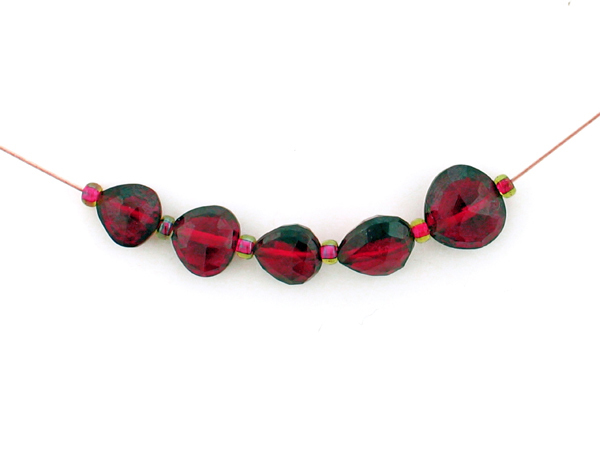
January - Garnet
 |
 |
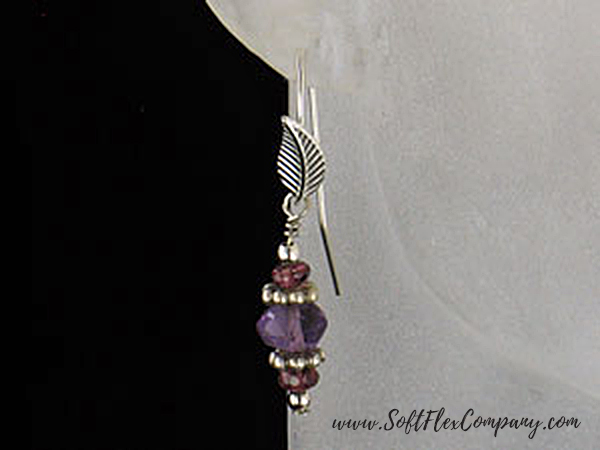
Amethyst and Garnet Dangle
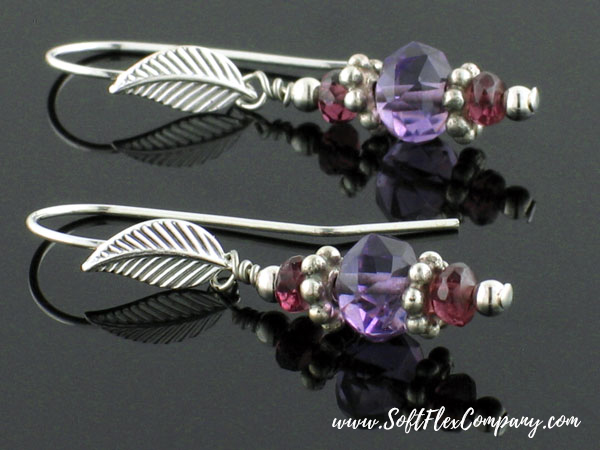
Designer Jamie Hogsett
Skill Level Intermediate
Materials
Silver Plated Ear Wires - 1 pc
24 gauge Sterling Silver 3" Head Pins - 2 pcs
2mm Sterling Silver Round Beads - 4 pcs
3x6mm Sterling Silver Spacer Beads - 4 pcs
3x4mm Garnet Faceted Rondelles - 4 pcs
6x7mm Amethyst Faceted Round Beads - 2 pcs
Tools
Round Nose Pliers
Flush Cutters
Needle Nose Pliers
Instructions
Step 1: Use 1 head pin to string 1 silver round bead, 1 garnet rondelle, 1 spacer, 1 amethyst bead, 1 spacer, 1 garnet rondelle, and 1 silver round bead.
Step 2: Form a
wire wrapped loop that attaches to 1 ear wire.
Step 3: Repeat Steps 1 and 2 to make a second earring.
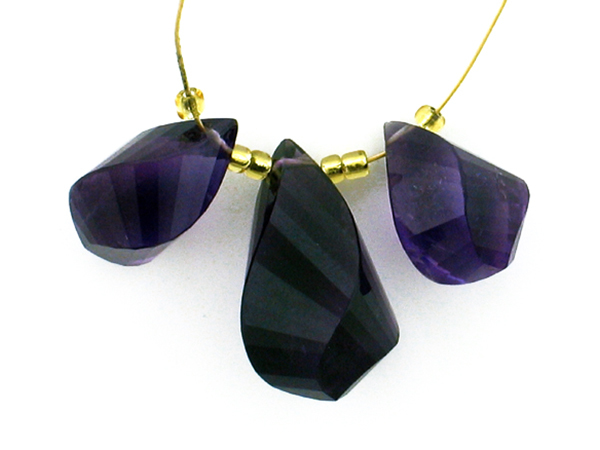
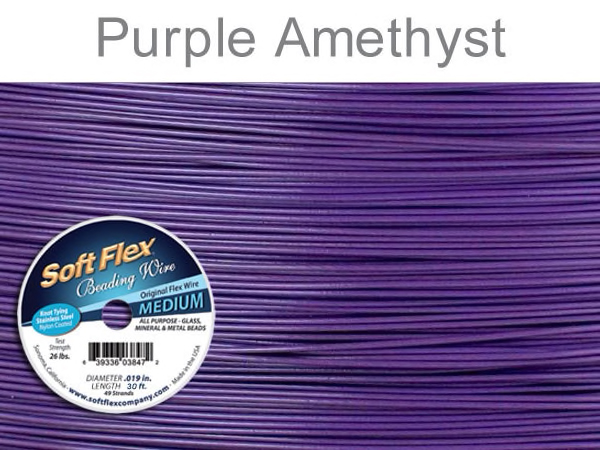
February - Amethyst
 |
 |
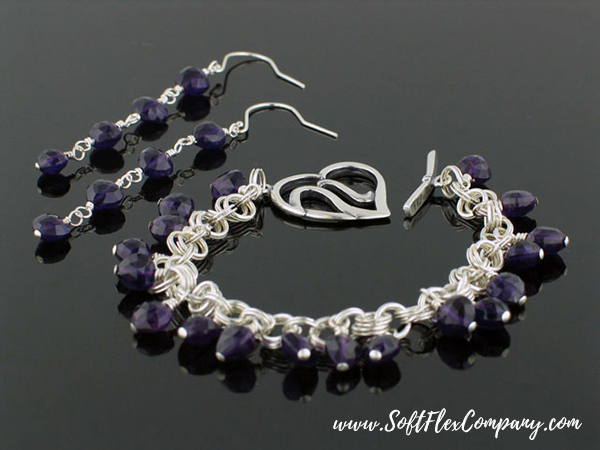
Amethyst Heart Bracelet and Earrings
Designer Virginia Magdaleno
Skill Level Intermediate
Materials
26 gauge Non-Tarnish Silver Plated Soft Flex Craft Wire - 1 Spool
Sterling Silver Large Heart Toggle - 1 set
6mm Sterling Silver Split Rings - approx. 60 pcs
20 gauge 1.5" Sterling Silver Head Pins - 20 pcs
Silver Plated Ear Wires - 1 pair
Amethyst Heart Beads -26 pcs
Tools
Cutters
Needle Nose Pliers
Round Nose Pliers
Split Ring Pliers
Instructions
For Bracelet
Step 1: Use the Split Ring Pliers to attach one split ring to the ring (heart) half of the toggle clasp.
Step 2: Use the Split Ring Pliers to attach one split ring to the previous ring(s). Attach two split rings to the previous ring. Repeat entire step 17 times form a chain of rings.
Step 3: Attach one split ring to the previous rings. Use the Split Ring Pliers and one split ring to connect the last split ring of the chain to the bar half of the toggle clasp.
Step 4: Use 1 head pin to string 1 amethyst heart bead. Use Soft Flex Professional Needle Nose Pliers and Soft Flex Professional Round Nose Pliers to form a wrapped loop that attaches to the first split ring used in Step 2. Repeat entire step to attach beads to each single split ring in the chain (not including the Split Rings that are attached to the toggle) for a total of 18 dangles.
For Earrings
Step 1: Use 3 inches of 26 gauge Soft Flex Craft Wire to form a wire wrapped loop that attaches to one ear wire. String 1 amethyst heart bead and form a wire wrapped loop.
Step 2: Repeat Step 1, attaching the first wire wrapped loop that the last loop formed in the previous step.
Step 3: Repeat Step 2.
Step 4: Use 1 head pin to string 1 amethyst heart bead. Form a wire-wrapped loop that attaches to the last loop formed in the previous step.
Step 5: Repeat Steps 1-4 to make a second earring.
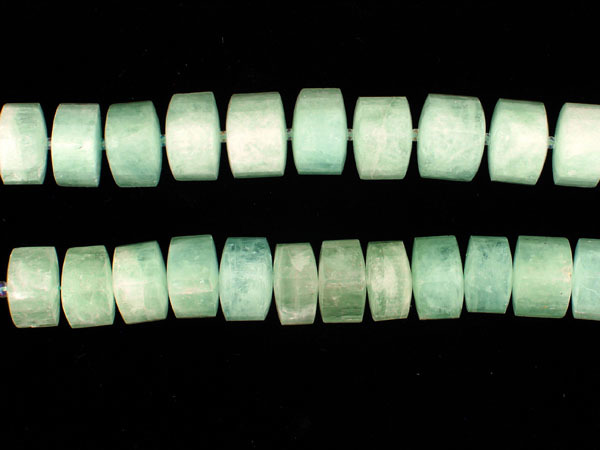
March - Aquamarine
 |
 |
Aquamarine Flower Necklace

Designer Virginia Magdaleno
Skill Level Intermediate
Materials
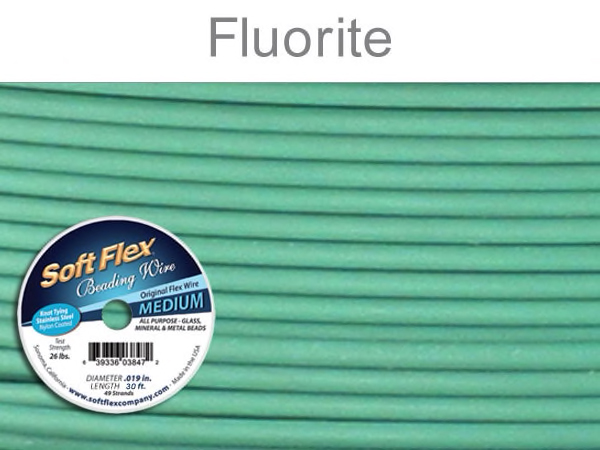
Soft Touch Beading Wire .019 diameter - Approx. 18"
Soft Touch Beading Wire .010 diameter - Approx. 8"
2x2mm Sterling Silver Crimp Tubes - 2 pcs
1x1mm Sterling Silver Crimp Tubes - 4 pcs
Thai Silver Flower - 1 pc
Sterling Silver Lilly Toggle - 1 set
Faceted Aquamarine Nuggets - 10 pcs
Oval Mother of Pearl - 32 pcs
Crystal Pearl Treasure Beads - varies
Tools
Micro Crimping Pliers
Crimping Pliers
Flush Cutters
Instructions
Step 1: Use Soft Flex Professional Flush Cutters to cut two 4 inch pieces of Soft Touch .010 Wire from the spool.
Step 2: Use 1 wire to string the hole of the Thai Silver Flower Pendant. Use both ends of wire to string one 1x1mm crimp tube. Snug the tube next to the pendant and secure the crimp tube using Micro Crimping Pliers.
Click here for crimping instructions.
Step 3: Use the edge of the Chain Nose Pliers to gently skim the wire so that it coils slightly.
Step 4: Use 1 wire to string enough Treasure beads to nearly fill the wire. String one 1x1mm crimp tube and use Micro Crimping Pliers to secure the crimp tube to the very end of the wire.
Step 5: Repeat Steps 2-6 using the other 4 inch wire.
Step 6: Use Soft Flex Professional Flush Cutters to cut 18 inches of Soft Touch Wire, .019 diameter from the spool.
Step 7: String one 2x2mm crimp tube and one half of the clasp. Pass back through the tube and secure using crimping pliers. Cut off excess wire at the crimp using Flush Cutters.
Step 8: String 5 Pearls, 1 Aquamarine, 4 Pearls, 1 Aquamarine, 3 Pearls, 1 Aquamarine, 2 Pearls, 1 Aquamarine, 1 Pearl, 1 Aquamarine, 1 Pearl, the Thai Silver Flower, 1 Pearl, 1 Aquamarine, 1 Pearl, 1 Aquamarine, 2 Pearls, 1 Aquamarine, 3 Pearls, 1Aquamarine, 4 Pearls, 1 Aquamarine, and 5 Pearls.
Step 9: String one 2x2mm crimp tube and the other half of the clasp. Pass back through the tube and secure using crimping pliers. Use Flush Cutters to trim excess wire.
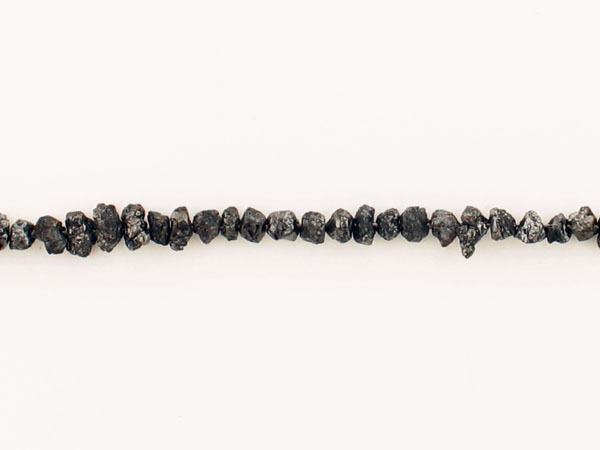
April - Diamond
 |
 |
May - Emerald
 |
 |
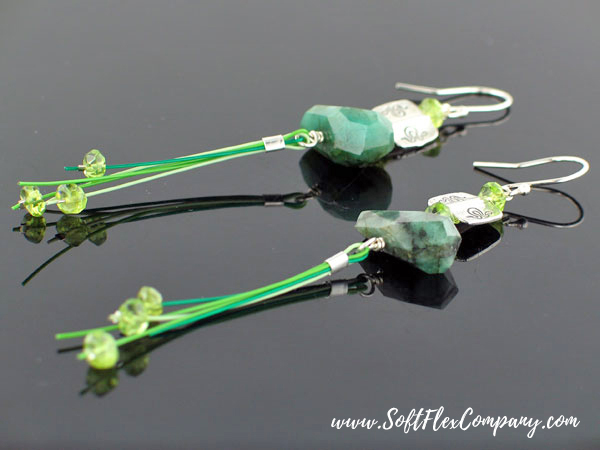
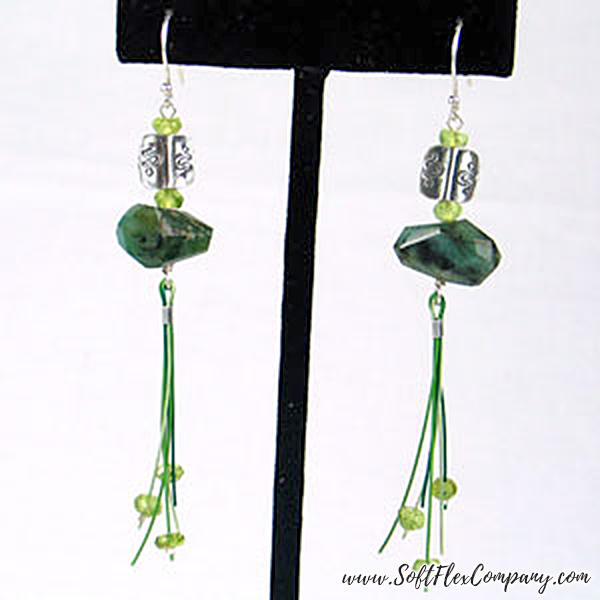
Renewal Earrings
Designer Jamie Hogsett
Skill Level Beginner
Materials
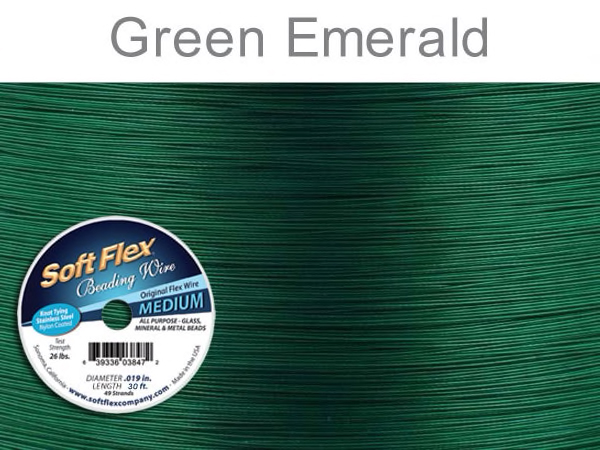
Trios Renewal Beading Wire Set (Peridot, Emerald, Chrysoprase)
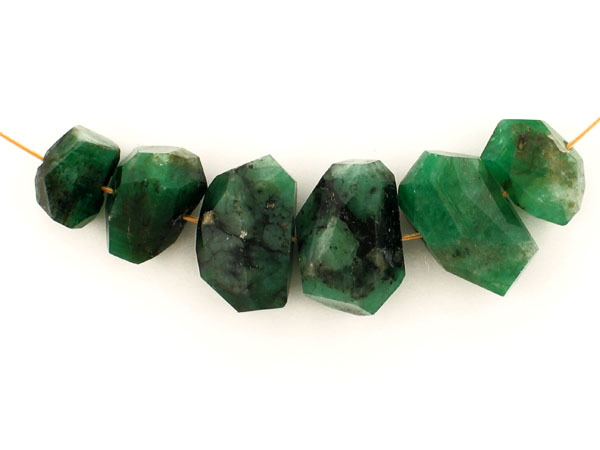
12x12mm-12x20mm Emerald Simple Cut Stone - 2 pcs
5x3mm Peridot Faceted Rondelle - 10 pcs
9x10mm Sterling Silver Square Bead - 2 pcs
1x1mm Sterling Silver Crimp Tube - 6 pcs
3x3mm Sterling Silver Crimp Tube - 2 pcs
Silver Plated Ear Wires - 1 pair
2" 24 gauge Sterling Silver Eye Pin - 2 pcs
Tools
Micro Crimping Pliers
Mighty Crimping Pliers
Cutters
Chain Nose Pliers
Round Nose Pliers
Instructions
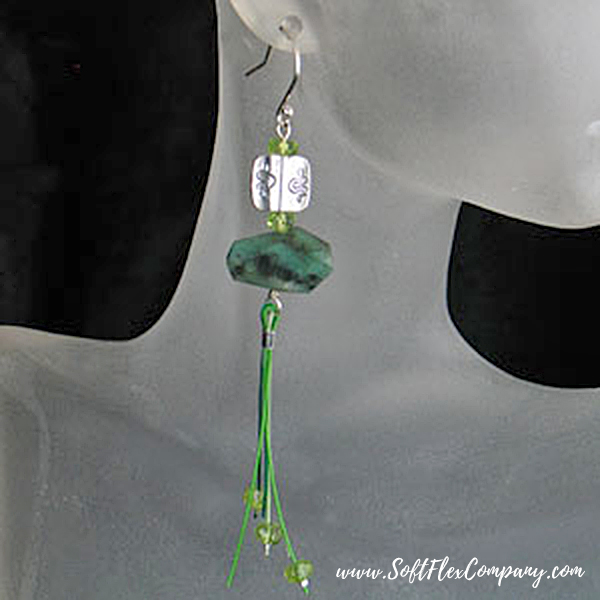
Step 1: Attach 1 ear wire to 1 eye pin. Use the eye pin to string 1 Peridot rondelle, 1 Sterling Silver bead, 1 Peridot rondelle, and 1 Emerald stone. Form a
wire wrapped loop.
Step 2: Cut 4" of Peridot wire, 3" of Emerald wire, and 3 1/2" of Chrysoprase wire. Use all three wires to string one 3x3mm crimp tube and the wire wrapped loop formed in Step 1. Center the loop on the wires and pass all three wires back through the crimp tube, and crimp using Mighty Crimping Pliers.
Click here for crimping instructions.
Step 3: Use one end of the Peridot wire to string 1 Peridot rondelle and one 1x1mm crimp tube. Crimp the tube about 1mm from the end of the wire using Micro Crimping Pliers.
Step 4: Repeat Step 3 using one end of the Emerald wire. Repeat Step 3 using one end of the Chrysoprase wire.
Step 5: Repeat Steps 1 to 4 for the second earring.
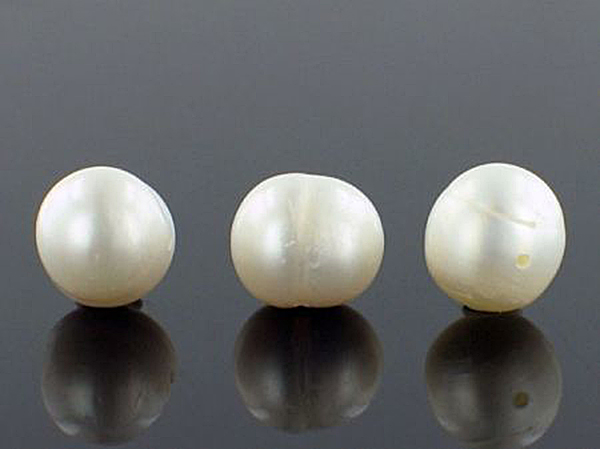
June - Pearl
 |
 |
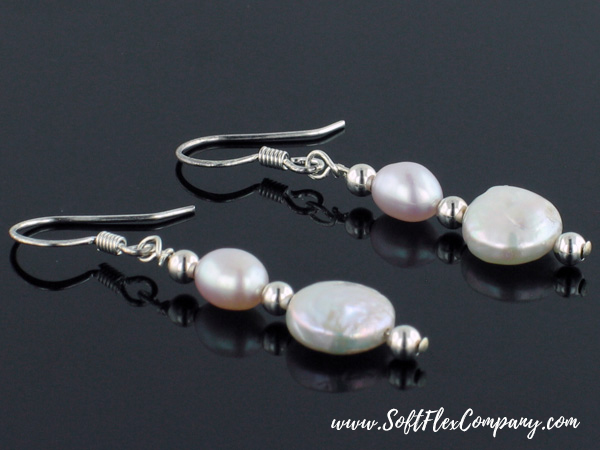
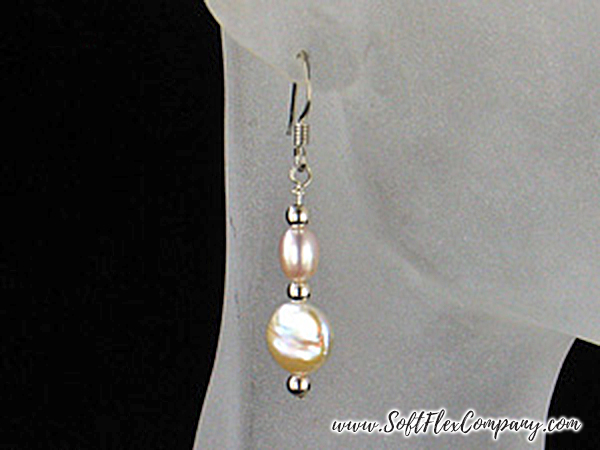
Pearl Dangle
Designer Shelley Richey
Skill Level Beginner
Materials
Silver Plated Ear Wires - 1 pair
24 gauge Sterling Silver 3" Head Pins - 2 pcs
3mm Sterling Silver Round Beads - 6 pcs
6x5mm White Rice Pearls - 2 pcs
9mm White Coin Pearls - 2 pcs
Tools
Round Nose Pliers
Flush Cutters
Needle Nose Pliers
Instructions
Step 1: Use 1 head pin to string 1 silver bead, 1 coin pearl, 1 silver pearl, 1 rice pearl, and 1 silver bead.
Step 2: Form a wire wrapped dangle that attaches to 1 ear wire.
Step 3: Repeat Steps 1 and 2 to make a second earring.
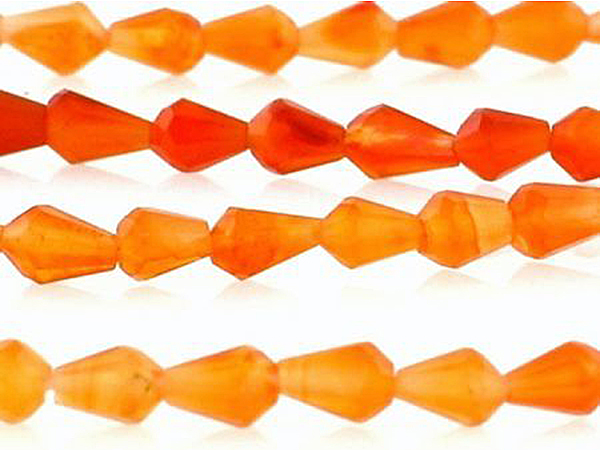
July - Carnelian
 |
 |
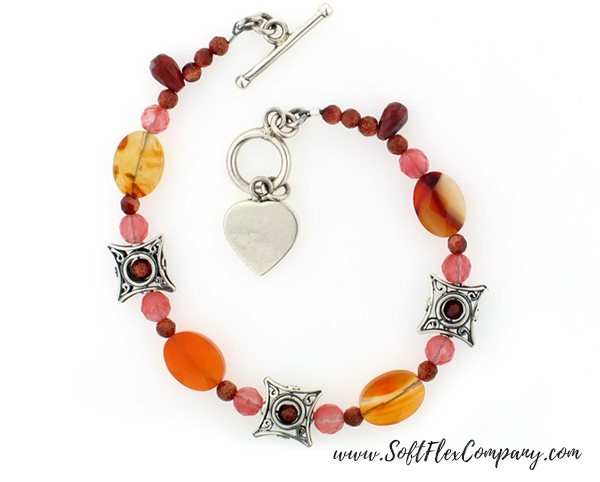
Cool Orange Cluster Anklet
Designer Brenda Sherman
Skill Level Beginner
Materials
Soft Touch Beading Wire .024 diameter - Approx. 7"
Sterling Silver 10mm Toggle -1 set
2x2mm Sterling Silver Crimp Tubes - 2 pcs
Bali Silver Bead Frame - 3 pcs
Small Round Goldstone Beads - 16 pcs
Red Jasper Tear Drop Beads - 2 pcs
Faceted Cherry Quartz Round Beads - 8 pcs
Carnelian Oval Beads - 4 pcs
Tools
Bent Chain Nose Pliers
Crimping Pliers
Cutters
Instructions
Step 1: Cut 7 inches of Soft Touch Wire from the spool.
Step 2: String wire through one 2mm sterling silver crimp tube, through one end of the toggle, and back through the crimp. Secure using crimping pliers.
Click here for crimping instructions. Cut off excess wire using flush cutters.
Step 3: String beads in the following order: 3 small round Gold Stone beads, 1 Red Jasper drop, 1 Round Gold Stone, 1 Round Cherry Quartz, 1 Carnelian Oval, 1 Round Gold Stone, and 1 Round Cherry Quartz.
Step 4: Next, put wire through one end of a Bali Silver Bead Frame, and using bent nose pliers, pull wire through middle of the bead frame, then string 1 Round Gold Stone bead, then back through the middle of the bead frame and out of the other hole. Gold Stone should be in the middle of the bead frame, with the wire going through both.
Step 5: Next, string beads in the following order: 1 Round Cherry Quartz, 1 Round Gold Stone, 1 Carnelian Oval, 1 Round Gold Stone, 1 Round Cherry Quartz.
Step 6: Repeat step 4.
Step 7: Next, string 1 Round Cherry Quartz, 1 Round Gold Stone, 1 Carnelian Oval, 1 Round Gold Stone, and 1 Round Cherry Quartz.
Step 8: Repeat step 4.
Step 9: Next, string 1 Round Cherry Quartz, 1 Round Gold Stone, 1 Carnelian Oval, 1 Round Cherry Quartz, 1 Round Gold Stone, 1 Red Jasper Drop, and 3 Round Gold Stone Beads.
Step 10: String Soft Touch Wire through sterling silver crimp tube, then through other end of the toggle, and then back through crimp. Make sure to adjust the wire so that it is tight, but has enough slack to move around a bit. Secure crimp using crimping pliers. Cut off excess wire using Crimping Pliers.
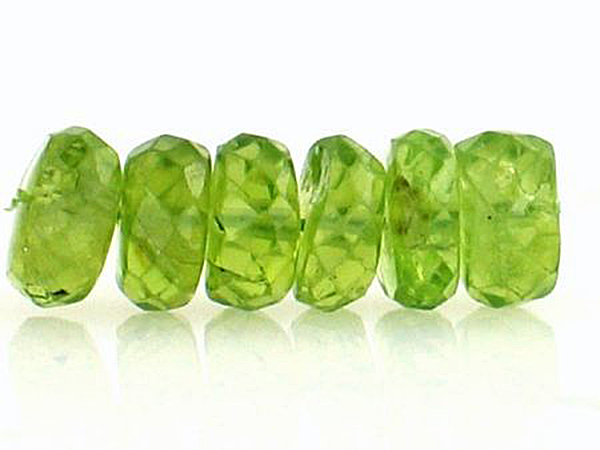
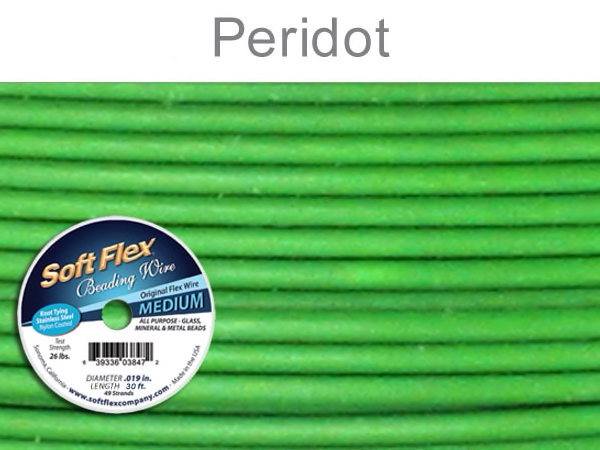
August - Peridot
 |
 |
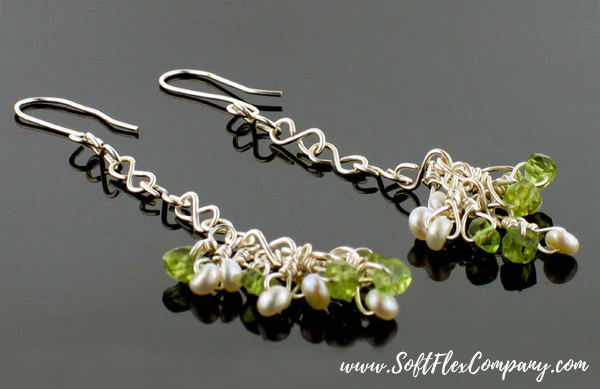
Pearls and Peridot Earrings
Designer Virginia Magdaleno
Skill Level Beginner
Materials
24 gauge Non-Tarnish Silver Plated Soft Flex Craft Wire - approx. 4"
22 gauge Non-Tarnish Sliver Plated Soft Flex Craft Wire - approx. 6"
3mm Peridot Rondelles - 10 pcs
Small Pearl Rondelles - 10 pcs
Tools
Round Nose Pliers
Chain Nose Pliers
Flush Cutters
Burr Cup
Instructions
Step 1: To make ear wires for the earrings, use Soft Flex Professional Flush Cutters to cut about 2 inches of 22 Gauge Soft Flex Craft Wire from the spool. Use the narrow end of Soft Flex Professional Round Nose Pliers to form a
simple loop at one end of the wire. Move the pliers 1/2 an inch away from the simple loop. Using the wide end of the pliers, wrap the wire in the opposite direction as the simple loop. Repeat entire step to form a second ear wire.
Step 2: Use Soft Flex Professional Flush Cutters to cut 1 inch of 22 Gauge Soft Flex Craft Wire from the spool.
Step 3: Use Round Nose Pliers to form a loop on one end of the wire. Form a loop on the other end of the wire, in the opposite direction as the first.
Step 4: Repeat Step 3 five times to form a total of six figure 8 links. Use Chain Nose Pliers to connect the links, making sure to open and close the loops as you would a jump ring by twisting the loop away from itself, rather than pulling it apart. Attach one end of the chain to 1 ear wire.
Step 5: Use 2 inches of wire to string 1 Peridot Rondelle to the center of the wire. Use 1 end of wire to wrap up and around the bead and coil once around the wire above the bead. Use the other end of wire to form a
wire wrapped loop that attaches to the bottom link of the chain.
Step 6: Repeat Step 5 using 1 pearl.
Step 7: Repeat Steps 5 and 6 four times, moving up one link of chain each time.
Step 8: Repeat Steps 1-7 to make a second earring.
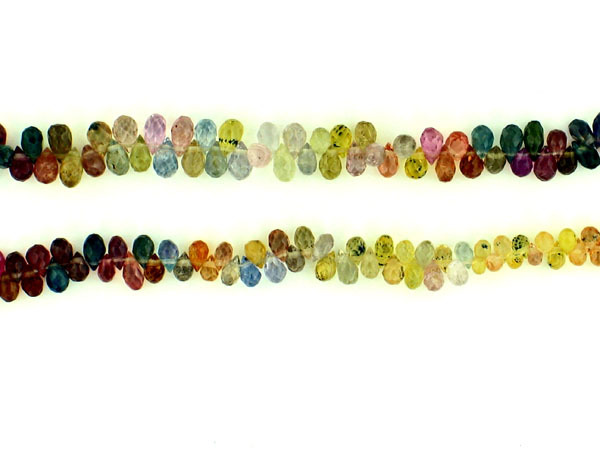
September - Sapphire
 |
 |
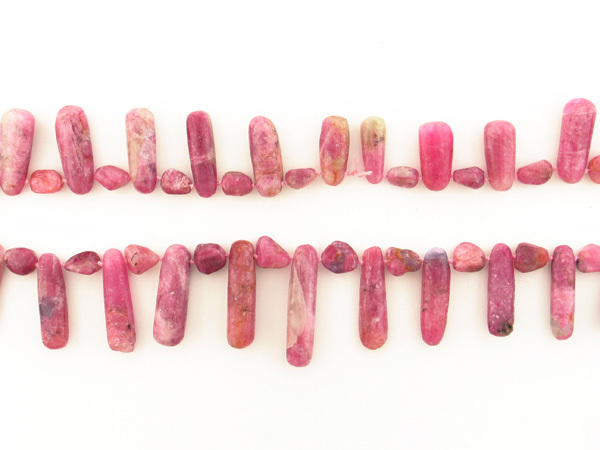
October - Pink Tourmaline
 |
 |
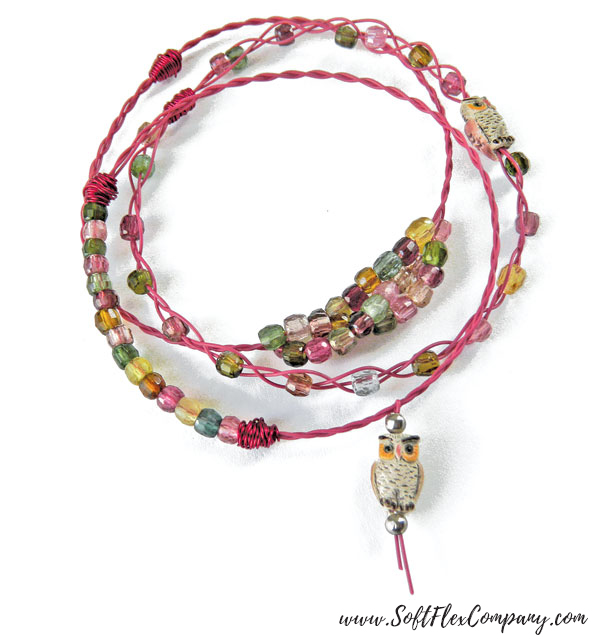
Tourmaline Bangles
Designer Jamie Hogsett
Skill Level Intermediate
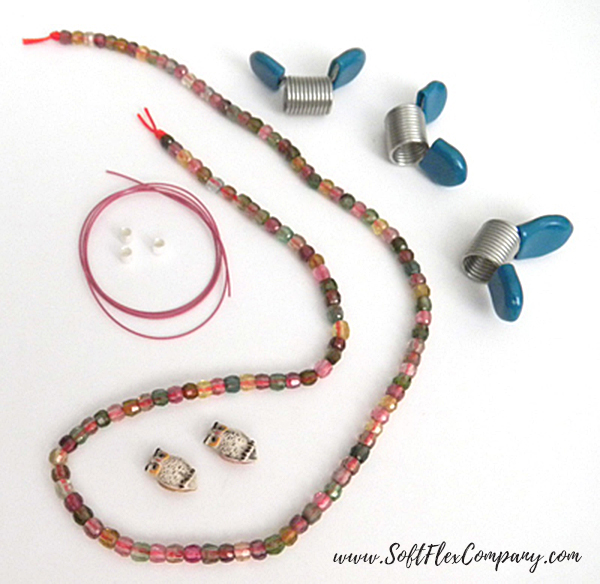
Materials
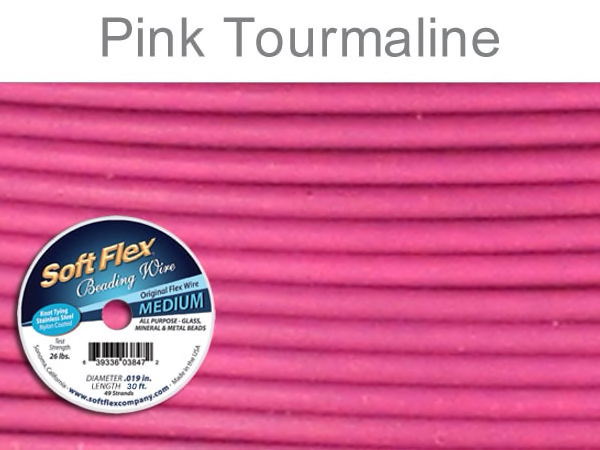
Pink Tourmaline .019 Diameter Soft Flex Beading Wire
26 gauge Magenta Colored Soft Flex Craft Wire
3x3mm Silver Filled Crimp Tubes - 4
2x2mm Silver Filled Crimp Tubes - 2
3mm Silver Filled Crimp Covers - 2
4mm Multi-Color Tourmaline Faceted Rondelles - 64
7x12mm Assorted Color Ceramic Teeny Tiny Owl Beads - 2
Tools
Cutters
Mighty Crimping Pliers
Bead Stoppers
Pre-made Metal Bangle
Instructions
Finished Size:2 1/2"
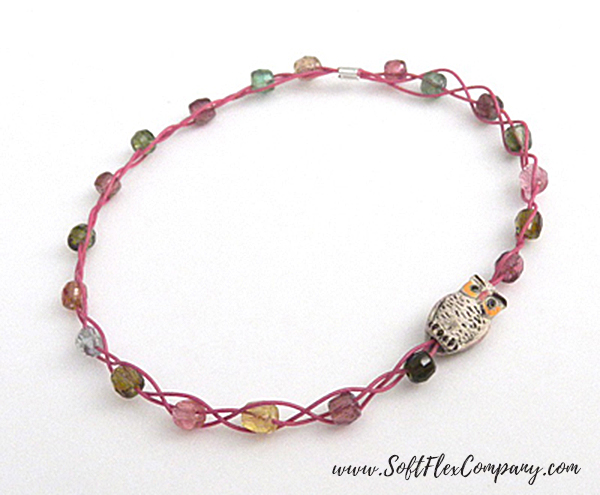
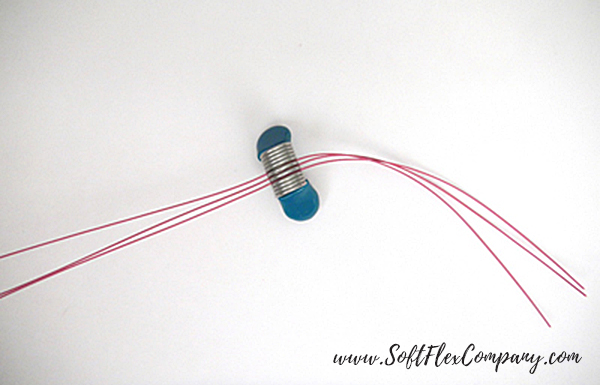
Step 1: Bangle One: Attach 1 bead stopper to three 14" pieces of wire about 6" from one end of the wires.
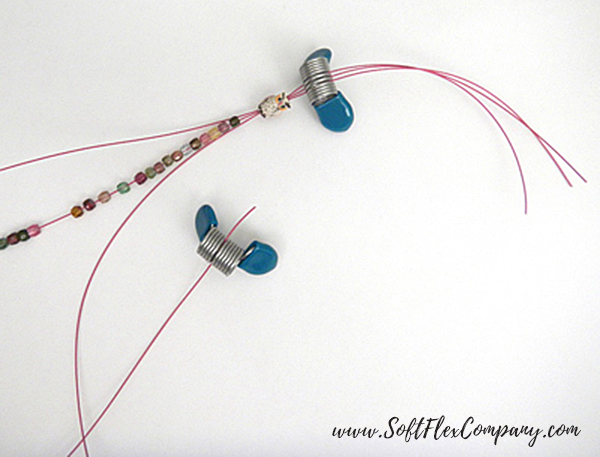
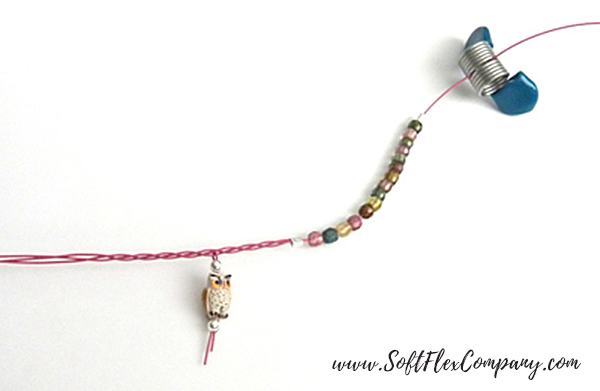
Step 2: Use all three wires to string 1 ceramic owl bead (top to bottom). Use one wire to string 18 tourmaline rondelles. Place a bead stopper on the wire end.
Step 3: Begin braiding the three wires together below the owl bead. When the wire strung with tourmaline rondelles is placed in the middle of the other two wires, slide 1 bead up into the braid and continue braiding. Repeat this every time this wire is in the center of the braid.
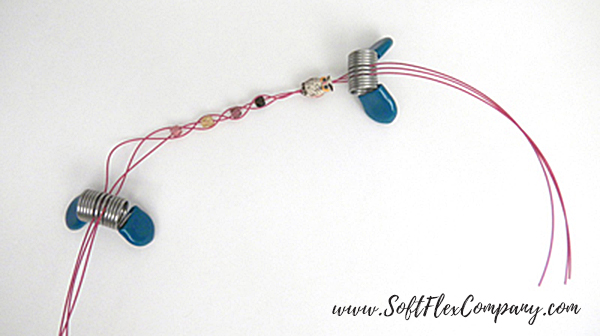
Step 4: Once you've braided about nine rondelles into the braid, place a bead stopper on the wires to secure the braid. Push the owl bead down over the braided wire until it reaches the first rondelle.
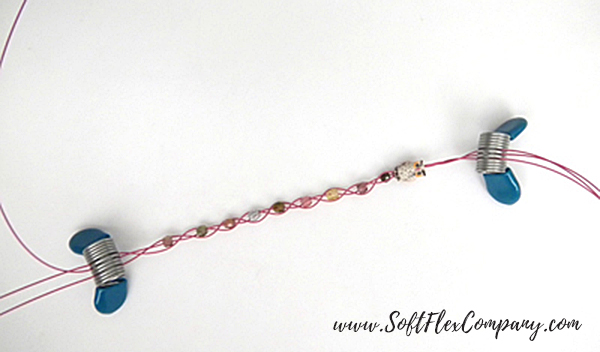
Step 5: Remove the bead stopper above the owl bead. Use 1 strand of wire to string 7 rondelles. Place a bead stopper on the end of that wire. Braid the wires as before, working 1 rondelle into the braid every time its wire is in the center of the braid. Place a bead stopper on the wire ends.
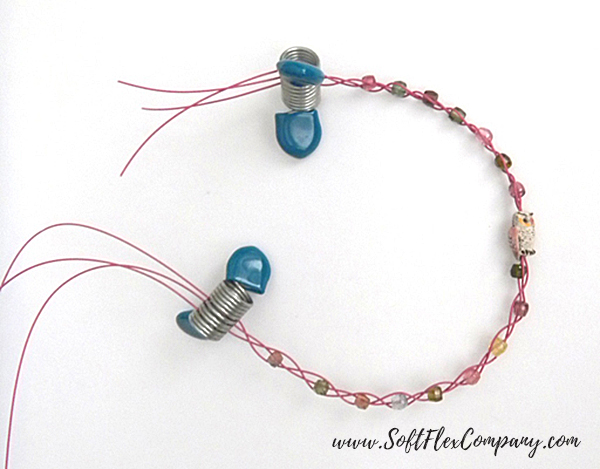
Step 6: Remove the bead stopper on the long end of the wires and continue braiding and adding rondelles to the braid until the bracelet is the size of the pre-made bangle.
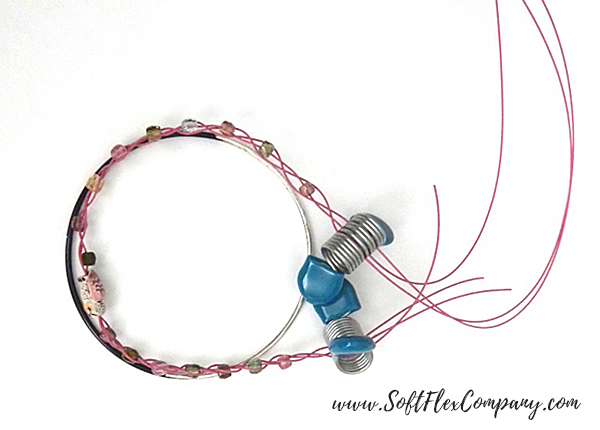
Step 7: Use all three wire ends to string one 3x3mm crimp tube. Carefully remove and replace bead stoppers to secure the wires and use the other three wire ends to pass through the crimp tube in the opposite direction. Adjust the braided wires as necessary so that it's the right size, and use Mighty Crimping Pliers to crimp the crimp tube. Click here for crimping instructions. Trim wire ends. Use 6" of craft wire to wrap around the crimp tube several times to cover the tube. Tuck wire ends into wrap.
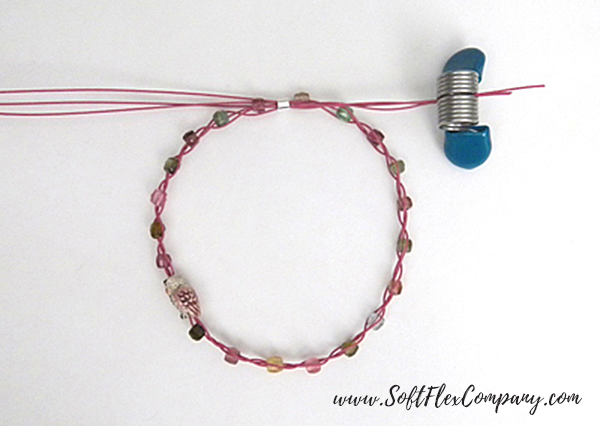
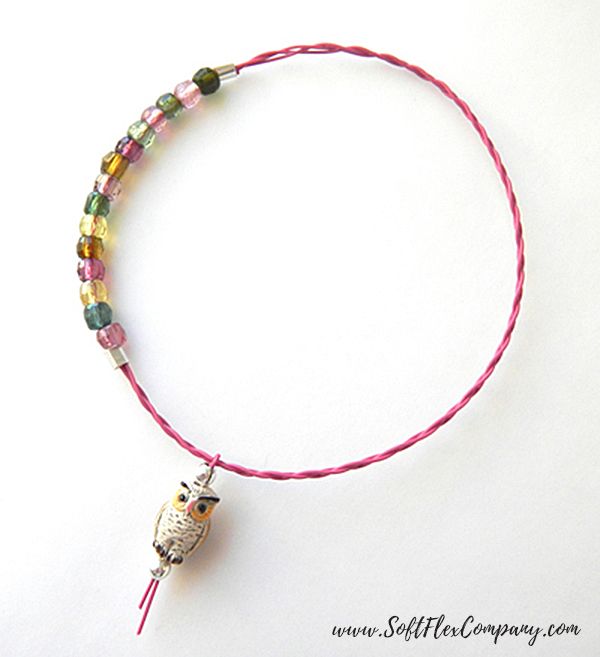
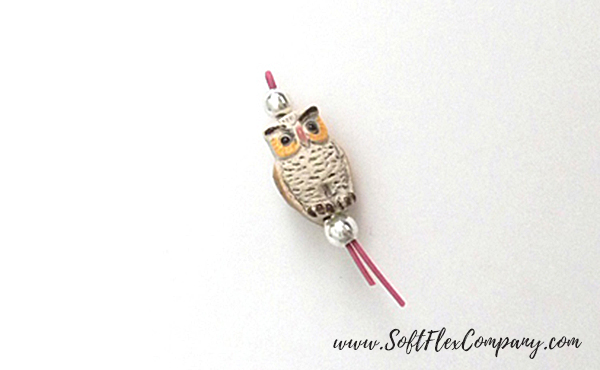
Step 8: Bangle Two: Use both ends of a 3" piece of beading wire to string one 2mm crimp tube. Snug the tube up the wire, leaving a small loop, and use Crimping Pliers to crimp the crimp tube. Cover the crimp tube with 1 crimp cover. Use both wire ends to string 1 owl bead (top to bottom) and 1 crimp tube. Snug the beads and crimp the crimp tube. Cover the crimp tube with 1 crimp cover. Trim the wire ends to about 1/8" and 1/4" and set the charm aside.
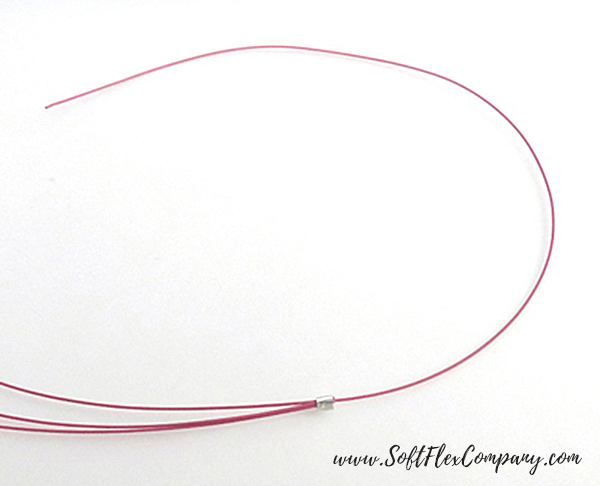
Step 9: Adjust one 16" piece of beading wire and two 12" pieces of beading wire so that one end of each wire matches up. Use all three wire ends to string 1 crimp tube. Adjust the tube so that it is covering the other ends of the 12" wire pieces and use Mighty Crimping Pliers to crimp the crimp tube.
Step 10: Use the short single wire to string 15 tourmaline rondelles and one 3mm crimp tube. Place a bead stopper on the single wire.
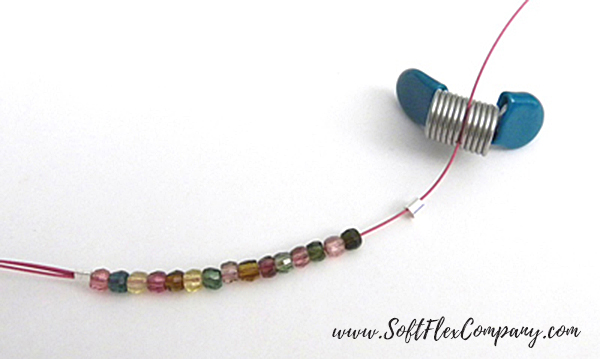
Step 11: Braid the three wire ends together for about 3/4". Use 1 wire end to string the charm made in Step 8. Continue braiding the wire ends until the bangle is long enough when measured against the pre-made bangle. Use all three wire ends to pass through the 3mm crimp tube in the opposite direction and use Might Crimping Pliers to crimp. Trim wire ends. Use 6" of craft wire to wrap around the crimp tube several times to cover the tube. Tuck wire ends into wrap.
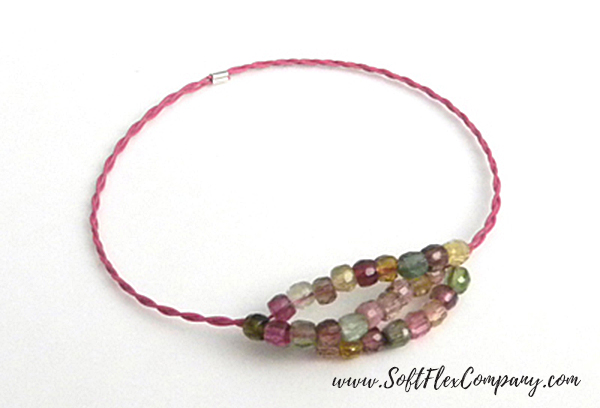
Step 12: Bangle Three: Cut three 12" pieces of wire. Place a bead stopper on all three wires just off of center. Use 1 wire end to string 10 rondelles. Attach a bead stopper to the wire to secure the beads.
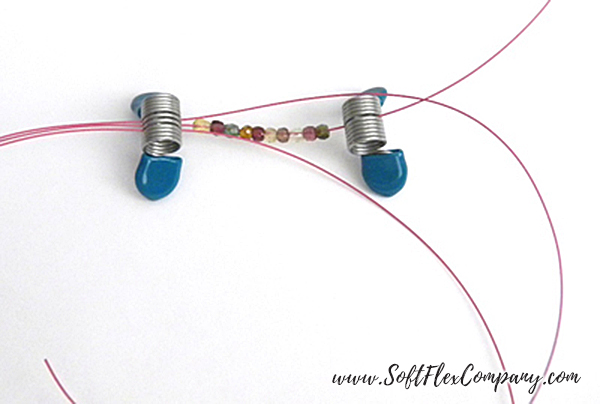
Step 13: Use 1 wire to string 9 rondelles. Use the remaining wire to string 10 rondelles.
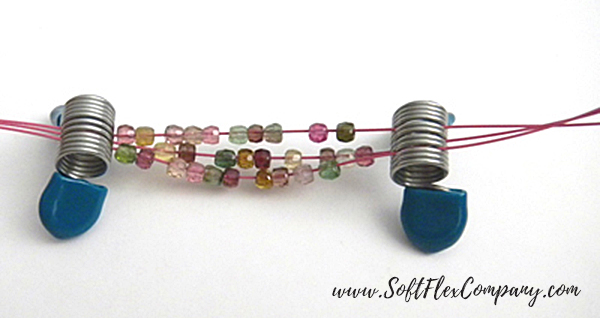
Step 14: Remove 1 bead stopper and braid the three wires together for about 3 1/2". Use all three wire ends to string one 3mm crimp tube. Place a bead stopper on the wires. Remove the other bead stopper and braid the wires together for about 3 1/2". Use all three wire ends to pass through the crimp tube in the opposite direction. Measure the bangle against the pre-made bangle, adjusting the wire as necessary for size, and use Mighty Crimping Pliers to crimp the crimp tube. Trim the wire ends. Use 6" of craft wire to wrap around the crimp tube several times to cover the tube. Tuck wire ends into wrap.
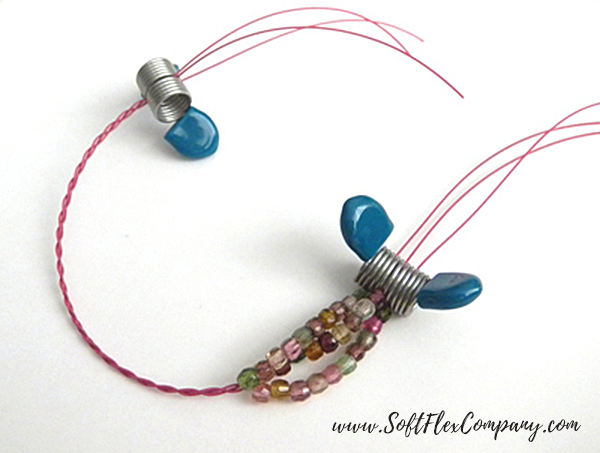
November - Topaz
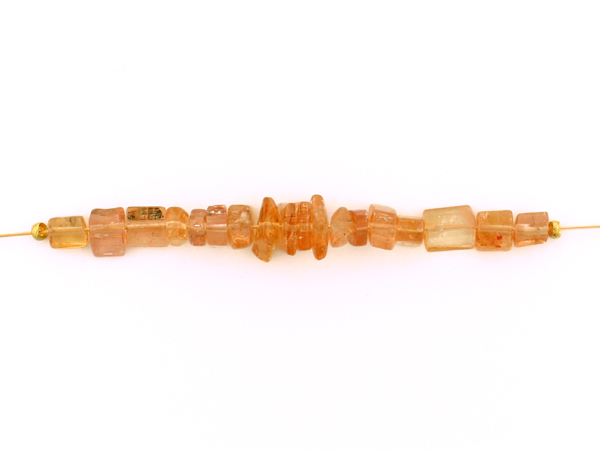 |
 |
December - Blue Topaz
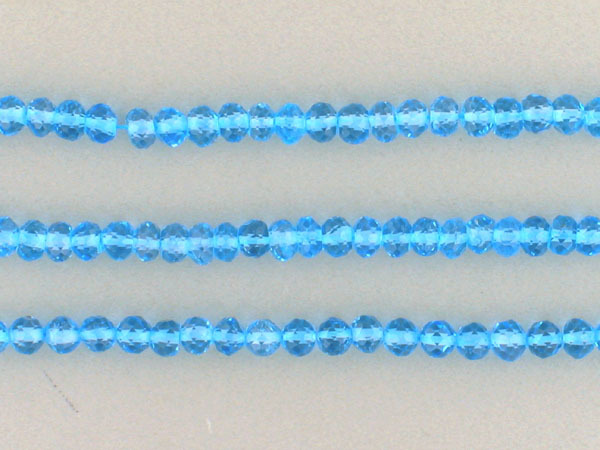 |
 |
Projects not intended for children under the age of 13. The information on this instruction sheet is presented in good faith, but no warranty is given, nor results guaranteed. Soft Flex® Company disclaims all liability from any injury to anyone undertaking the construction of this project as a result of improper safety precautions.
Join our Facebook group – VIB. Stay in the know. Stay up to date. From our bead shows to our video shows and sales, you can stay in touch with us. The community is full of artistic and helpful beaders and crafty people. Inspire and be inspired. Share your pictures and get the beading bug from others!
Visit the Soft Flex Company YouTube Channel!

Blog contributor Thomas Soles loves Jazz Age writers and crunchy french fries. His favorite gemstones are Lapis and Pietersite. His favorite hobby is day dreaming. And his favorite mustache is Freddie Mercury's. As you can see, he has a healthy (or possibly unhealthy) sense of humor. You can write to him at Thomas@SoftFlexCompany.com


