


Braided Ladybug Bracelet

Designer Kristen Fagan
Materials
Black Onyx Soft Flex Beading Wire, .019 Diameter - 16"
Red Coral Soft Flex Beading Wire, .019 Diameter - 32"
Size 11 Matte Black Delica Beads from Fusion Beads - 30 pcs
TierraCast Silver Antique Ladybug Beads from Artbeads - 2 pcs
6mm Light Siam Swarovski Crystal Bicone Bead from Fusion Beads - 1 pc
Anna's Toggle Clasp, Antique Silver Plated - 1 set
4mm Silver Plated
Jump Rings - 4 pcs
3x3mm Silver Filled Crimp Tubes - 2 pcs
Tools
Mighty Crimping Pliers
Cutters
Chain Nose Pliers
Bead Stoppers
Instructions


Step 1: Cut Soft Flex Beading Wire into three 16" lengths, one black and two red wires. With the black wire positioned in the middle, attach all three wires securely to your bead stopper leaving 2.5" inch tail for each wire. Begin braiding your wires and whenever a red wire is in the middle add 1 black seed bead. After a couple rows you'll start to see the pattern emerge and the black wire will look like a wave running through the braid.
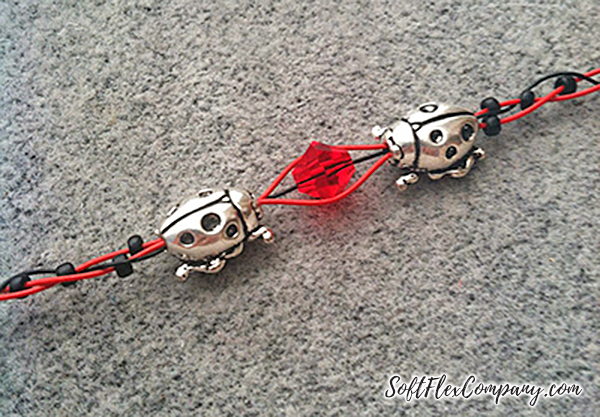
Step 2: Once you have 15 black seed beads throughout your braid, string one ladybug bead (back side first) through all three beading wires keeping the black wire in the middle. Next, string your red bicone bead through the middle black wire and allow the two red wire to wrap around the bicone bead. Now, string all three wires through your second ladybug bead (front side first) so that your ladybug beads are facing one another. Continue your braid pattern on the second side, adding black seed beads to the red wires whenever they are in the middle until you have used the remaining 15 black seed beads. Place another bead stopper on this end to secure the wires.
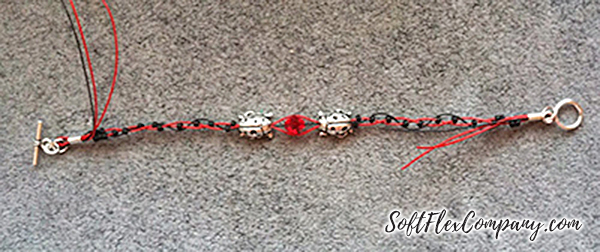
Step 3: Using your chain nose pliers, open the 4mm jump rings and attach to each side the toggle clasp. Remove the bead stopper on one side of your bracelet and string a 3mm crimp tube onto all three wires.String the 4mm jump ring attached to the circle end of your toggle clasp through all three wires and back through the crimp tube. Do not crimp yet. Remove the bead stopper from the other side of your bracelet and string a 3mm crimp tube onto all three wires.String the 4mm jump ring attached to the bar end of your toggle clasp through all three wires and back through the crimp tube. Do not crimp yet.
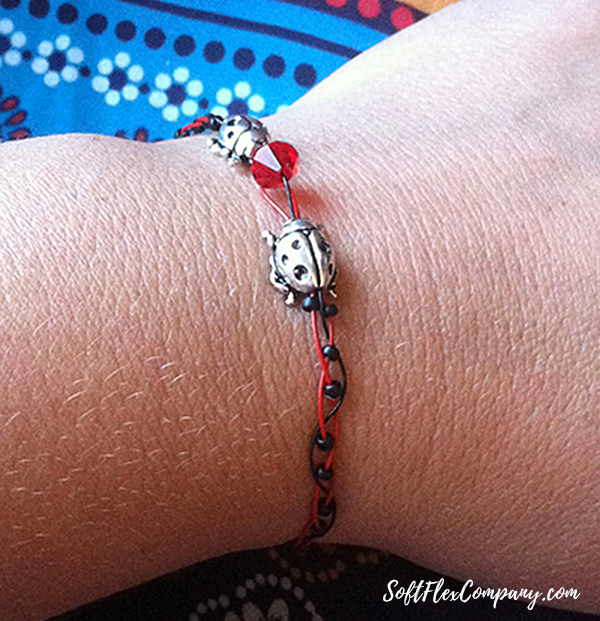
Step 4: Measure your finished bracelet and see if it is the size you desire before crimping. If you need to make the design smaller remove the clasp and crimp and undo a bit of the braid, re-string the crimp and clasp and measure again. If you need to make the design slightly larger you may simply add an extra jump ring to one or both sides of the toggle clasp to easily extended the design.
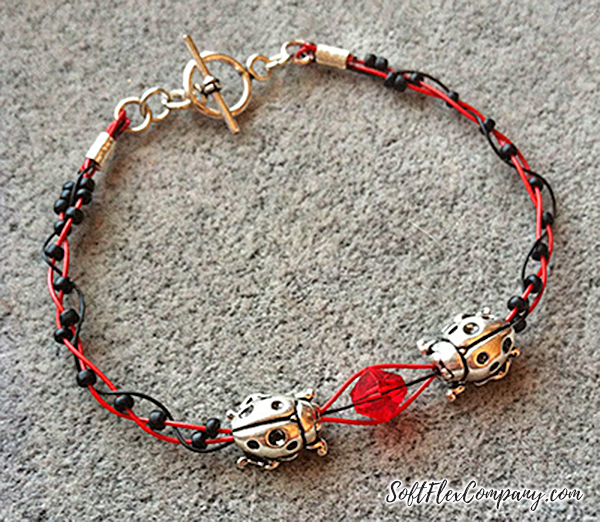
Step 5: Once you are happy with the bracelet size, use your Mighty Crimpers to close the crimp tube. Click here for crimping instructions. Finally, trim off the excess wire close to the crimp.
Join the fun in our VIB Facebook Group today! Stay in the know. Stay up to date. From our bead shows to our video shows and sales, you can stay in touch with us. The community is full of artistic and helpful beaders and crafty people. Inspire and be inspired. Share your pictures and get the beading bug from others!
Visit the Soft Flex Company YouTube Channel!


Kristen Fagan is the Website Graphic Designer and a Jewelry Making Educator for Soft Flex® Company. She is the co-author of Seed Bead Revolution, an artist and creativity guide. She currently lives in Arizona with her husband, their two sons and two dogs. When she's not painting, drawing or beading, she enjoys reading, yoga, exploring the outdoors and traveling. Her favorite stones are Opal, Turquoise, and Quartz and she can't bead without Bead Stoppers. You can email her at Kristen@softflexcompany.com or visit her Website | Facebook | Instagram