Kristen is back with another episode of Free Spirit Beading. This time, she is making a jewelry design requested by viewers. Beaders that caught her last show wanted to see a square Kumihimo bracelet. She designs a bracelet similar to a piece she created for Beadwork Magazine. If you have not started braiding with Kumihimo Boards this is a great opportunity to learn how to use them. If you have only used a round Kumihimo Disk, this is a good time to see how the square plates work.
Free Spirit Beading airs on Mondays at 11:00am PST. Free Spirit Beading is a live beaded jewelry making series on YouTube. Kristen is a free spirited designer, author, artist – she loves to create. She does not worry about perfection. She believes that art is a journey and part of that journey is making mistakes and living with them. If you miss an episode, you can find it in our YouTube library.
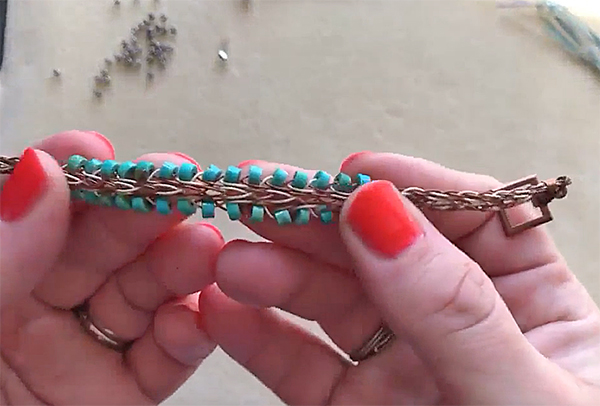
Kristen starts the video talking about the Kumihimo Board. Today she is going to be using a square plate. The design will be a flat braided finish. The round Kumihimo Disks create a rounded finish. She shares a similar design using Two-Hole SuperDuo beads that was featured in Beadwork (Feb/Mar 2017, page 44).
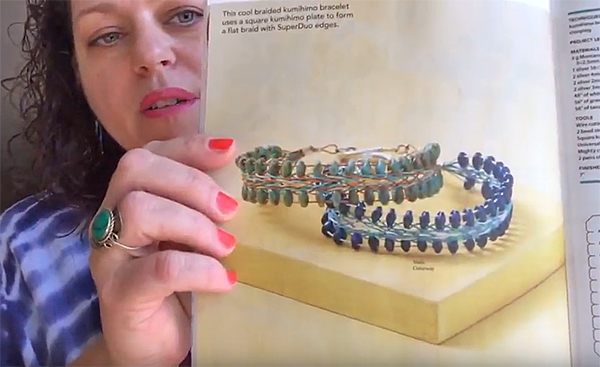
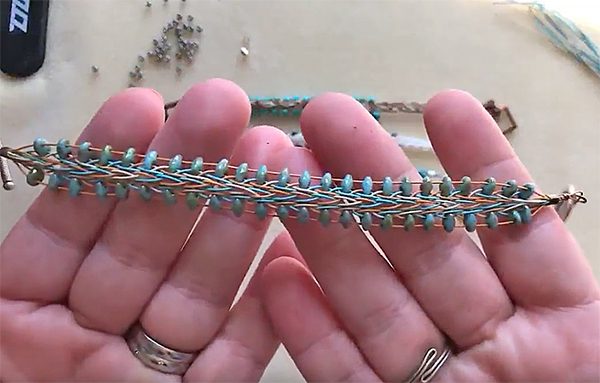
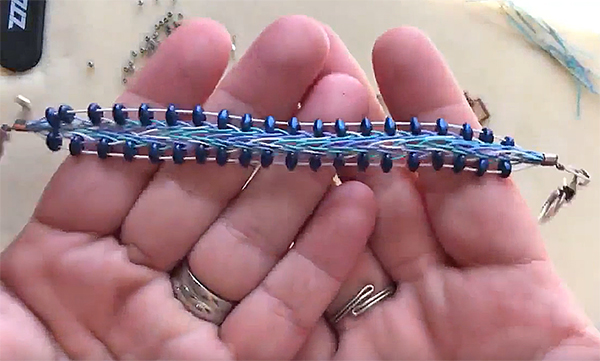
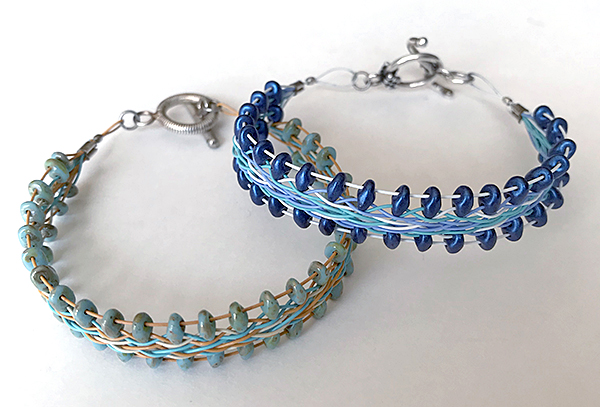
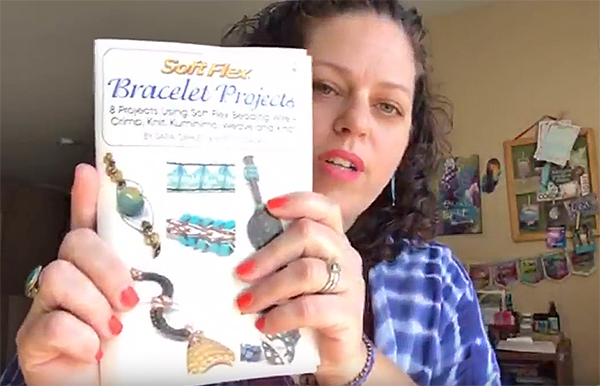
Kristen shows a design she created for our Soft Flex Bracelet Projects Booklet. This booklet is fantastic for beginners that would like to learn how to create a beaded bracelet using different mediums. The booklet features designs made on knitting spools, Kumihimo Boards, and Macramé Boards. It also features a great deal of information about crimping, how to select a diameter, what tools to use, and much more. If you are an advanced jewelry designer, the booklet is fantastic for inspiration.
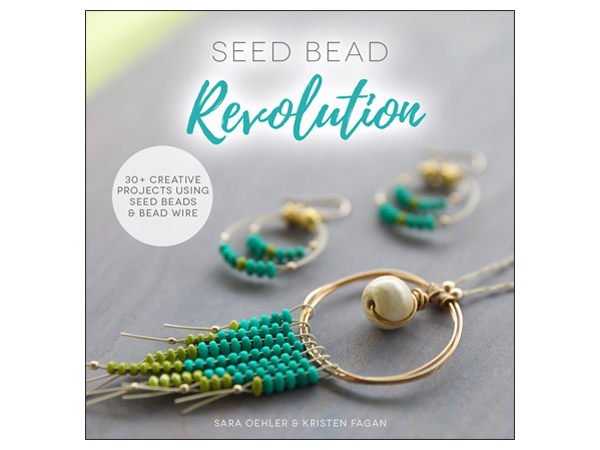
If you would like to learn more about Two-Hole SuperDuo Seed Beads or would like some ideas using a variety of seed beads, make sure you check out Seed Bead Revolution. Seed Bead Revolution was written by Kristen Fagan and Sara Oehler. Seed Bead Revolution is an extensive look at bead stringing. The book goes in depth on techniques, tools, beading wire, and more. The designs featured use SuperDuos, Minis, Dragon Scales, Quads, Rizos, Rullas, and many more varieties of seed beads. Nealay Patel also has a design in the book. It is a fantastic book for all skill levels.
Kristen places the camera down so we can see the materials and tools she will be using. She has her project laid out on a bead mat. She has a six inch square Kumihimo Plate. She has her Soft Flex Beading Wire in three colors: Spinel, Tanzanite, and Dark Blue Lapis. The Soft Flex is all medium diameter (.019). Medium is our all purpose diameter. That is - it fits in almost every bead channel you will be working with, it comes in the largest variety of colors, and it is extremely durable and flexible. She has pack of size 8 seed beads in matte silver. Kristen grabbed her seed beads from Funky Hannah's in Racine, Wisconsin. You can find similar beads from Fusion Beads, Shipwreck Beads, and other local bead stores. Kristen has a Kumihimo Weight. Soft Flex does not carry these weights, but you can find them at Design and Adorn in Tucson, Arizona – or online. Kristen has a toggle clasp, 3x3mm, and 2x2mm crimp tubes. Kristen has Bead Stoppers; she is using ten, but wished she had eleven on hand. Bead Stoppers come four to a pack. They are fantastic for many bead stringing projects.
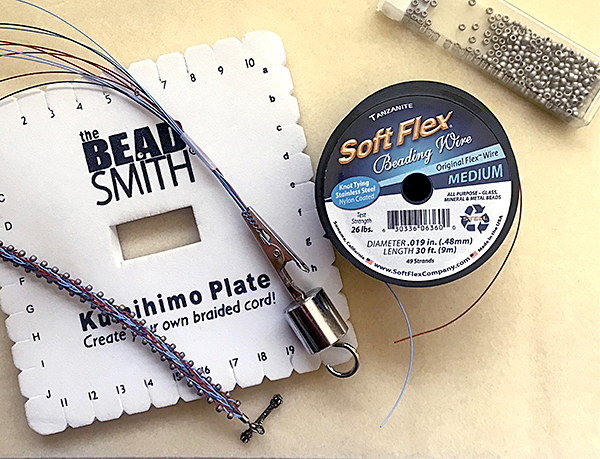
Kristen has cutters. She is using Mighty Crimpers for her 3x3mm crimp tubes and Magical Crimping Pliers for her 2x2mm crimps.
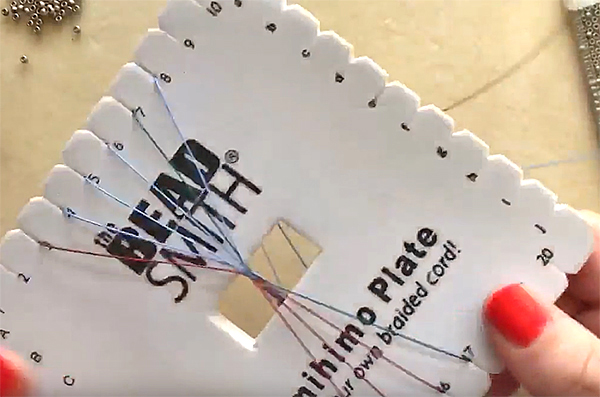
For this design, Kristen is using 14 inch lengths of wire she cut off her spools. Kristen set aside two Dark Blue Lapis strands. Four of the Spinel strands. And four of the Tanzanite strands. She taped those wires together as she was lacking a Bead Stopper. She leaves a three inch tail near her weight. She places the wire through the Kumihimo Plate. She places her wire on the numbered slots on the plate. Numbers 3-8 on the top of the plate. Numbers 14-17 on the bottom of the plate. She says you do not have to be overly concerned with color placement. She just placed the colors in slots as she saw fit, there was no order to it. Different color set ups on Kumihimo Boards will produce different designs. Part of the fun of braiding with the boards is seeing the end result of your color placement.
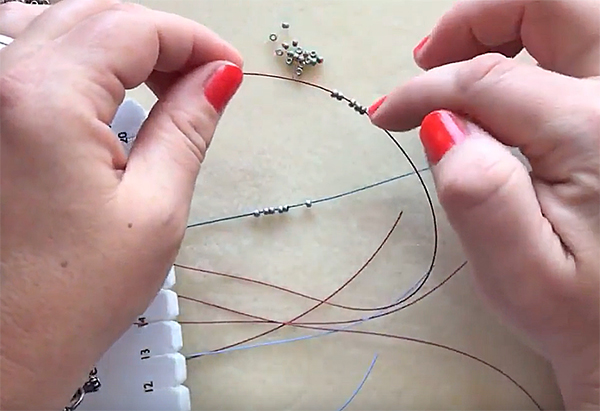
Once Kristen has the wire in place on the plate, she strings six beads on each strand of wire. Once the beads are in place, she puts a Bead Stopper on the end of the strand. The Bead Stopper will hold the beads in place while she works. She likes to vary the placement of the Bead Stoppers on the wire. If you place all of the Bead Stoppers in similar spots on each strand, they can tangle up and make the braiding difficult. If you have bobbins on hand and would rather work with those – they can be used in place of Bead Stoppers. She suggests taping the soft Flex wire to the bobbins and Soft Flex has a nylon coat and can be slippery.
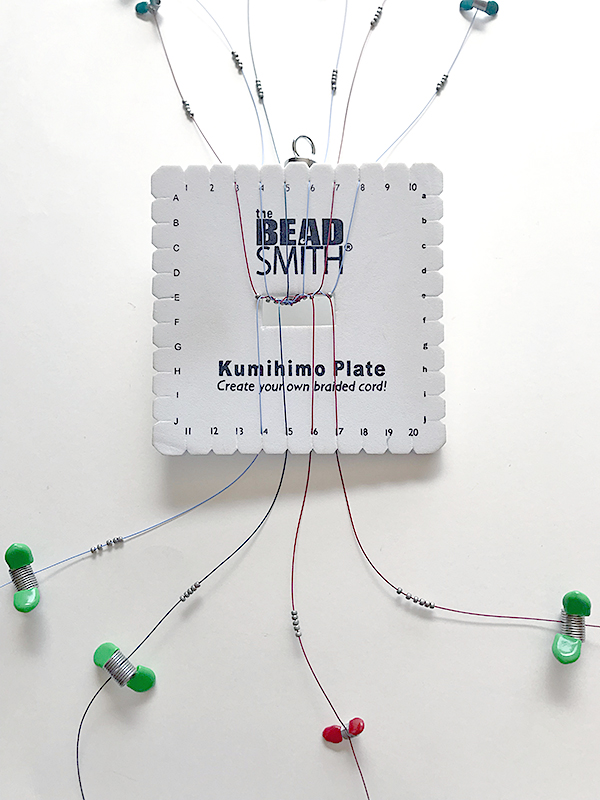
Once the strands are beaded, Kristen takes the wire at slot ‘5’ and moves it across the side to the slot labeled ‘e’ on the left side of the board. She takes slot ‘6’ and move s it to the right side of the board at slot ‘E’. She moves slot ‘16’ to slot ‘6’. Slot ‘7’ to ‘16’. ‘17’ to ‘7’ – she is working on the right side of the board. ‘8’ to ‘17’. She then takes ‘e’ back up to ‘8’. This completes the right side of the board.
For the left side of the board, we start at ‘15’ move it to slot ‘5’. ‘4’ to ‘15’. Slot ‘14’ to ‘4’. Move slot ‘3’ to slot ‘14’. Finally, slot ‘E’ to slot ‘3’.
This completes one full pattern. The Kumihimo Plate now looks like it did when Kristen first started.
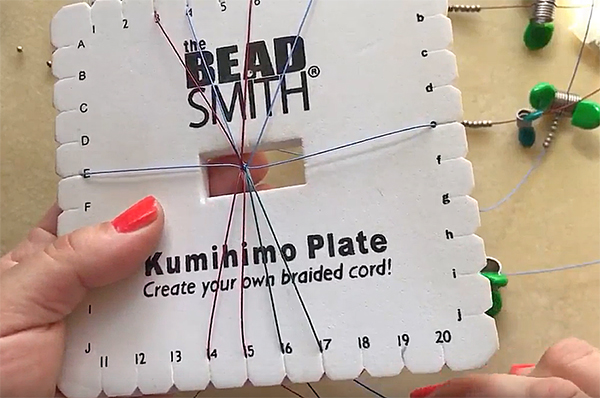
Kristen repeats the process a second time. Right and left side of the board, again, we are back to where we started. Kristen says it is the same pattern over and over, so it is easy to do once you know where the wire goes.
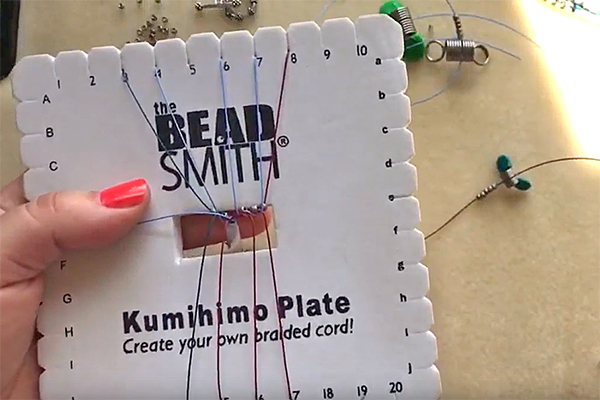
Here is the pattern:
Right:
‘5’ to ‘e’
‘6’ to ‘E’
‘16’ to ‘6’
‘7’ to ‘16’
‘17’ to ‘7’
‘8’ to ‘17’
‘e’ to ‘8’
Left:
‘15’ to ‘5’
‘4’ to ‘15’
‘14’ to ‘4’
‘3’ to ‘14’
‘E’ to ‘3’
Kristen adds her beads on the two ‘E’ (‘e’ and ‘E’ on the plate) strings. For the beginning and the end of the project, she prefers to leave two cycles without beads.
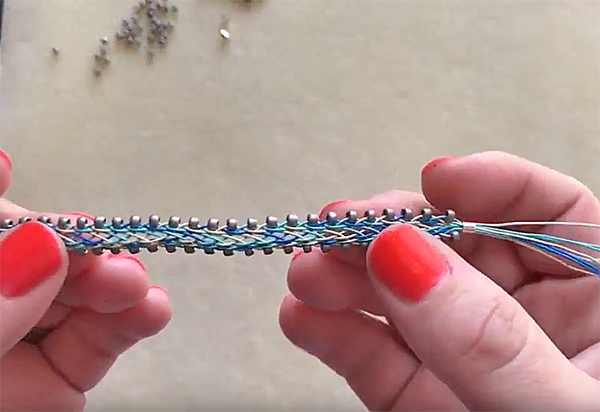
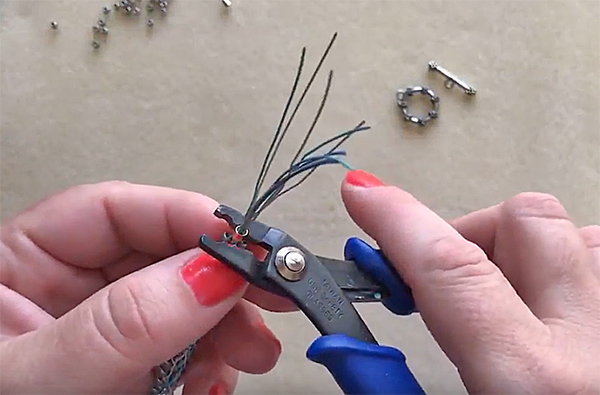
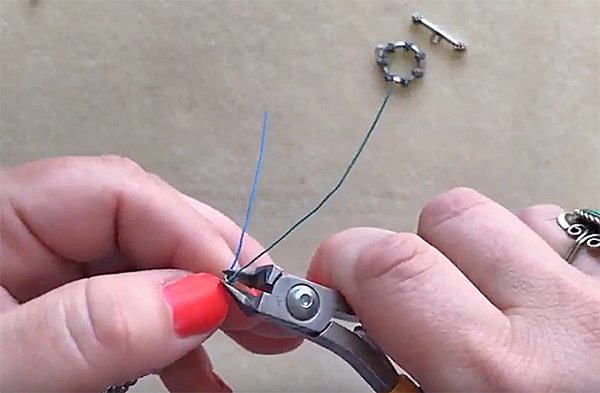
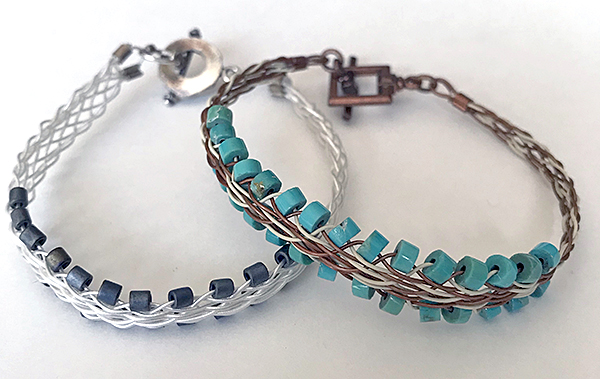
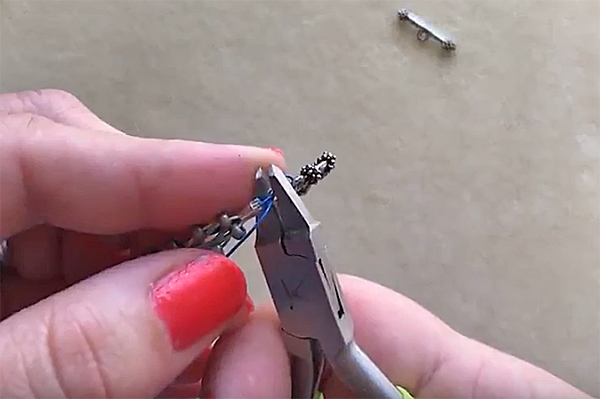
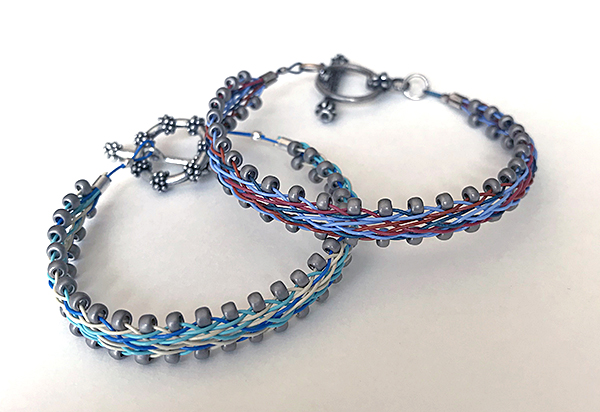
Kristen shows a design she finished using the Mermaid's Lagoon Trio. This design needs crimps and a toggle to complete it. She places a 3x3mm crimp tube on each end and crimps it down with Mighty Crimpers. This will secure the piece. She finds a single strand on each end. She cuts all of the other wires off at the crimp bead, save for the single strand she selected. Now she has a single strand remaining. She repeats this process on the other side. She says it is good to keep the remnant pieces she cut off for later projects. Kristen crimps the toggles on to the bracelet with 2x2mm crimps. She uses Magical Crimping Pliers, but regular crimping pliers are fine too. Magical Crimping Pliers are fun as they create a rounded crimp bead.
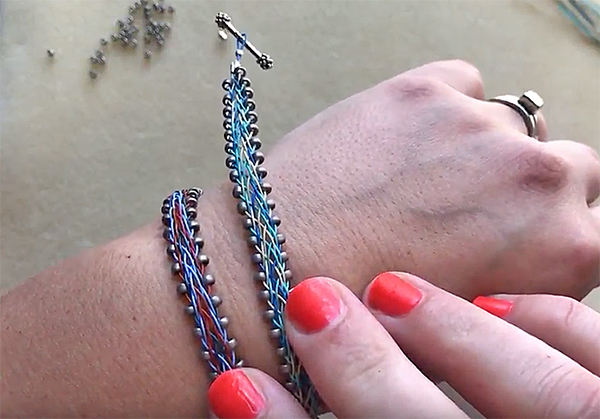
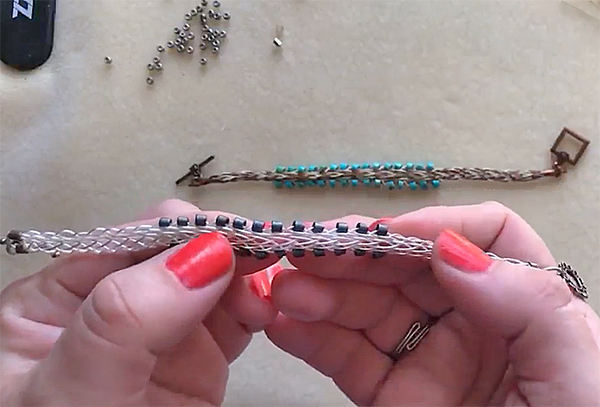
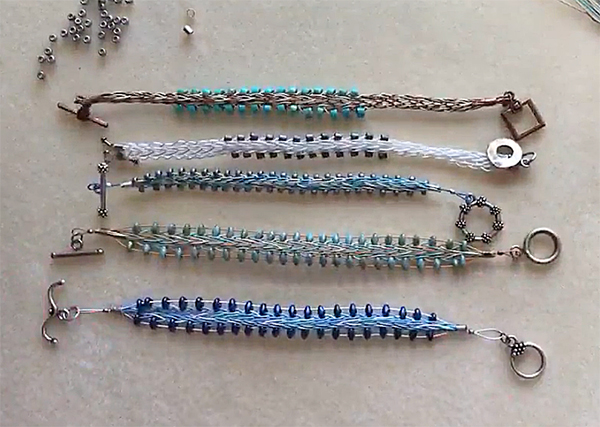
Kristen shows off some previous bracelets she created. They are all variations on the designs. Different color s and different beads will add some variety.
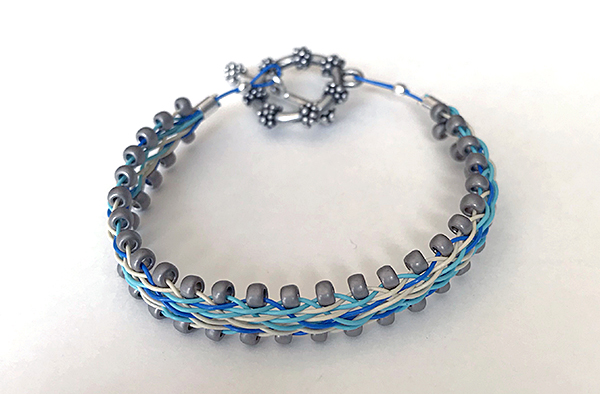
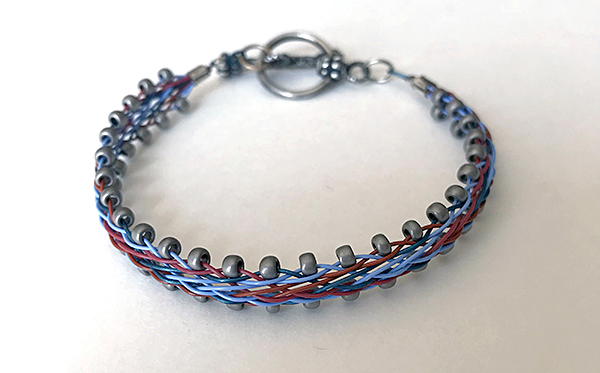
Kumihimo Boards are fantastic. They are so easy to use. They may look complicated at first, but it is simply following a pattern.
Note your calendars for Mondays. Free Spirit Beading airs on Mondays at 11:00am PST. If you watch live, you can interact with Kristen and she will answer any questions you might have about bead stringing or art in general. If you miss her and have questions, you can always email her.
Join our Facebook group – VIB. VIB is a community of jewelry designers and jewelry lovers. There is a lot of inspiration and a bunch of fun pictures posted daily.
Visit the Soft Flex Company YouTube Channel!
Blog contributor Thomas Soles is the Trade Show Coordinator for Soft Flex Company. His favorite stones are Lapis and Pietersite. His favorite hobby is day dreaming. And his favorite mustache is Tom Selleck's. As you can see, he has a healthy (or possibly unhealthy) sense of humor. You can write to him at Thomas@SoftFlexCompany.com


